
How to Make an Ironman Suit Out of Cardboard
Making an Ironman suit out of cardboard is a fun and easy way to show your love for the superhero. This project is affordable, but it’s also a great way to get creative and use your imagination. With just a few simple supplies, you can create your own Ironman suit that will have everyone fooled. It’s a fun project that will impress your friends and family.
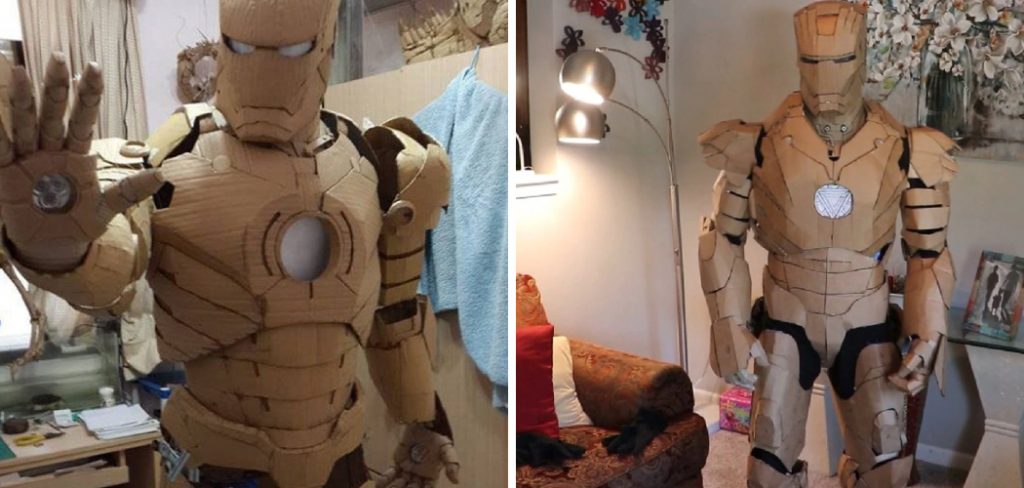
Plus, it’s a great way to show off your DIY skills. In this article, we will outline the steps necessary how to make an ironman suit out of cardboard. With a little bit of creativity and some basic supplies, you can create your own cardboard Ironman suit that will provide hours of entertainment for you and your friends. So please put on your creative cap, and let’s get started!
Required Tools and Supplies
- Cardboard
- Box cutter or knife
- Tape
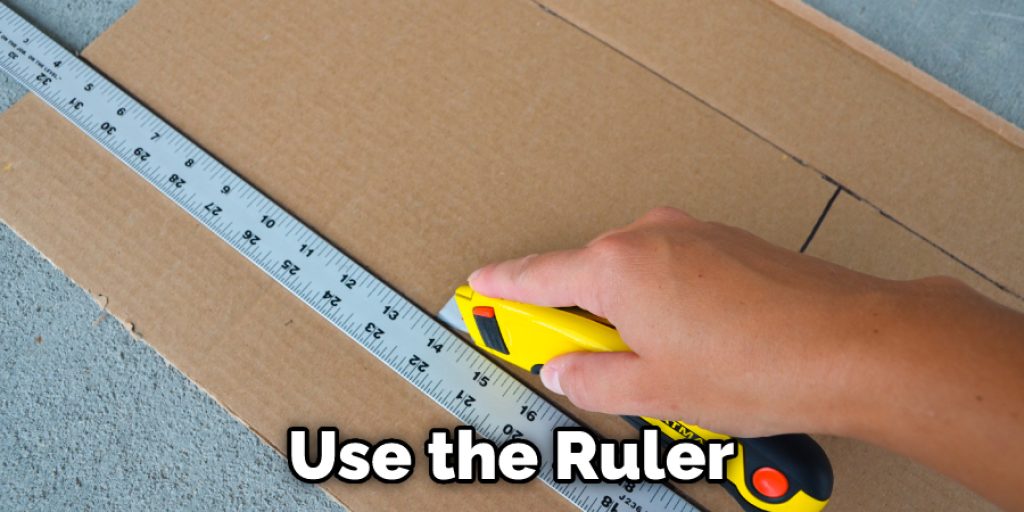
- Ruler or measuring tape
- Pencil or marker
- Scissors
- Paint (optional)
Instructions: How to Make an Ironman Suit Out of Cardboard
Step 1: Cut Out a Large Rectangle From the Cardboard.
Using a box cutter or knife, cut out a large rectangle from the cardboard. This will be the main body piece of your Ironman suit. Make sure that the rectangle is large enough to fit around your torso. Once you have cut out the rectangle, use a ruler or measuring tape to mark out where the arms holes will be. Next, cut out the armholes with the box cutter or knife.
Step 2: Cut Out the Leg Holes.
Next, use the ruler or measuring tape to mark out where the leg holes will be. Finally, cut out the leg holes with the box cutter or knife.
Step 3: Create the Facemask.
To create the facemask, cut out a large oval shape from the cardboard. This will be the base of the facemask. Next, cut out two small rectangles from the cardboard. These will be used as eyeholes. Tape the small rectangles onto the large oval shape.
Step 4: Create the Chest Piece.
To create the chest piece, cut out a large rectangle from the cardboard. Next, cut out two small rectangles from the cardboard earpieces of the facemask. Attach the rectangles to the large rectangle to create the earpieces.
Step 5: Assemble the Facemask.
To assemble the facemask, tape the large oval shape to the front of the helmet. Tape the earpieces to the sides of the helmet.
Step 6: Create the Shoulder Pads.
To create the shoulder pads, cut out two large triangles from the cardboard. These will be the front and back of the shoulder pads. Then, glue them together at the edges, leaving a gap in the middle for your child’s arm to fit through.
Step 7: Create the Gauntlets.
To create the gauntlets, cut out two long rectangles from the cardboard. Next, tape the gauntlets to the main body piece, ensuring that the bottom of the gauntlet lines up with the bottom of the main body piece.

Step 8: Create the Boots.
To create the boots, you will need two pieces of cardboard that are the same size. Trace the general shape of a boot onto one piece of cardboard, and then cut it out. Cut a second piece of cardboard that is the same shape as the first, but about an inch smaller all the way around. These will be your inner and outer boot templates.
Step 9: Attach the Facemask to the Chest Piece.
Attach the facemask to the chest piece using hot glue or clear packing tape. Make sure that the facemask is securely attached and that there are no gaps between the two pieces.
Step 10: Decorate Your Cardboard Ironman Suit.
Get creative and decorate your suit using paint, markers, or whatever you have on hand. You can even add extra details like Ironman’s arc reactor or armor plates. Then, just have fun with it and make it your own! Once you’re finished, you’ll have an awesome homemade Ironman suit perfect for cosplay, Halloween, or just showing off to your friends.
So go out there and show the world your inner superhero! Making your own Ironman suit out of cardboard is a great way to show off your DIY skills and get into the spirit of your favorite superhero. With just a few simple supplies and some elbow grease, you can create an impressive costume that’s sure to turn heads.

Some Helpful Tips and Suggestions
- Cut out the basic shape of the Iron Man suit from the cardboard. Include all the key details like the arc reactor, gloves, and boots.
- Paint the suit using red, gold, and silver paint to get that trademark Iron Man color scheme.
- Add some extra details like armor plates or the Stark Industries logo to make your costume stand out.
- If you’re ambitious, you can even create a working arc reactor using LED lights and a battery pack. Just be sure to use caution and follow all safety instructions when working with electrical components.
- Have fun with it and make the costume your own! There’s no wrong way to do it, so let your creativity shine through.
- With your homemade Ironman suit, you’ll be ready to take on the world! So go out there and show everyone your inner superhero.
Conclusion
Ironman is a popular superhero known for his suit made of iron. While you may not be able to make an actual iron suit, you can create one out of cardboard that will look just like the real thing. All you need is some time and patience. While this project is a labor of love and not meant for actual Ironman competition, it’s still an impressive feat.
If you’re looking for an interesting DIY project that will test your creativity and engineering skills, try making your own Ironman suit out of cardboard. We hope this blog post has helped guide you on how to make an ironman suit out of cardboard. Follow these simple steps, and you’ll be ready to take on the world (or your neighborhood). So, have you tried making an Ironman suit out of cardboard? What did you think? Be sure to let us know how it turns out.


