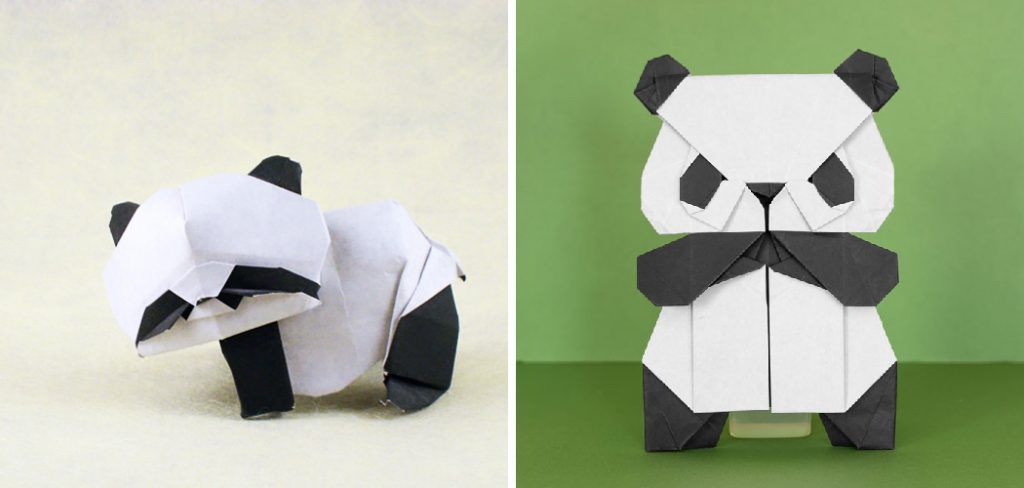
How to Make an Origami Panda
Are you looking for a fun and creative way to show your appreciation for pandas? Why not try folding one of your origami pandas? It doesn’t take long, is incredibly satisfying, and you can even use the design as a window decoration or wall art!
Plus, making it yourself guarantees that no two are exactly alike. Whether you’re new to origami or have been doing it since childhood, this guide will teach you to make an origami panda in just a few easy steps. Just follow along, and you’ll have your own origami panda soon!
With plenty of pictures and instructions along the way, we’ll help you learn how to make an origami panda. So grab some paper, and let’s get started!
What Will You Need?
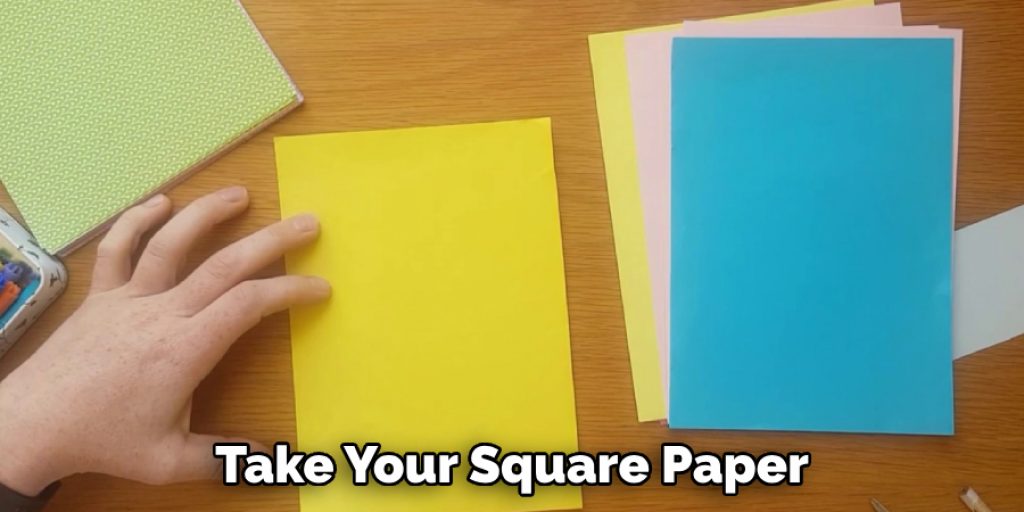
- A square piece of paper
- Pencil
- Scissors
Once you have your supplies, it’s time to begin folding.
10 Easy Steps on How to Make an Origami Panda
Step 1: Start With a Square
To make an origami panda, you’ll need to start with a square piece of paper. If you don’t have any pre-cut squares handy, simply fold one from a regular piece of paper. To do this, take the top right corner and fold it down to the left corner so that you have two equal triangles.
Step 2: Fold in Half
Once your square has been created, fold it in half from top to bottom. This will create a rectangle with a crease in the middle. Unfold the paper and set it aside for later. As you work, the bottom right half of your paper will be referred to as the “right side,” and the top left half will be referred to as the “left side”.
Step 3: Fold in Half Again
Next, fold your rectangular paper in half from side to side. You should end up with a smaller square with a crease in the middle. Unfold the paper and set it aside for later.
Step 4: Make Folds on the Right Side
Now, take your square paper and make two diagonal folds on the right side of the square. The first fold should be from the top left to the bottom right corner. The second fold will be from the top right corner to the bottom left corner.
Step 5: Make Folds on the Left Side
Next, make two diagonal folds on the left side of the square. The first fold should be from the top right corner to the bottom left corner. The second fold will be from the top left to the bottom right corner.
Step 6: Form the Panda Face
After you’ve made the folds on both sides, you should see an X shape appear on your paper. This will form the face of your panda. Fold the top layer of the right side down along the center line. Repeat the same on the left side. You now have the basic shape of your panda’s face.
Step 7: Create the Ears
Now, it’s time to give your panda some ears! Fold the top corners of the face downwards. Make sure the folds are symmetrical to maintain the balance in the figure. Unfold it again to reveal creases that indicate the panda’s ears.
Step 8: Draw the Eyes and Nose
With your pencil, draw two circles for the eyes on the face of the panda and a small inverted triangle for the nose. You may also want to draw a line for the mouth to give your panda a friendly smile.
Remember, origami is more than just folding paper, it’s about expressing your creativity and making something unique. We hope you enjoy making your origami panda as much as we enjoyed guiding you through it.
Step 9: Now Cut Your Panda Out
Using your scissors, carefully cut out the panda shape from your paper. This will ensure that you have a nice clean-cut panda to display or give away as a gift. Additionally, cutting the panda out helps to give it a 3D effect.
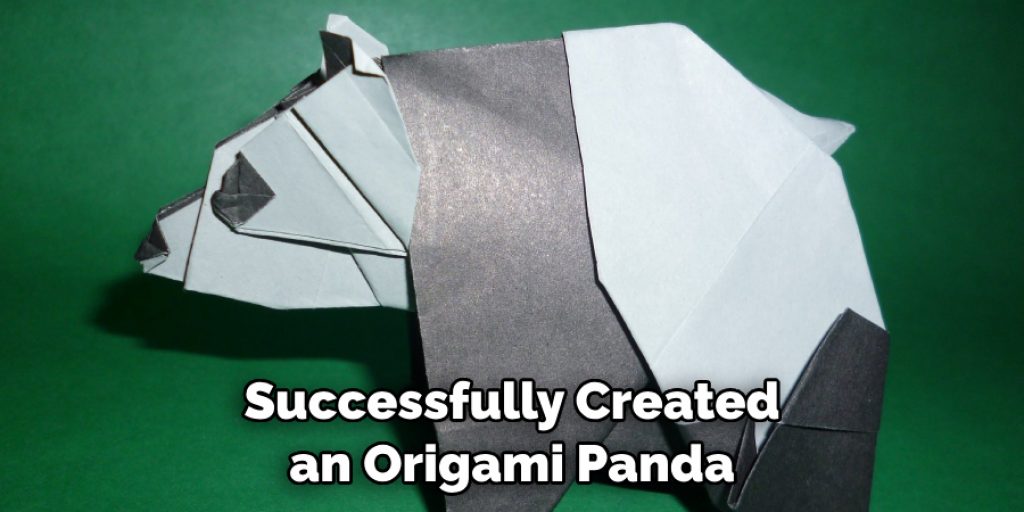
Step 10: Enjoy Your Origami Panda!
And that’s it! You have successfully created an origami panda! We hope you enjoyed learning how to make an origami panda and that your creation will bring joy to those who see it. Feel free to be creative and add your personal touches to make it truly unique. With a little practice, you’ll soon be creating origami pandas that look like a pro-made them!
By following these easy steps, you’ll have a beautiful origami panda to show off quickly. So grab some paper and get folding! Have fun and happy crafting!
5 Additional Tips and Tricks
- Remember to use a sharp fold for the ears and eyes of your origami panda. This will give them an accurate shape and make them more attractive.
- Once you’ve finished folding, be sure to crease all the edges firmly so that they are secured in place. If you don’t secure them well, it can have adverse effects on the overall shape of the origami panda.
- If you’re feeling a bit adventurous, why not try adding some decorations to your origami panda? You could use colored paper or add details such as googly eyes and a nose made from felt.
- Make sure that if you’re using glue to stick parts together, it’s not too thick, or the pieces won’t hold together.
- Remember to be creative! There are many different variations of origami panda out there, and you can always experiment with your design. Have fun, and let your imagination run wild!
With these tips and tricks, you can make an origami panda easily and quickly. Now, let’s get started!
5 Things You Should Avoid
- Avoid using heavy or stiff paper for making your origami panda. These paper types can be difficult to fold and may result in a less than satisfactory end product. A lightweight, flexible paper is more suitable.
- Try not to rush through the process. Precision is key in origami, and hurrying could lead to mistakes.
- Remember to underestimate the importance of creasing your folds. Not doing so may cause the panda to lose its shape.
- Avoid using too much decoration. While adding a lot of extra details can be tempting, too many can detract from the simplicity and elegance of the origami panda.
- Finally, avoid getting frustrated if your first few attempts turn out differently than planned. Origami requires patience and practice, so keep trying until you are happy with the result.

By avoiding these pitfalls and following the steps outlined in this guide, you will be sure to make an origami panda that you can be proud of! Good luck, and have fun with your origami project!
5 Different Styles of Origami Panda You Can Make
- The Spotted Panda: This style features a cute panda pattern with telltale black-and-white spots.
- The Angry Panda: For those who like to express their emotions through origami, this one is for you! Create a grumpy-looking panda with a scrunched-up face.
- The Munching Panda: Create a cute panda eating its favorite snack with the ears folded over to create a munching effect.
- The Sleepy Panda: For this one, fold your origami panda in such a way that it looks like it’s dozing off for a nap!
- The Jumping Panda: Get creative and make a jumping panda with the ears flapping back like wings!
Now that you have learned to make an origami panda, why not try making one of these unique styles? Challenge yourself and see what interesting creations you can come up with.
How Can You Color Your Origami Panda?
Once you have mastered the basic technique of folding an origami panda, it’s time to start thinking about how you can add color. There are a few ways in which you can add a fun and unique touch to your project:
- Use Colored Paper: This is one of the easiest ways to add some pizzazz to your origami panda. Choose a vibrant paper with an interesting pattern or texture to make your creation stand out!
- Paint: If you want to get creative, try painting the pieces of your origami panda. Watching your design come together in front of you can be fun and satisfying.
- Add Embellishments: Want to go all out? Add sequins, beads, and stickers to your origami panda to give it extra personality.
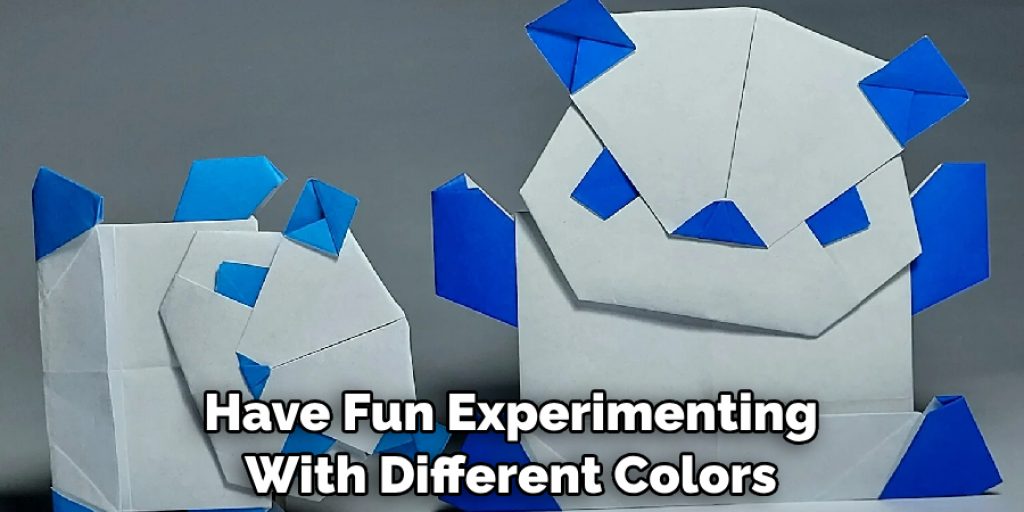
By following these tips, you can make a beautiful origami panda that is sure to impress! Have fun experimenting with different colors and patterns until you find the perfect one. Now, get folding!
Conclusion
By taking the time to master this origami panda, you can customize your creation to show unique expression and personality. With practice, you can alter its size and shape for a more intricate design. Let your creativity direct how you’ll craft this adorable origami panda! Share your masterpiece with friends and family to spread some festive cheer and revel in the accomplishment of learning a new skill.
Mastery comes from within, so invite others to join you in making an origami panda. You might even give them as gifts this holiday season. Above all else, never give up!
Hopefully, the article on how to make an origami panda has been of help to you. Have fun crafting your origami panda, and remember to share your creative ideas with us! We can’t wait to see what masterpieces you come up with!
Happy Folding! 🙂
Angela Ervin
Angela is the executive editor of DIY quickly. She began her career as an interior designer before applying her strategic and creative passion to lifestyle and home. She has close to 15 years of experience in creative writing and online content strategy for housekeeping, home decorations as well as other niche efforts. She loves her job and has the privilege of working with an extraordinary team. She lives with her husband, two sons, and daughter in Petersburg. When she's not busy working she spent time with her family.