
How to Make Banana Paper
Banana paper is made from banana peels, which are dried in the sun. The process of drying the peels takes about 6 hours. The banana paper was first used by ancient Mayans but it has recently become popular with crafters and artists to make crafts like wallets, handbags, jewelry boxes, and other objects that require a hard surface.
It’s not just for artsy projects though-scientists have found that banana peels can be composted after they’re dry because they don’t release any harmful chemicals when exposed to heat or light! This makes them great eco-friendly alternatives to plastic wrap when storing leftovers in your fridge. Follow these steps below to get started on how to make banana paper on your own!
What is a Banana Paper?
Banana paper is made from the bark of a banana tree. The bark is stripped from the trunk of the tree while it is still growing to produce more fruit. The banana peels are then dried in the sun to create a thin, rough paper sheet.
Uses for Banana Paper
Banana paper has many uses and applications. It’s commonly used in cooking to create a safe and reliable non-stick surface in pans. However, different varieties of banana plants may produce papers with varying degrees of toughness and stickiness.
It can also be used as an alternative to plastic wrap for food storage in the refrigerator. Unlike plastic wrap, which can release harmful chemicals into your food, banana peels are a completely natural and biodegradable material that doesn’t pose any health risks when they come in contact with your food.
Things You’ll Need:
- A banana
- Paper towels
- Scissors
- Microwave safe dish
- Piping bag (optional)
Instructions: How to Make Banana Paper
Step 1:
Stretch out the paper towel by pulling it on each side until it’s smooth.
Step 2:
Unwrap your banana and place the peel on your paper towel. Use your counter’s edge to flatten any wrinkles or ‘bumpy’ spots. Fold up one corner of the long side, tucking at the end of your banana peel. Fold up the opposite corner of the long side to rest directly on top of your first fold.
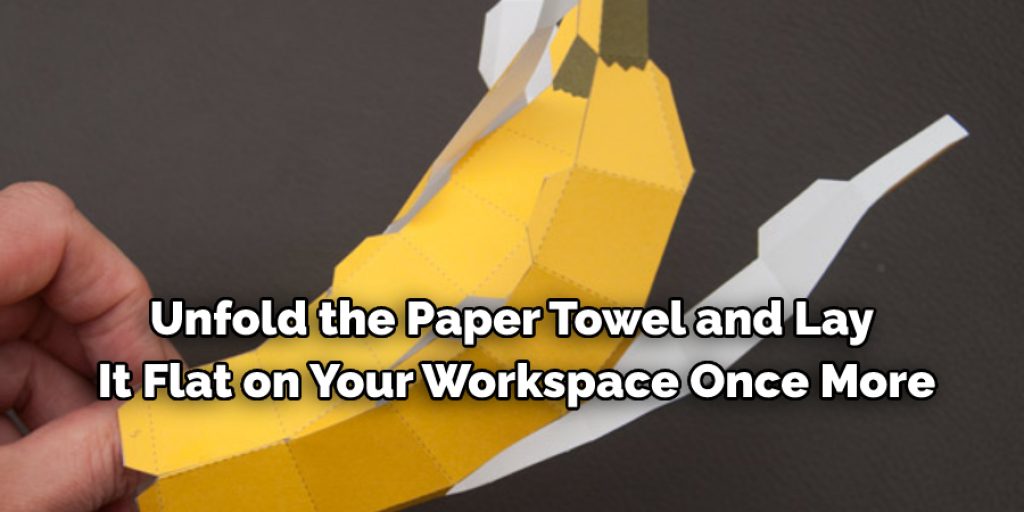
Step 3:
Cut out a small section from the paper towel, trimming as close as possible to one edge of your banana peel. Remove the piece and discard. Unfold the paper towel and lay it flat on your workspace again.
Step 4:
Fold the paper towel back in half along its center crease, then fold it closed again at the halfway point.
Step 5:
Unfold the paper towel and lay it flat on your workspace once more. Tuck one end of your banana peel into a fold on one of the short sides of your paper towel. Now begin rolling up your banana peel inside the paper towel, tucking in the opposite end of your banana peel as you roll.
Step 6:
Fold down one corner of the short side of your paper towel, about 1/2 inch away from where it’s tucked into your banana peel. Flatten that fold with your fingers, and then begin rolling up the section you’ve just folded while still tucking in the other end of your banana peel. Pull gently on the excess paper towel at the top of your roll to help it keep its shape.
Step 7:
Dunk one corner of your banana roll into a water container and remove again with a gentle shake. Continue to dunk and shake until all four corners are wet.
Step 8:
Unfold your banana roll and lay it flat on your workspace. Fold the two long sides inward, about 1/4 inch away from each edge.
Step 9:
Roll up your banana paper towel, starting with one of the short ends. Tuck in both corners as you roll, just like you did before when you were making the banana roll.
Step 10:
Dunk your finished paper towel into a container of water and let it soak for about 30 seconds before removing it; then, lay it flat on your workspace and let it dry, so it stiffens up.
Tips and Tricks:
1. If you are doing the project with children, have them color their bananas first before peeling off the skin.
2. Use food coloring to color the banana. However, making sure all of the pieces are cut for each part is a lot easier with plain bananas.
3. Using toothpicks to hold the pieces in place will help speed up assembly time
4. For more detail on drawing faces, use a black sharpie marker
5. Make sure to let the banana paper dry before constructing it.
6. To improve the durability of the paper, use Mod Podge to seal it
7. For stronger paper, let each section dry before assembling
5 Benefits of Using Banana paper:
1. Environmentally friendly: can be used as a replacement for traditional paper.
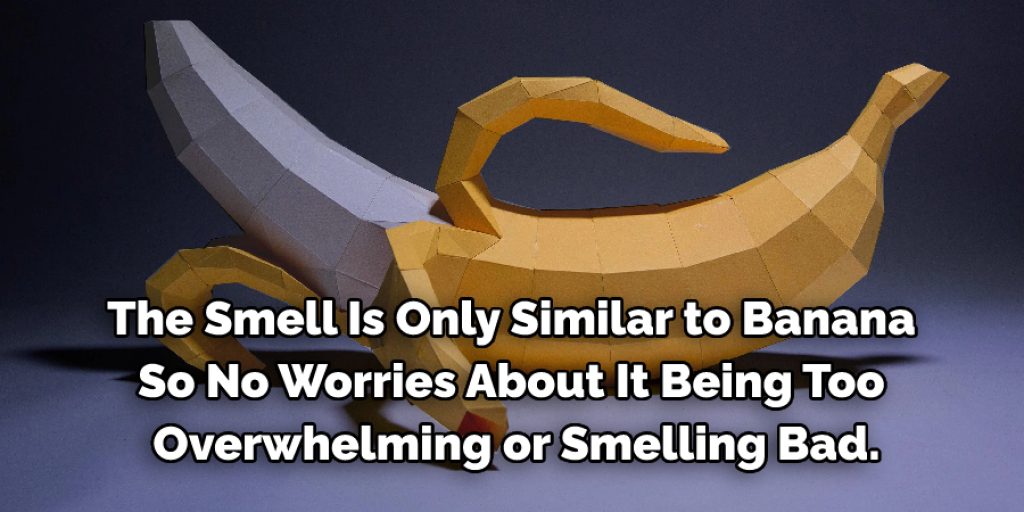
2. Natural Aroma: the smell is only similar to banana, so no worries about it being too overwhelming or smelling bad.
3. Healthy: Banana peel is completely natural so that it won’t have any negative effects on the body; plus, it has anti-inflammatory properties, which can do wonders to your skin.
4. Skincare: Banana peel can be applied on the face to remove dead skin cells, making way for new skin, and making you look younger and brighter!
5. Shine: great for dull hair as you use it as a dry shampoo or simply after washing your hair with shampoo. Banana paper is also very beneficial to the hair.
Conclusion:
The process of making banana paper is not difficult. You’ll need only a few ingredients and the right equipment to make your own homemade version that can be used for artwork or other projects. This post has shown you how to make banana paper, which is a great way of making your home smell fresh.
We hope this article inspires you to try out the recipe! Do you have any questions about how to make banana paper? We’re happy to answer them! Contact us today; we’re always here to help with all things related to art supplies.
Check out our article How to Make Grass with Construction Paper.
Elizabeth Davis
Elizabeth is a creative writer and digital editor based in the United States. She has a passion for the arts and crafts, which she developed from a young age. Elizabeth has always loved experimenting with new mediums and sharing her work with others. When she started blogging, she knew that DIYquickly would be the perfect platform to share her tutorials and tips. She's been writing for the blog from the beginning, and her readers love her helpful advice and easy-to-follow instructions. When she's not writing or editing, Elizabeth enjoys spending time with her family and friends.


