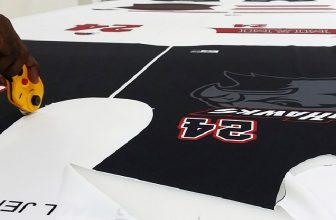
How to Laminate Paper with Plastic Wrap
Laminated document is a way to protect them from getting ruined by water, ink, or even fingerprints. It will also allow them to stay straight and not get wrinkled over time. However, the most important thing about the benefits of laminating paper documents is to store them safely for years without worrying about them being ruined.
Usually, people get paper documents laminated with a machine, but not everyone has it at home or can always run to a laminating shop in urgent time. Therefore, people must develop ideas on how to laminate paper with plastic wrap at home.
You do not need to own a laminating machine to laminate your documents. You can do it at home with some DIY methods that we are about to tell you. Over time, people have come up with many innovative ideas that can save time and work.
Laminating your documents is no longer a time-consuming process that requires a machine. You can now laminate at home using plastic wrap. If you’re not sure how to do it, we’re here to help. Keep reading for instructions.
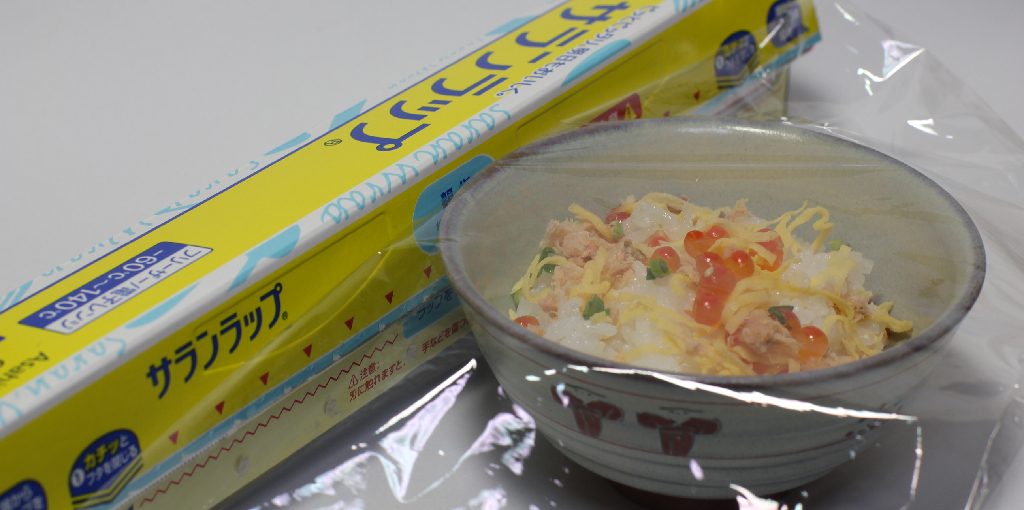
Summary: If you’re looking to laminate your own paper, you’ll need some plastic wrap and a laminator. Cut the plastic wrap into even-sized pieces and lay them out on your work surface. Place the paper you want to laminate over the plastic wrap and align the edges so they’re perfectly aligned. Use the laminator’s heat to melt the plastic wrap around the edges of the paper. When it’s completely melted, remove the paper and admire your new laminated document!
How to Laminate Paper with Plastic Wrap
You are wrong if you think there is only one specific way to laminate your paper. There are a few ways and methods that you can follow to laminate your paper at home with some ready-to-available materials completely. Here we will mention three common and easy ways to laminate paper using plastic.
- Using self-adhesive sheets
- Using synthetic paper and iron
- Using clear packing tape
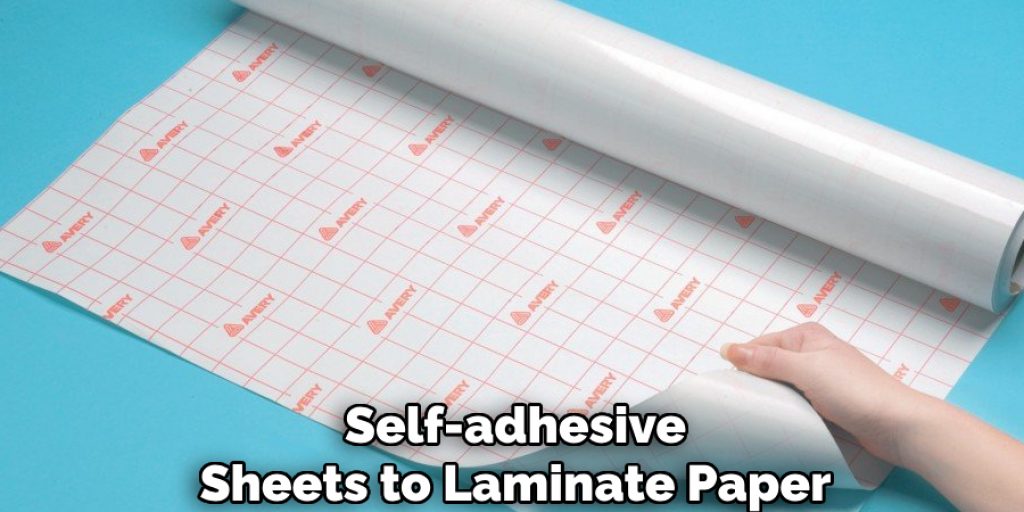
Using self-adhesive Sheets to Laminate Paper
The first way that we are mentioning is using self-adhesive sheets to laminate paper. It is one of the most common and easy ways that people call self-adhesive sheets laminating sheets. You can easily find this paper in your nearby stationery shops.
The sheets are transparent and quite sturdy, so they will protect your documents easily. To laminate one piece of paper, you will need at least two sheets, as one sheet can cover one side of the paper. We are describing the process step by step below.
- You need to take one self-adhesive sheet and work on one side of your paper. The adhesive sheet will have two parts; one will be sticky and another normal. It would be best if you separated the sheets using your nail.
- You must work quite quickly yet carefully once you have separated the sheets. Then, after placing the paper on a flat surface, you can put the adhesive sheet on top of the laminating paper.
- Before placing the sheet, you must be careful about the alignment. If the sheet is not more significant than the paper, you will not get the chance to resize it if the alignment is wrong. You do not want any part of the sheet to be exposed.
- After placing and aligning the sheet, you have to carefully rub the sheet onto the paper so that the glue of the sheet can attach to the paper properly. Try to eliminate any air bubbles that can form between the sheet and the paper.
- After one side is done, repeat the same process on the other side, and your paper laminating will be done.
This is one of the most effective ways to laminate the paper at home. In addition, the materials are easy to find, so you will not have to run around a lot.
Laminating with Synthetic Paper and Iron
Another popular way to laminate paper at home is synthetic paper and iron. If you do not know about synthetic paper, it is a special kind of paper that might feel like regular paper when you touch it, but it is made out of plastic.
You can easily find them in the stationary shop as they are used for various art projects. Synthetic paper can be used for laminating with the help of the heat from an iron. Below we will tell you the process, so keep reading-
- The synthetic paper will come like a pouch, which means you can fit things inside. The pouch is what you are going to use for laminating the paper. So, the first thing you have to do is place the paper inside the pouch.
- You need to position the paper properly. When you put the paper inside the pouch, ensure it is in the middle and has additional spaces around it.
- Now it is time to do the next step, and for that, you will need to lay the paper on a flat surface. You have to ensure that there are no bumps or debris on the surface to harm the process.
- The next step is to put a towel on top of the paper on a flat surface.
- The next step is the most crucial part of the process, where you must use iron and heat. You need to heat the iron to a medium level and place it on the towel where the synthetic paper and the document are. Then, slowly iron the towel to let the heat melt the adhesive from the paper to be attached to the document. You have to make sure you are heating each part equally.
- Remove the towel after some time, and you will see that your paper has been laminated.
If you are happy with this process, then let’s see the final method.
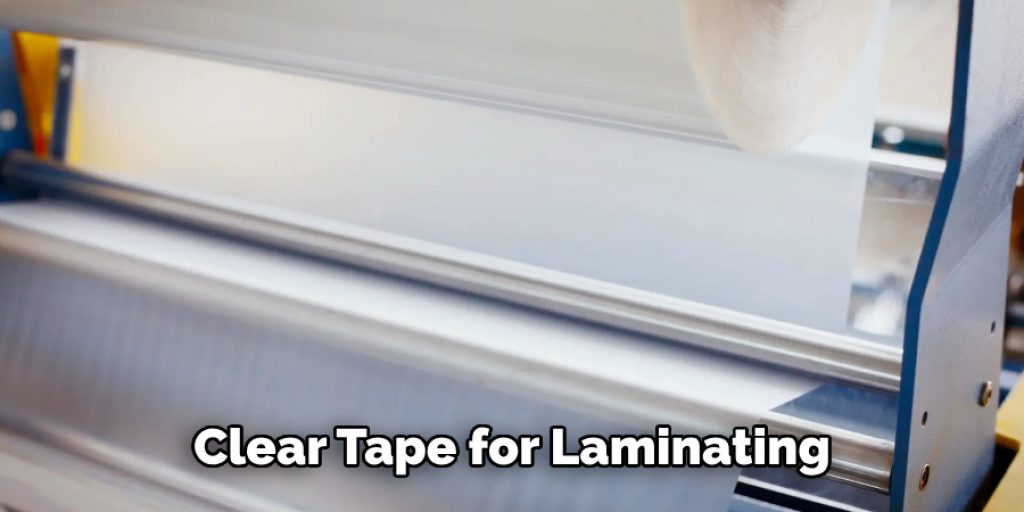
Using Clear Packing Tape for Laminating
The last method is using clear tape for laminating. These clear packing tapes are always available at home, or you can get them from nearby stores. They are very handy in terms of many things. This process is the easiest of all as it does not require any heat.
But the down mark of this process is that you cannot laminate significant documents with it. If you want to laminate name tags, cards, bookmarks, etc., you can use these tapes for this purpose. Let us see how to laminate with the tape.
- The clear tape has only one layer of adhesive on one side of the tape. So, it would be best to keep it in mind before you start.
- You need to put the document that you want to laminate on a flat surface.
- Pull out some of the tapes according to the measurement of your document and place them on top of it. You can do as many layers as you want. You must ensure that there is some loose length on each side of the tape.
- After you have done that on one side, you must also repeat the process on the other.
- Afterward, smooth out the paper with your hand and eliminate any air bubbles.
- Finally, a trip of the access and you are made.
Conclusion
That was all for how to laminate paper with plastic wrap. We hope that all the solutions we have mentioned with help you to laminate your document to keep them safe for the time being. These DIY methods should come in handy when you cannot find a laminating machine in urgent time. So, keep those steps in mind and laminate your paper.
So in this article, you know about how to laminate paper with plastic wrap.
Elizabeth Davis
Elizabeth is a creative writer and digital editor based in the United States. She has a passion for the arts and crafts, which she developed from a young age. Elizabeth has always loved experimenting with new mediums and sharing her work with others. When she started blogging, she knew that DIYquickly would be the perfect platform to share her tutorials and tips. She's been writing for the blog from the beginning, and her readers love her helpful advice and easy-to-follow instructions. When she's not writing or editing, Elizabeth enjoys spending time with her family and friends.