
How to Make Bracelets With Plastic String
Introduction:
Bracelets are always preferred as a symbol of friendship or something that can enhance your style. You can find numerous bracelets; buy as many as possible. But sometimes, you will need something unique, and that’s where all the complication starts.
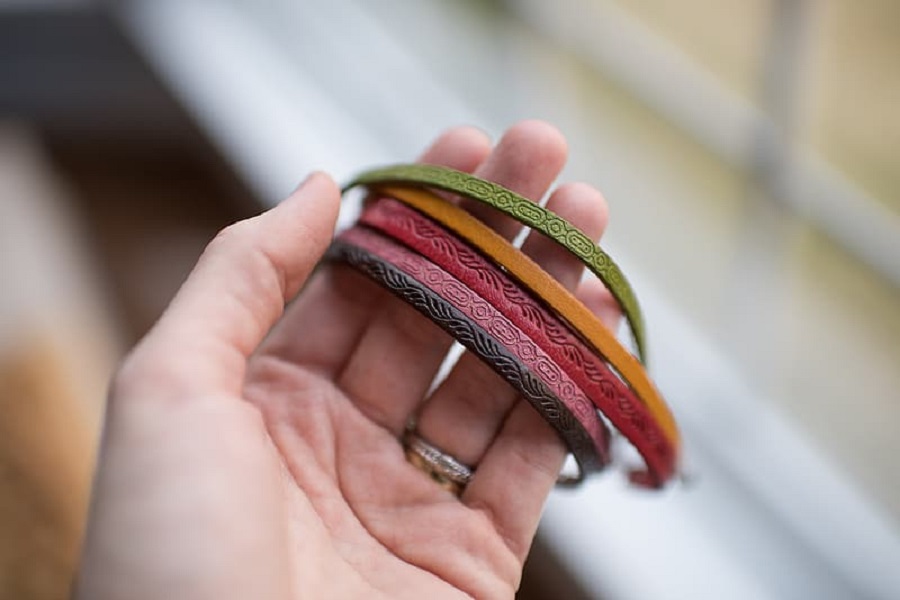
The market and manufacturer won’t understand your requirements. That’s why you may need to make the bracelet with your effort. There are different ways to make a bracelet, but today, I will show you how to make bracelets with plastic string. So, let’s have a look at them.
Required Materials:
- Plastic String (Available at craft or hardware stores)
- Scissors
- Hole Punch (“Gem Hole Puncher” Available at retail and online crafts stores)
A Process on How To Make Bracelets With Plastic String
Process One:
- Cut the end lengths off your pieces of yarn to make them about an inch long each.
- Take an elastic band and loop it over your index fingers on both hands. Then take another part and loop it around the other index finger before wrapping it around three or four times and pulling tight, so you have two loops sitting side by side with a good bit leftover at either end.
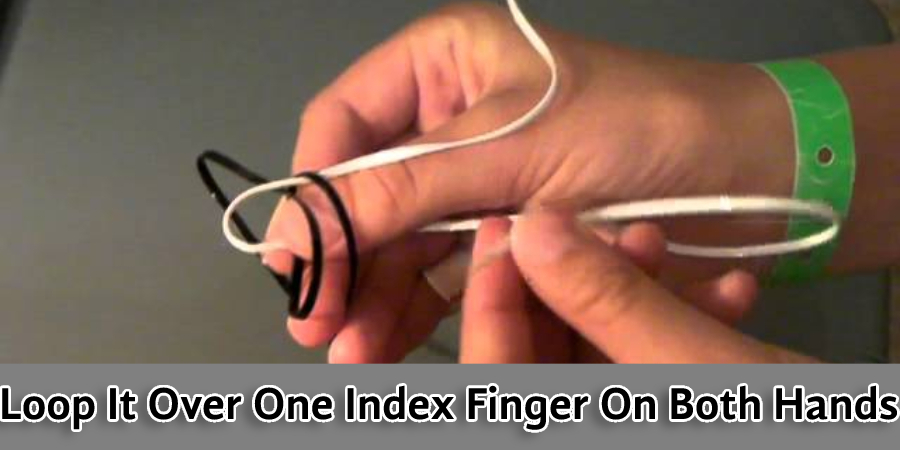
- Now thread your first piece of string through those loops as if they were already in place for tying shoelaces, leaving enough slack (about six inches) at either end to tie into knots later. This is what’s going to keep all the bracelets on your arm.
- To make a bracelet, take one end of the string and thread it through one loop. Then take the other end of the string and thread it through the other loop. Incorporate them back up through their respective circles, so they’re sitting side by side with a few inches left over at either end.
- Now tie those ends together tightly into two knots to secure them in place: If you have enough length leftover from each piece of string, make sure to double knot or triple knot if necessary (or just cut off any excess).
- Flip that elastic band down onto your palm, but let go when it’s about halfway there, so some slack is still hanging out between your index fingers–this will be what keeps all these bracelets separate as they slide down your arm.
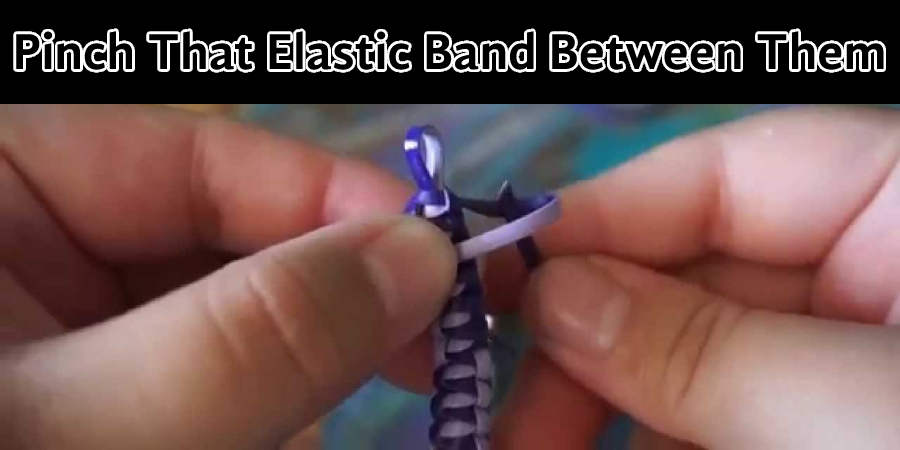
- Now, with the thumb and index finger of each hand, pinch that elastic band between them so it’s securely wedged in place–you should be able to see all those bracelets lined up next to one another on top of your hands at this point.
- Next, you’re going to need a rubber band or hair tie: Take two strands from opposite sides and loop them around over the other ones like handcuffs (the entire bracelet will now look something like an orange peel). Hold both ends together while bringing the loops closer together until they snap into place by themselves; they do this again for as many bands as necessary.
Process Two
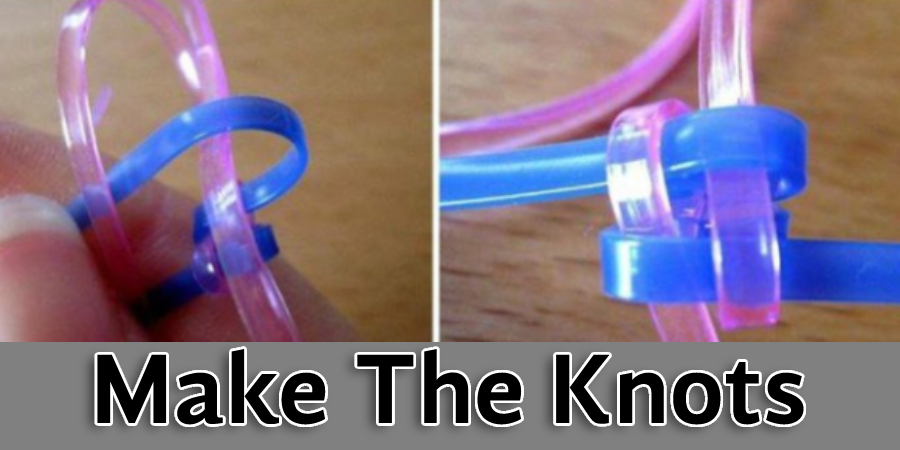
- Making a bracelet depends entirely on the knots. If you can learn how to make the knots, you can make the bracelet as you want. So, first things first.
- I have two different colored plastic laces and will use them for this process. So, I am going to cut two strings from each color. Then, I am going to hold them in an X form. I have my blue string on the bottom and the purple string on the top.
- Now take the bottom right blue string up and over the purple yarn, and you will place it on the right-hand side of the top left string. Then fold the top right purple string over the end of the bottom right string you have folded earlier. After that, take the top left blue string and fold it over the purple string.
- Next, take the purple string, which is not folded yet, go over the top and push it through the folded hole of the blue string. Once you do that, pull each string, and it will form a checkered pattern. Follow this process and make the knots until your bracelet is complete.
Precaution:
- Be very careful with the scissors. They are not your friend, and children should only be allowed to make bracelets when they have an adult present who can help them if something goes wrong.
- Always cut away from yourself, never towards yourself or others around you, so that there is any risk of being hurt by anything flying up while cutting a piece of string (the most likely scenario).
Final Thoughts:
Lastly, we hope that the techniques mentioned here have helped make bracelets. Be careful while using sharp tools in this case. Thank you, and have a good day.
You May Read Also How to Make Ankle Bracelets with Beads
Elizabeth Davis
Elizabeth is a creative writer and digital editor based in the United States. She has a passion for the arts and crafts, which she developed from a young age. Elizabeth has always loved experimenting with new mediums and sharing her work with others. When she started blogging, she knew that DIYquickly would be the perfect platform to share her tutorials and tips. She's been writing for the blog from the beginning, and her readers love her helpful advice and easy-to-follow instructions. When she's not writing or editing, Elizabeth enjoys spending time with her family and friends.


