How to Make Ceramic Ornaments
Are you looking for a creative and personalized way to decorate your home? Making ceramic ornaments is a fun and easy DIY project that will add a personal touch to your holiday decorations or any time of year.
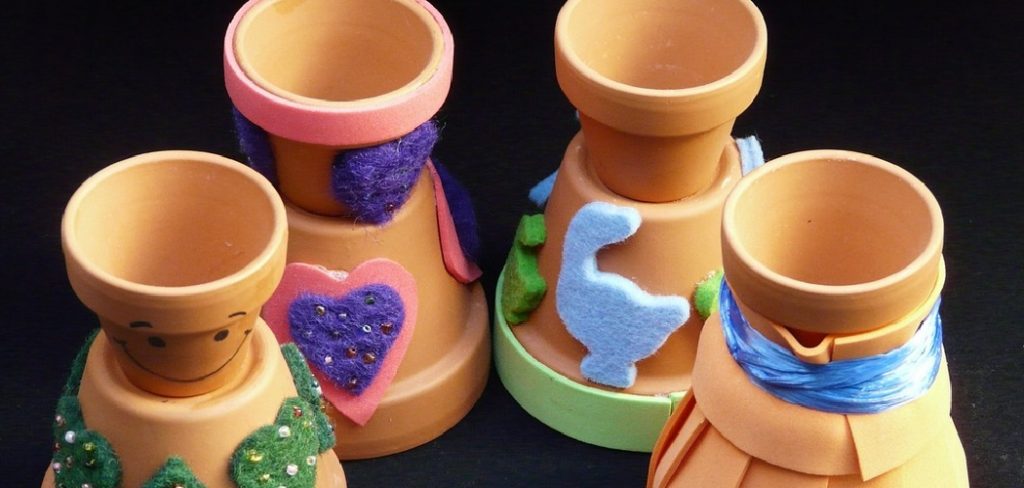
How to make ceramic ornaments is a delightful and rewarding craft that allows individuals to express their creativity while making personalized decorations for any occasion. Whether you want to adorn your home for the holidays, create unique gifts for loved ones, or simply explore your artistic side, making ceramic ornaments offers endless possibilities.
This guide will take you through the essential materials and steps to craft beautiful and unique ornaments, ensuring that both novices and experienced artisans can enjoy the process. Get ready to unleash your imagination and bring your ideas to life with clay!
What Will You Need?
Before making ceramic ornaments, gather all the necessary materials and tools. Here is a list of the essential items you will need for this project:
- Clay: Different types of clay can be used for making ceramic ornaments such as air-dry clay, polymer clay, and traditional ceramic clays. Choose the type that best suits your needs and budget.
- Rolling Pin: This tool is used to flatten out the clay.
- Cookie Cutters or Templates: These will help you create symmetrical shapes and designs for your ornaments.
- Sculpting Tools: You can use various sculpting tools to add texture and details to your creations.
- Paints and Brushes: Depending on the type of clay you use, you may need paints and brushes to add color and detail to your ornaments.
- Glaze (Optional): If you use traditional ceramic clay, you will also need a glaze for a shiny and glossy finish on your ornaments.
- Oven: If you use air-dry or polymer clay, an oven is required for baking.
Once you have gathered all your materials, you can start making your ceramic ornaments.
9 Easy Steps on How to Make Ceramic Ornaments
Step 1: Prepare the Clay
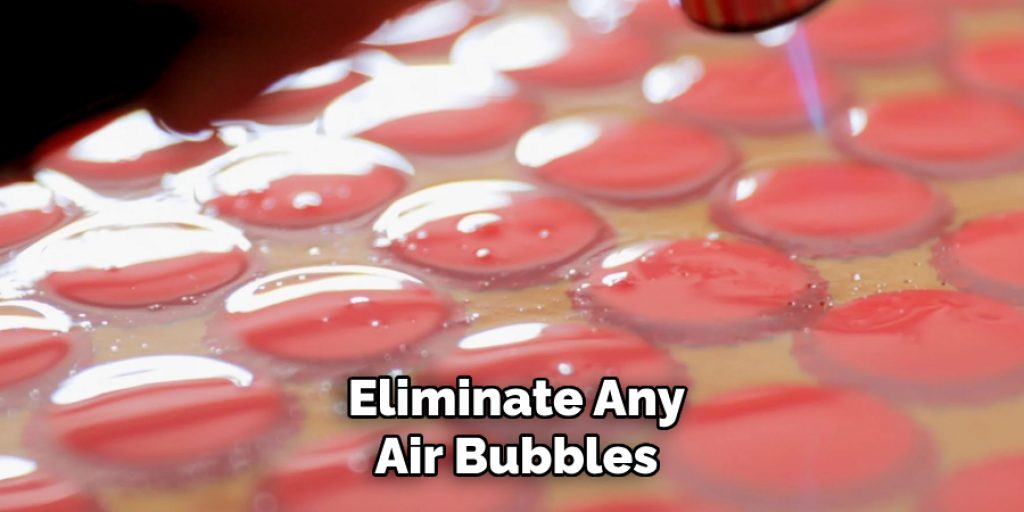
To begin making your ceramic ornaments, the first step is to prepare your clay. If you’re using air-dry or polymer clay, ensure that your work surface is clean and free of dust or debris. Take the amount of clay required for your project and knead it thoroughly to soften it. This process is crucial as it helps eliminate any air bubbles trapped within the clay, making it easier to shape and ensuring a smoother finish.
If you’re working with traditional ceramic clay, dampen your hands and the surface slightly to keep the clay from cracking. Once the clay is pliable, roll it into a ball and flatten it gently with your palms before using a rolling pin to achieve an even thickness, typically around ¼ inch. This uniformity is key to ensuring that your ornaments bake evenly, maintaining their structure and appearance.
Step 2: Cut Out Shapes
Once your clay is prepared and flattened, it’s time to create the shapes for your ornaments. Press down firmly into the clay using cookie cutters or templates to cut out the desired shapes. Make sure to apply even pressure to ensure clean edges. If you want to create hanging ornaments, don’t forget to make a small hole at the top of each shape using a straw or a tiny drill bit; this will allow you to add a ribbon or string later.
Carefully remove the cut-out shapes from your work surface and place them on a clean, flat baking sheet or drying surface. This step is essential for ensuring that each ornament retains its design and is ready for the next decoration stage.
Step 3: Add Texture and Details
Now that you have cut out the shapes for your ornaments, it’s time to add some personality! Use various sculpting tools to create textures and intricate designs on each piece. To impart unique patterns, you can press objects like leaves, lace, or even textured fabrics into the clay. Alternatively, you can use a toothpick or a fine tool to carve designs or write names or messages directly onto the surface of the clay. Be creative—this is your chance to make each ornament truly one-of-a-kind.
Step 4: Allow to Dry
After you’ve added textures and details to your ceramic ornaments, the next step is to let them dry. If you’re using air-dry clay, place the ornaments on a flat, clean surface, ensuring they are adequately spaced apart to allow air circulation. Depending on the thickness of your ornaments and the type of clay, drying time can range from several hours to a couple of days. If you’re using polymer clay, follow the manufacturer’s instructions for baking.
Preheat your oven to the recommended temperature and bake the ornaments for the specified time, usually around 15-30 minutes. Once dry or baked, allow your ornaments to cool completely before moving on to the next step. Proper drying is crucial, preventing cracking and ensuring the ornaments hold their shape beautifully.
Step 5: Paint and Decorate
Once your ornaments have dried or cooled, it’s time to bring them to life with color! Using your chosen paints and brushes, carefully apply the desired hues to each ornament, accentuating the textures and details you added earlier. You can create beautiful patterns and designs or even personalize them with names or particular messages. Allow the paint to dry thoroughly between coats if you use multiple colors or layering techniques.

If you aim for a shiny, polished finish, this is also the stage to apply glaze to your traditional ceramic ornaments, following the manufacturer’s instructions. Be sure to let everything dry completely before moving on to the final step.
Step 6: Add Finishing Touches
Now that your ceramic ornaments are beautifully painted and decorated, it’s time to add the final touches. If you applied glaze to your traditional ceramic ornaments, follow up with a second round of baking, as per the glaze instructions, to achieve that glossy finish. Consider using ribbons, strings, or twine to hang your ornaments for added decoration.
You might also want to embellish them further with additional materials, such as glitter, beads, or seals, to enhance their appearance and make them truly stand out. Take a moment to inspect each ornament for any imperfections and touch up where necessary.
Step 7: Prepare for Display
After you’ve added the finishing touches to your ornaments, it’s time to prepare them for display. If your ornaments are designed to hang, thread a length of ribbon or string through the holes you created earlier, ensuring it’s secure enough to support the ornament’s weight. For ornaments intended for tabletop display, consider making a base or using a decorative stand that matches your overall aesthetic.
Arrange your ornaments in a manner that highlights their unique features, whether it’s hanging them from a tree, showcasing them on a mantelpiece, or placing them in a decorative bowl. This step allows you to enjoy your creations as beautiful pieces of art and adds a personal touch to your space.
Step 8: Protect and Preserve
To ensure your handcrafted ceramic ornaments remain beautiful and intact, it’s essential to take steps to protect and preserve them. If you’ve used air-dry or polymer clay, consider applying a clear sealant or varnish to provide a protective layer against dust and moisture. This not only enhances the colors but also adds durability to your art.
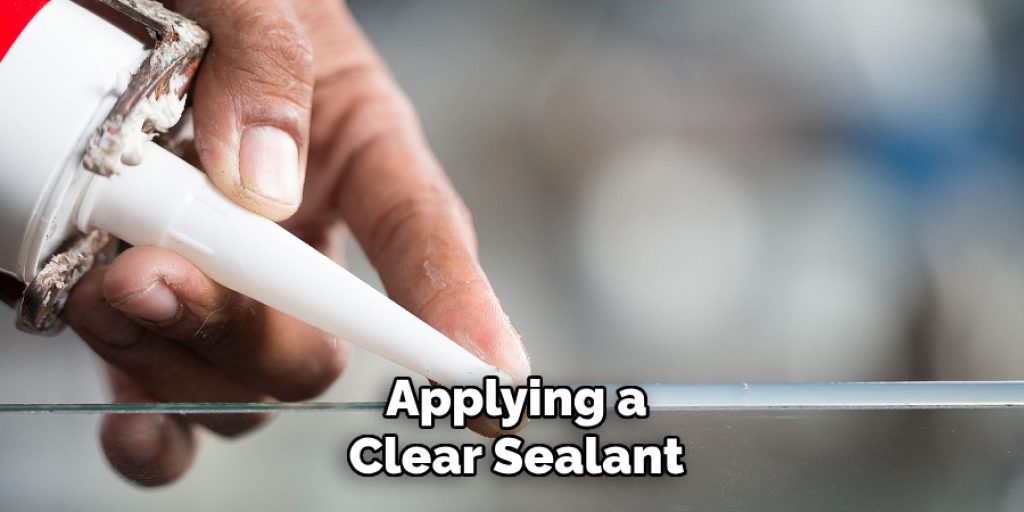
For ornaments made from traditional ceramic clay, the glaze will already offer protection; however, be mindful of where and how you display them to avoid accidental damage. Store any ornaments not currently displayed in a safe, dry place, preferably in a padded container to guard against impact.
Step 9: Enjoy and Share
Now that your ceramic ornaments are complete and beautifully displayed, it’s time to enjoy them! Take a moment to admire your craftsmanship and the unique designs you’ve created. These ornaments serve as lovely decorations and make thoughtful gifts or keepsakes. Consider sharing your creations with friends and family, whether by gifting them or inviting loved ones to see your handiwork. You can also document your process and share it on social media, inspiring others to try crafting their unique ornaments. Celebrating your creativity and sharing it with others adds extra joy to your crafting experience!
By following these steps, you can create beautiful ceramic ornaments that add a personal touch to your holiday decor or make thoughtful gifts for loved ones.
5 Precautions to Take While Crafting Ceramic Ornaments
- Wear Protective Gear: When working with air-dry or polymer clay, make sure to wear gloves and a mask to avoid direct contact with any chemicals or dust particles.
- Use Proper Ventilation: While using paints, glues, or sealants, make sure to work in a well-ventilated area to prevent inhaling fumes.
- Be Careful While Using Tools: Sharp tools like carving knives or scissors should be handled carefully to avoid injury.
- Allow Time for Drying: Rushing the drying process can result in cracked or distorted ornaments, so be patient and allow adequate time for each step.
- Clean Up Properly: To prevent accidents, clean up any spills or debris promptly and dispose of any leftover materials safely. Overall, pay attention to safety measures and take necessary precautions while crafting ceramic ornaments.

Conclusion
How to make ceramic ornaments is a delightful and fulfilling project that combines creativity, craftsmanship, and personal expression.
By following the outlined steps—from preparing your materials and forming the clay to painting, decorating, and preserving your finished pieces—you can produce unique ornaments that enhance your holiday décor or serve as heartfelt gifts. Remember, the beauty of this craft lies in the details; each ornament tells a story and reflects your style.
Embrace the process, enjoy the artistic journey, and share your lovely creations with others, spreading joy and inspiration through your handmade art.
Check it out to Decorate Wooden Ornaments


