
How to Make Crispy Soap
Do you want to learn about the process of how to make crispy soap? If yes, we must say you need to read this whole article for your benefit. Cleanser making can be fundamental, or you can make it as entangled as you prefer.
Initially, the magnificence of making your own is that you can make it with the fixings that you pick and the aromas that you like. Furthermore, modifications are not hard yet take some training.
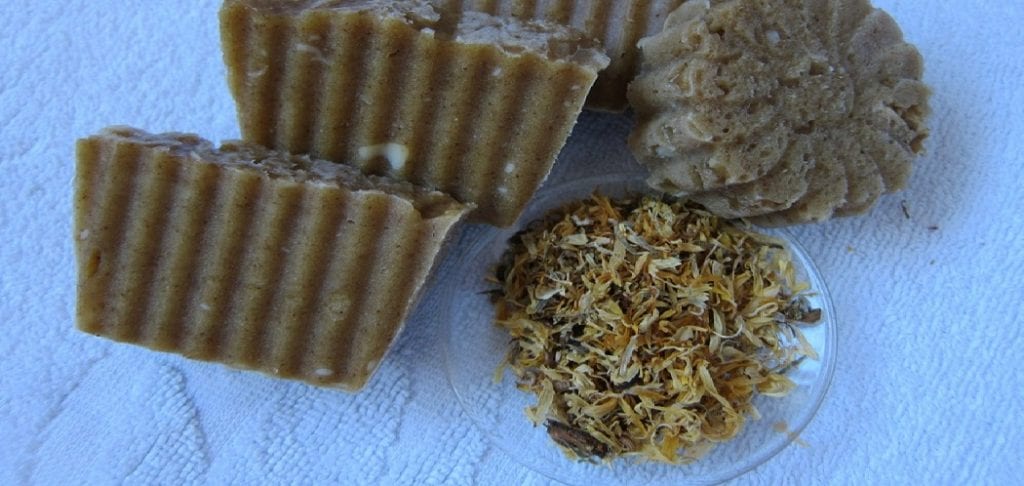
Again, most natively constructed cleanser plans use ounces or grams, and fixings must be weighed to get excellent outcomes. We have figured out how to disentangle the cycle by changing over the fixings to cups and segments of cups. Like this, it is a lot simpler, and you get similar outcomes consistently.
Processes on How To Make Crispy Soap
Process One:
Step One: Add All Ingredients To a Bowl and Mix Well
Mix all ingredients. It is important to mix well enough for everything to be mixed thoroughly, but not too much that it gets goopy or lumpy. If you’re using any honey, oil, or lye water (not recommended), make sure they are at room temperature before adding them into the mixture. If there is any reaction during mixing, it will happen slowly instead of creating an unsafe environment.
The next step would be separating the dough from the bowl with hands or a spatula and placing it on a greased surface.

Step Two: Shape The Dough Into a Rectangle To Fit the Mold
This step will depend on what mold you are using, but in general, always remember to work quickly as the dough can dry out too fast and not produce good results when it’s time to cut or remove from the mold.
The next steps depend largely on whether your choice of mold allows for one large slab (e.g., pre-cut slabs) or if they need more than one smaller piece, such as bars with individual molds per bar. If this is the case, then separate into small sections and proceed with Step Three below.
Step Three: Cut and Prepare The Dough For Individual Slabs
This can be done a few different ways depending on what type of dough you are using, but in general, it is best to work quickly so that space does not allow the dough to dry out before cutting.
Remember always to use an oiled knife, as this will help keep any residue from sticking onto your blade while allowing it to slide more easily through the dough without tearing or crumbling pieces off with each cut. If chunks end up falling apart when being handled, then simply press them back together and re-cut accordingly.
For individual slabs to successfully pop out after removing from molds, they need to be prepared by lining one edge down into the open side of the mold with the dough and then pressing down on the other side to make a seal.
The Process
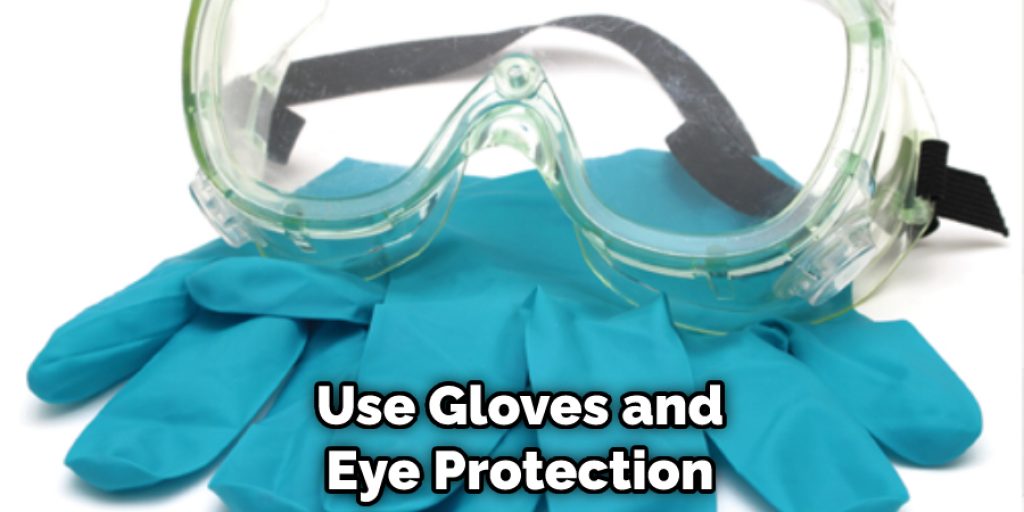
The one aspect in a natively constructed cleanser you can not substitute is lye. You must always make use of a 100% sodium hydroxide or lye in gem shape. Try not to replace liquid lye or channel cleaners, as an instance, Drano. Those may additionally motive off-base estimations or have pieces of metal in them. Lye is burning. It could consume openings in the texture, and purpose consumes on your pores and skin. Always be more cautious while using lye. Use gloves and eye insurance, and a veil whenever wanted.
When you blend the lye in with water, it will warm up and seethe for around 30 seconds to a moment. It might create a gagging uproar in your throat. Try not to stress; it is not changeless and will disappear within a couple of moments.
Continuously add lye to the water, and begin blending immediately. Whenever permitted to cluster on the base, it could warm up at the same time and cause a blast.
Precautions
- The soap must be in a pan or container below the cooking temperature.
- Please use at least two layers of foil on top and under your soap to prevent it from burning.
- Keep an eye on the oven, as you may need to turn off the heat if soaps begin browning too quickly.
- If you don’t have an oven, place your soap in a large pot on the stove and cover with foil.
Conclusion
Lastly, we would mention that if you can correctly follow all the steps discussed earlier, then there are no obstacles that may come in your way of learning how to make crispy soap. It would help if you were very careful while working with heat and temperature. It is wise to wear safety gloves while performing the task.
You may read also – How To Make A Soap Stamp
Jane Hubbard
Jane has always been passionate about hair and beauty. After many years of working as a hairdresser specialist, she decided to start her own consultancy business. She is an experienced haircare and beauty consultant, and she loves helping others find the perfect look for them. She has been writing articles for DIY quickly for over 3 years. In her free time she enjoys keeping up with the latest news in the industry, practicing yoga, and spending time with her friends and family.


