
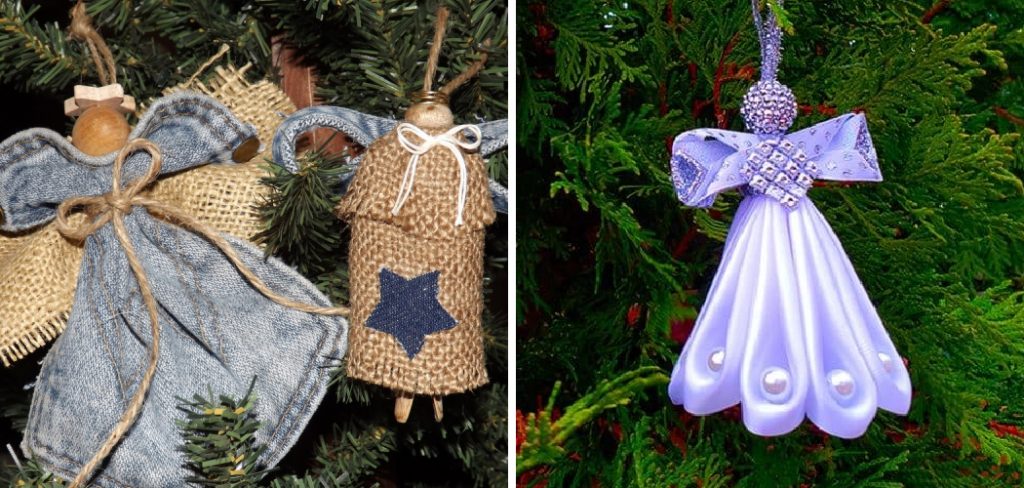
How to Make Fabric Angel Ornaments
If you’re looking for a way to add some holiday cheer to your home this season, look no further! Making fabric angel ornaments is a great project that will bring joy and merriment to any room. Not only do they make an excellent addition to any homemade decorations or Christmas trees, but because they are made out of simple materials like felt and ribbon, creating fabric angels does not require advanced craft skills either.
In just few easy steps, even beginning crafters can create custom handmade angel ornaments with ease. Keep reading for the full guide on how to make fabric angel ornaments so you can have them ready in time for special occasions!
How Do You Make Simple Fabric Ornaments?
Making simple fabric ornaments is a great way to create personalized, handmade decorations for the holidays. All you need are some basic supplies such as fabric, thread, scissors and stuffing. To get started, cut a shape out of your fabric in whatever size and style you like. You can use any kind of patterned fabric or even plain cotton.
Then, sew your two pieces of fabric together along the edges, leaving a small gap at the top. Stuff your ornament with batting or stuffing and then sew it closed. Finally, thread a ribbon or string through the top so you can hang up your handmade decoration! With just a few simple steps, you’ll have created an adorable and unique fabric ornament that will look great on your tree or around your home.
10 Methods How to Make Fabric Angel Ornaments
1. Choose the Right Fabric.
The best fabrics for making angel ornaments are lightweight and have a bit of drape to them. Silk, cotton, and linen all work well. Avoid using heavier fabrics like wool or denim, as they will be too bulky and difficult to work with. Consider choosing fabrics with metallic accents or sparkly embellishments to add a special touch. Altholough these fabrics can be a bit more expensive, they will make a big difference in the finished product.
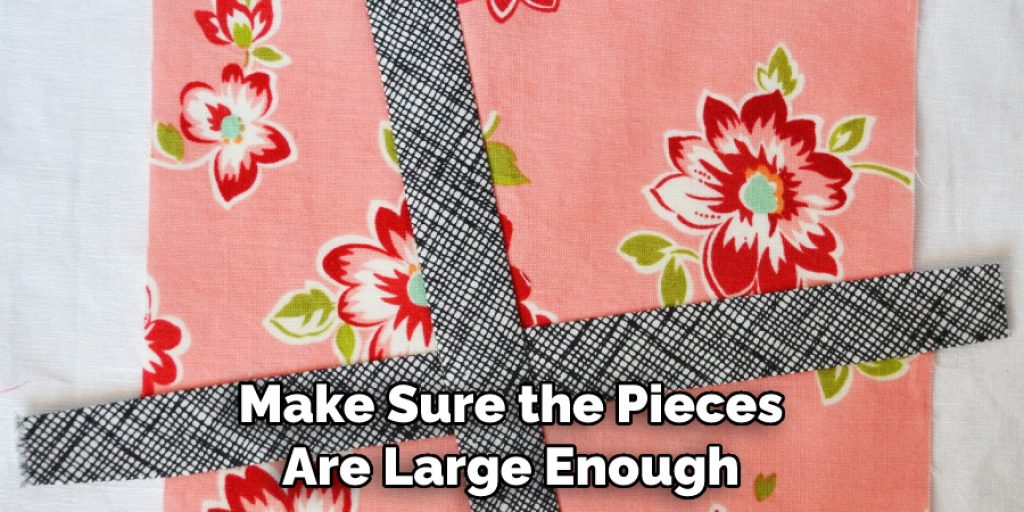
Also look for any fabric remnants that you might have lying around – small pieces of leftover material can be great for making mini angel ornaments. However, make sure the pieces are large enough to cut out your desired shape.
Once you have chosen the fabric for your angels, it is important to wash and press them before beginning the project. This will remove any wrinkles or shrinkage that can occur during washing, giving you a better result when the ornament is finished.
2. Cut Out Your Pattern Pieces.
Once you have chosen your fabric, use a pencil and paper to trace out the pattern pieces for your angel. Be sure to add a seam allowance of about 1/4 inch (6 mm) around all the edges. Cut out the pieces and transfer any markings from the pattern onto the fabric.
To transfer markings, you can use a tailor’s chalk or a fabric marker. Though it takes a bit of time and patience, this step is essential for getting your project to turn out just the way you want it. With careful cutting, you’ll be able to assemble your angel later on with confidence.
3. Pin the Pattern Pieces to the Fabric.
After you have cut out your pattern pieces, it’s time to pin them to the fabric. Place the fabric wrong-side up on a flat surface, then arrange the pattern pieces on top. Use straight pins to secure the patterns in place. Make sure the edges of the pattern pieces are aligned with the grain lines of the fabric and that none of the pinned pieces overlap.
Once all of the pieces are in place, you’re ready to begin cutting your fabric. Remember, take your time and be careful when pinning and cutting out the pattern pieces. Accuracy is key for professional-looking results!
4. Cut out the Fabric Pieces.
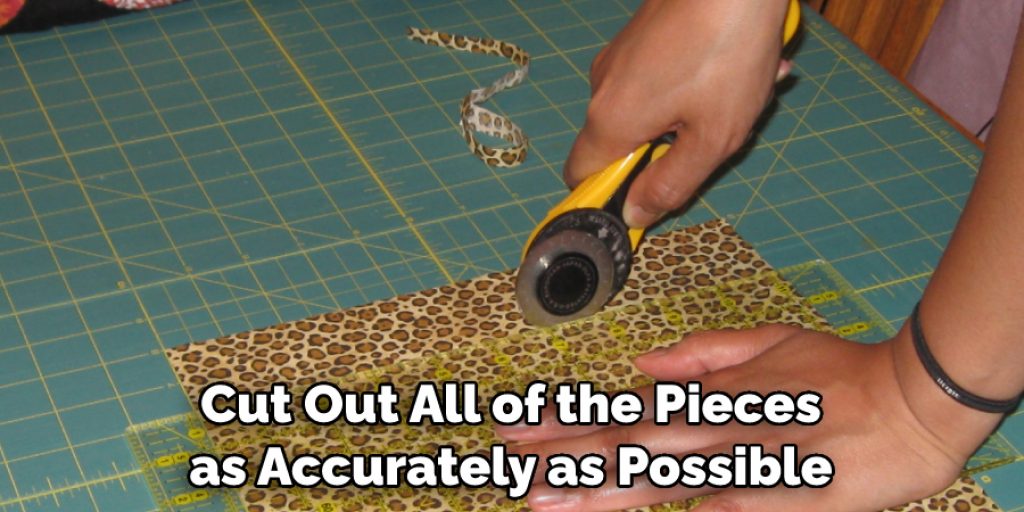
Carefully cut out each of the fabric pieces along the pinned lines. If you are using a delicate fabric like silk, you may want to use sharp scissors designed specifically for cutting fabric. For fabrics that are easier to tear or fray, use pinking shears to create a zigzag pattern along the edges.
This will help prevent fraying and give your final garment a neat finished look. Be sure to cut out all of the pieces as accurately as possible so they fit together correctly when you begin sewing them together. Although it may take some extra time, accuracy is key when it comes to creating a beautiful finished product.
5. Sew the Body of the Angel Together.
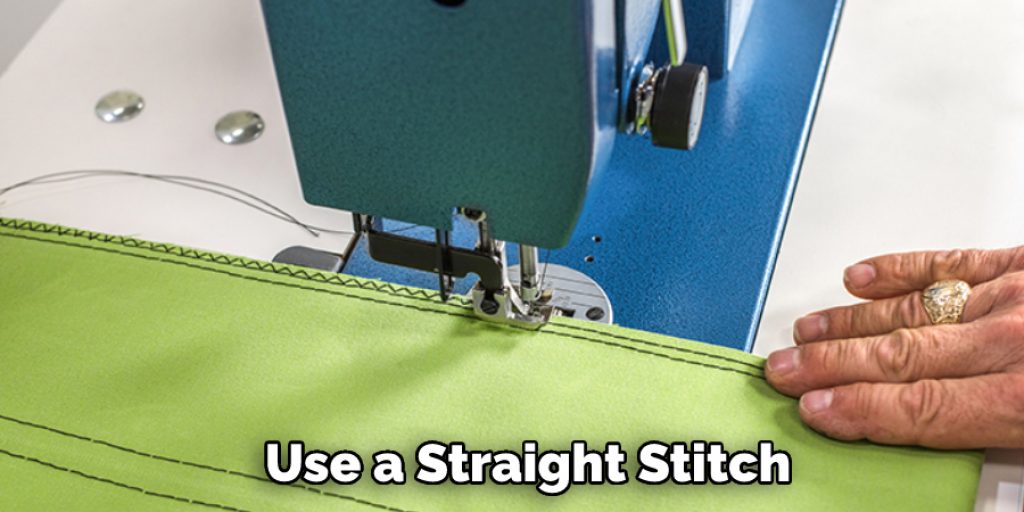
To sew the body of the angel together, start by aligning two of the side panels right-sides together. Use a straight stitch and a seam allowance of 1/4 inch (6 mm) to sew along the pinned edge, then repeat with the remaining side panel. Next, use a seam ripper to open the small area in the center of one side panel. This will be where you will insert the wings later on.
Now turn the body right-side out and press it flat. At this point, you should also attach buttons or any other decorative elements if you wish. Though it is not necessary, you can also reinforce the stitches inside with a zig-zag stitch. Finally, fold the top edges of the body over twice and sew them in place to create a neat finish. Your angel’s body is now complete!
6. Sew the Wings Together.
To sew the wings together, start by aligning two of the wing panels right-sides together. Use a straight stitch and a seam allowance of 1/4 inch (6 mm) to sew along the pinned edge, then repeat with the remaining wing panel. Carefully trim the seam allowance, then turn the wings right sides out.
Use a needle and thread to stitch together any remaining raw edges, then press with an iron. Your wings are now ready to use! You can attach them to your costume using fabric glue or safety pins for easy removal afterward.
7. Assemble the Head and Halo.
To assemble the head and halo, start by threading a length of thread through one end of the halo wire ring. Then, gather up a small section of fabric at one end of the head piece and tie it off with a knot around the wire ring (this will be used to attach the head to the body later).

Next, stuff the head piece with fiberfill until it is plump but not overly full, then gather up another small section of fabric at the other end of the head and tie it off with a knot around wire ring (this will be used to attach the head to the body later).
8. Sew the Body and Wings Together.
To sew the body and wings together, start by aligning one of the wing pieces to one side panel of the body (right-sides together). Pin in place, then use a straight stitch and a seam allowance of 1/4 inch (6 mm) to sew along the pinned edge. Repeat for the other side panel, aligning the second wing piece.
Now place the front body panel on top of both wings (right-sides together). Pin in place, then sew along the pinned edges using a straight stitch and a seam allowance of 1/4 inch (6 mm). Finally, turn your toy inside out and stuff with stuffing.
9. Attach the Head and Halo.
To attach the head and halo, start by threading a length of thread through one end of the halo wire ring. Now, gather up a small section of fabric at one end of the head piece and tie it off with a knot around the wire ring (this will be used to attach the halo to the head piece). Now, carefully loop the wire ring up and over the top of the head piece and tie it in a knot at the other end. This will secure the halo in place.
Finally, attach any embellishments you wish to add (e.g. flowers or leaves) and trim away any excess fabric. Your headpiece and halo is now complete! Congratulations! You have successfully created a beautiful floral crown! Now you can wear it with pride.
10. Sew the Opening Closed.
To finish off the angel, sew the remaining opening at the top of the body closed. Use a straight stitch and a seam allowance of 1/4 inch (6 mm). Once finished, trim away any excess fabric and thread. Your fabric angel ornament is now complete! Hang it up on your tree or display it on your mantel for you and your family to enjoy.
Conclusion
With these steps, you’ll be able to create angel ornaments you can be proud of and that will bring joy to all who see them! These ornament projects can quickly turn into a yearly tradition that everyone looks forward to. You can even involve the kids in making them for an extra special touch.
The possibilities are truly endless! Whether you decide to go simple or more intricate, be sure to have fun and get creative with your fabric angel ornaments this holiday season.
Try making just one and let it guide how the rest of your decorations come together. We hope these directions give you a great starting point for crafting beautiful fabric-inspired angels for your seasonal décor. So don’t wait any longer– grab some fabric, thread, beads, and buttons and get started on making How to Make Fabric Angel Ornaments today!
Nancy Behan
Nancy is an embroidery artist, fashion blogger and a full time editor at DIY quickly. Nancy edits the fashion section on DIY quickly, focusing on the embroidery and cross stitch articles, alongside with fabric and other costume design elements. She graduated from the University of Michigan with a Bachelor of Arts in Art History. She loves to work on her own projects, read books and watch romantic movies in her spare time.


