
How to Make Fabric Butterflies
Creating fabric butterflies is a delightful and crafty way to add a whimsical touch to your home decor, accessories, or even gifts. These beautiful fabric creations can be used as embellishments on pillows, hair clips, wreaths, or as standalone decorative pieces. In this article, we will explore the step-by-step process of how to make fabric butterflies, providing you with easy-to-follow instructions and creative ideas to inspire your imagination.
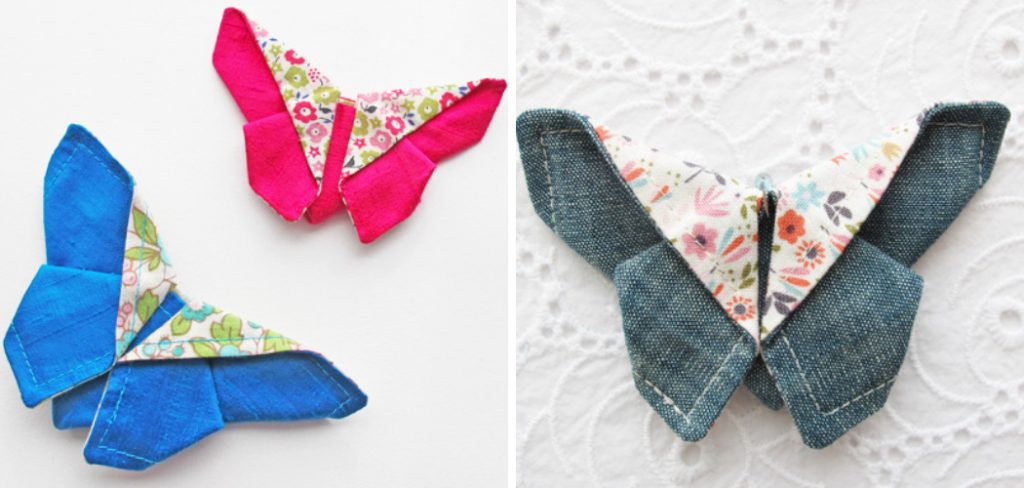
From selecting the right fabrics and patterns to assembling and shaping the butterflies, we’ll guide you through each stage of the process. Whether you’re an experienced crafter or new to sewing, making fabric butterflies is a fun and rewarding project that allows you to showcase your creativity. Get ready to bring a touch of enchantment to your world with these charming fabric butterflies.
Is Fabric Suitable For Making Butterfly?
Yes, fabric can be suitable for making butterfly decorations. Fabric can be used to create different types of butterflies, from realistic-looking ones with intricate details to more whimsical abstract designs. You can use any type of fabric including cotton, polyester, silk, or even chiffon depending on what look you are going for. The best way to make a butterfly out of fabric is to cut the pieces in the desired shape and then sew them together.
You can also use a glue gun or fusible webbing to help secure the pieces if you don’t have access to a sewing machine. Once all of the pieces are secured, you can embellish your butterfly with beads, sequins, or other decorative touches. Once finished, you can hang your butterfly decorations in any living space for a cheerful and eye-catching touch.
Additionally, fabric butterflies can make great gifts as well! You can design them to feature colors that match the recipient’s decor and then present them in a beautiful display box or make several small ones that can be hung up in a living space for an added touch of beauty. Fabric butterflies make lovely decorations for any home and are sure to bring a bit of joy to the recipient’s life!
10 Methods How to Make Fabric Butterflies
1. Materials
To make a fabric butterfly, you will need the following materials:
- Fabric in your choice of color (cotton works well)
- Scissors
- Needle and thread
- A small amount of stuffing (optional)
- A hot glue gun (optional)
2. Cut Out the Butterfly Shape
First, you will need to cut out the shape of your butterfly. You can cut either freehand or use a template. If you are using a template, trace it onto your fabric and then cut it out. Once you have your butterfly shape cut out, set it aside. If you are using a fabric with fraying edges, you may want to use pinking shears or fray checks to help keep the edges from fraying.
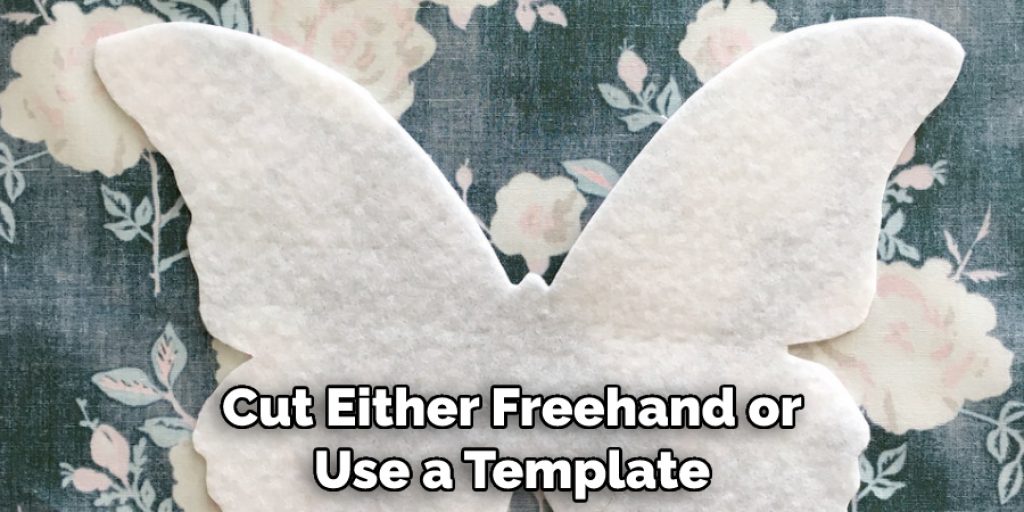
Otherwise, skip this step. You can also add any embellishments you like to your butterfly shape at this time. However, be sure to avoid adding any bulky items that will make it difficult to sew. Once you’re finished embellishing the shape, set it aside and move on to the next step.
3. Cut a Small Slit in the Center of the Butterfly
Next, you will need to cut a small slit in the center of your butterfly shape. This slit should be big enough to thread your needle through. Carefully cut the slit using a pair of scissors or a craft knife, making sure to stay within the lines. Take your time and be careful not to damage any other parts of your butterfly shape.
Once the slit is made, you are ready to start sewing. While this step may seem daunting, with a little patience and practice you can perfect your sewing skills. Once you have finished this step, your butterfly shape will be ready for the next one.
4. Thread Your Needle and Start Sewing
Now, thread your needle with a length of thread that is double the length of your butterfly. Once your needle is threaded, tie a knot at one end of the thread. Then, insert your needle through the slit in the center of the butterfly and start sewing along the edge of the shape. As you sew, be sure to leave a long tail of thread at the beginning and end so that you can tie off your stitches later.
With each stitch, bring the needle up from the back of your butterfly and then back down through to the front. When you reach the end of your shape, loop around and continue sewing until the start point is reached. Tie off both thread ends securely when finished. Your butterfly should now be completely stitched! Congratulations on completing your first hand-stitched butterfly!
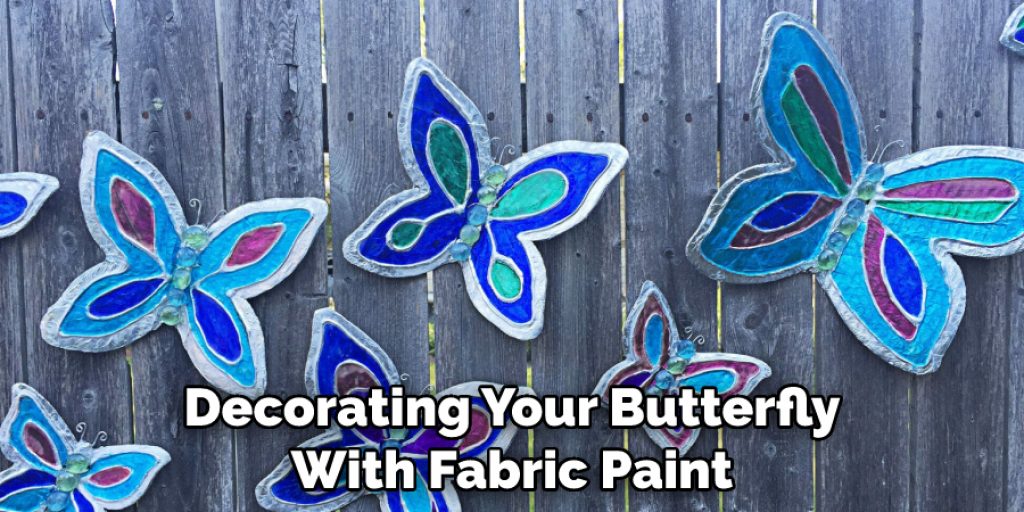
5. Sew Along the Entire Edge of the Butterfly Shape
Continue sewing along the entire edge of the butterfly shape until you reach the point where you started sewing. Then, tie off your stitches and trim any excess thread. You should now have a neat and tidy butterfly shape. Congratulations! Now, you can start decorating your butterfly with fabric paint, glitter, or any other embellishments of your choice.
Once you’re done with the decorations, you can move on to creating the rest of your quilt project. With these simple steps, you’ve successfully created a beautiful butterfly shape – just remember to have fun with it! With some practice and patience, you’ll be able to create stunning quilted projects that everyone will admire.
6. Turn Your Butterfly Right Side Out
Now, it’s time to turn your butterfly right side out. To do this, simply insert your fingers into the slit in the center of the butterfly and push until the entire shape is turned right side out. Once your butterfly is turned right side out, give it a good press with your hands to flatten it out. Now your butterfly is finished and ready to be displayed!
Additionally, if you want to add a little extra flair, you can sew on some beads or buttons to the wings of your butterfly. This is a great way to make your butterfly unique and personalize it for yourself!
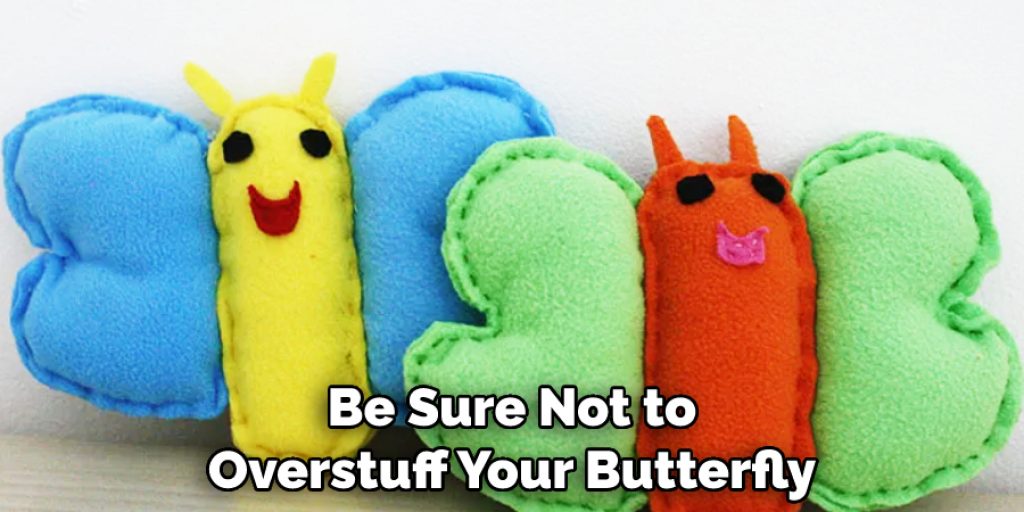
7. Add Stuffing (Optional)
If you would like your butterfly to be stuffed, now is the time to do it. Simply add a small amount of stuffing to the center of the butterfly before continuing on to the next step. Be sure not to overstuff your butterfly as this can make it difficult to sew shut later on. Once you’re satisfied with the amount of stuffing, you can move on to the next step.
8. Sew Shut The Slit in The Center Of The Butterfly
Once you have added stuffing (if desired), it’s time to sew shut the slit in the center of the butterfly. To do this, simply fold over one side of the slit and sew it shut with a few stitches. Then, repeat with the other side so that both sides are sewn shut securely.
Depending on the type of fabric you are using, it may be easier to use a needle and thread or even a hot glue gun for this step. Just make sure that whatever method you choose, you secure the edges of the slit firmly so that your butterfly is properly sealed. Once both sides have been secured, your butterfly is complete!
9. Tie Off and Trim Excess Thread
Now, all that’s left to do is tie off and trim any excess thread. Take a few minutes to make sure you’ve tied off all your stitches securely and trimmed any excess thread. Once you’re done, your butterfly is ready to be displayed or used for whatever purpose you had in mind!
Congratulations on completing your butterfly embroidery project and adding a unique piece of artwork to your home. We hope that this tutorial has been helpful and you’ve learned the basics of embroidery. Enjoy your new butterfly masterpiece!
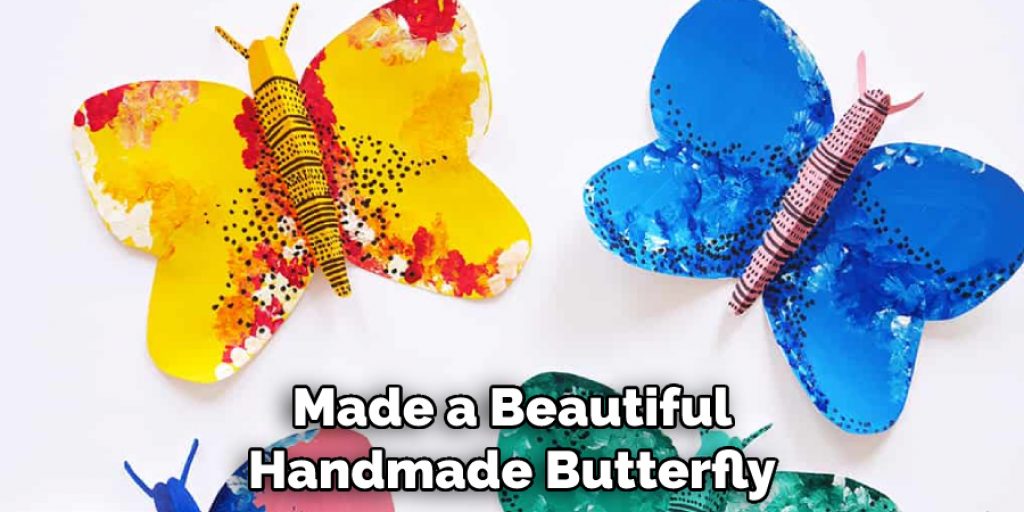
10. Enjoy Your Handmade Butterfly
Congrats! You’ve just made a beautiful handmade butterfly. Now, it’s time to admire your work and enjoy your new creation. Whether you choose to display it or give it away as a gift, one thing is for sure – your new butterfly will bring a smile to anyone who sees it. So, go ahead and enjoy the beauty of your very own handmade butterfly. However you decide to show it off, your creation will be sure to bring joy and happiness for many years to come.
Conclusion
Making fabric butterflies is a simple craft that can make an impact. With just a few materials, you can create beautiful decor for any space. Not only are these butterflies an easy way to add charm to your home or office, but they are also a great way to let your creativity shine. With endless possibilities when it comes to colors and patterns, the possibilities for fabric butterflies are endless.
Whether it’s creating family keepsakes or simply adding to the decor of your living room, fabric butterflies present a unique opportunity of bringing something new and exciting into spaces you love. So what are you waiting for? Gather up those supplies and let’s get crafting! Thanks for reading, and we hope this has given you some inspiration on how to make fabric butterflies!
Nancy Behan
Nancy is an embroidery artist, fashion blogger and a full time editor at DIY quickly. Nancy edits the fashion section on DIY quickly, focusing on the embroidery and cross stitch articles, alongside with fabric and other costume design elements. She graduated from the University of Michigan with a Bachelor of Arts in Art History. She loves to work on her own projects, read books and watch romantic movies in her spare time.


