
How to Make Fabric Carrots
With Easter just around the corner, now is the perfect time to start thinking about adding some festive touches to your home décor. These fabric carrots are a quick and easy way to do just that!
Not only do they add a pop of color and whimsy to any room, but they also make great gifts for friends and family. So keep reading to find out how to make fabric carrots in no time at all.
Can You Make Fabric Carrots?
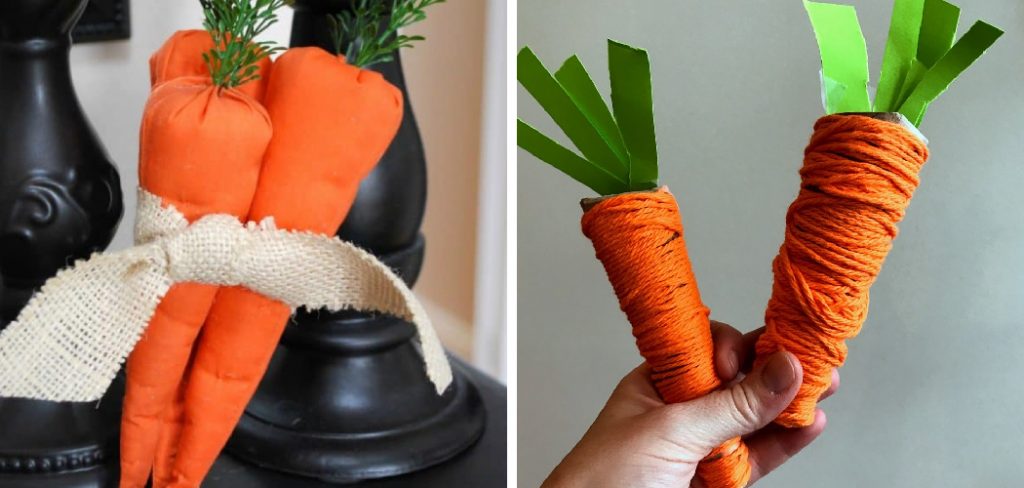
Do you love the look of carrots in a vase but hate that they only last a few days? Well, you’re in luck! This tutorial teaches you how to make a fabric carrot that will last for years. And the best part is that they’re quick and easy to make. But, of course, you’ll need some supplies before you get started.
First, you’ll need a yard or two of orange fabric (you can use other colors if you prefer). You’ll also need stuffing, a hot glue gun, and some green ribbon. Once you have your supplies, simply cut the fabric into carrot shapes, stuff them with stuffing, and hot glue the ribbon around the top to create the carrot tops.
That’s it! You now have a cute and festive decoration that will last for many seasons to come.
Why Should You Make Fabric Carrots?
Carrots are not only a delicious and nutritious vegetable but they can also be used as a decoration. Fabric carrots are a fun and easy way to add some color and life to your home. Plus, they make a great gift for the carrot lover in your life. Here are four reasons why you should make fabric carrots:
- Fabric carrots are unique. Unlike store-bought decorations, fabric carrots are one-of-a-kind. No two are exactly alike, making them special and personal.
- Fabric carrots are homemade. There’s something special about knowing that you made something yourself. Plus, you can be sure that your fabric carrot was made with love.
- Fabric carrots are affordable. With just a few supplies, you can make several fabric carrots for less than it would cost to buy one store-bought decoration.
- Fabric carrots are fun to make. The entire process is enjoyable, from choosing the fabrics to stuffing the carrots. And when you’re done, you’ll have a beautiful decoration to enjoy for years to come.
What You’ll Need
- Fabric scraps in various orange shades (the number will depend on how many carrots you want to make)
- Polyester stuffing or cotton balls
- Green embroidery floss or yarn
- Large-eye needle
- Scissors
- Pencil or chalk
- Ruler or measuring tape
7 Tips to Follow on How to Make Fabric Carrots
1. Choose the Right Fabric
When it comes to making fabric carrots, the first thing you need to do is choose the right fabric. The best fabrics for this project are ones that are lightweight and have a bit of stretch to them.
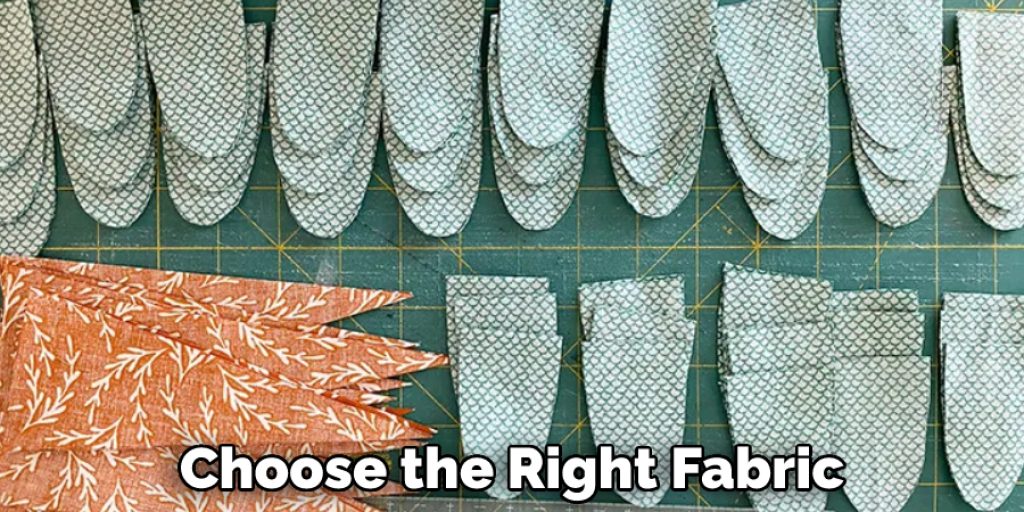
Some good options include cotton lycra, jersey knit, or even recycled t-shirt fabric. Avoid using heavier fabrics like quilting cotton, as they will be too difficult to work with.
2. Cut Out the Carrot Shapes
Once you have chosen your fabric, the next step is to cut out the carrot shapes. You will need two pieces for each carrot – one for the top and one for the bottom. If you use a template, trace it onto the fabric and cut it out. If you are not using a template, simply freehand two carrot shapes.
3. Sew the Pieces Together
After you have cut out your carrot shapes, it’s time to sew them together. Place the two pieces right sides together and sew around the edge with a sewing machine or by hand. Leave a small opening at the top so that you can turn the carrot right side out.
4. Turn the Carrot Right Side Out
Once you have sewn the two pieces together, it’s time to turn the carrot right side out. Reach into the opening at the top and grab hold of the fabric. Slowly pull it through until the entire carrot is turned right side out. Use a chopstick or similar object to help push out any sharp corners.
5. Fill with Polyfill
The next step is to fill your carrot with polyfill stuffing. Grab a handful of stuffing and insert it into the opening at the top of the carrot. Continue adding stuffing until the carrot is as plump as you want it to be. Once it’s filled, sew up the opening with a needle and thread, or use a hot glue gun to seal it shut.
6. Attach Leaves (optional)
If you want, you can also add leaves to your carrots by cutting them out of green fabric and attaching them with hot glue or sewing them on by hand.
This step is entirely optional, but it will add a nice finishing touch to your fabric carrots and make them look even more realistic. Make sure you use lightweight green fabrics so they don’t weigh down your carrot too much.
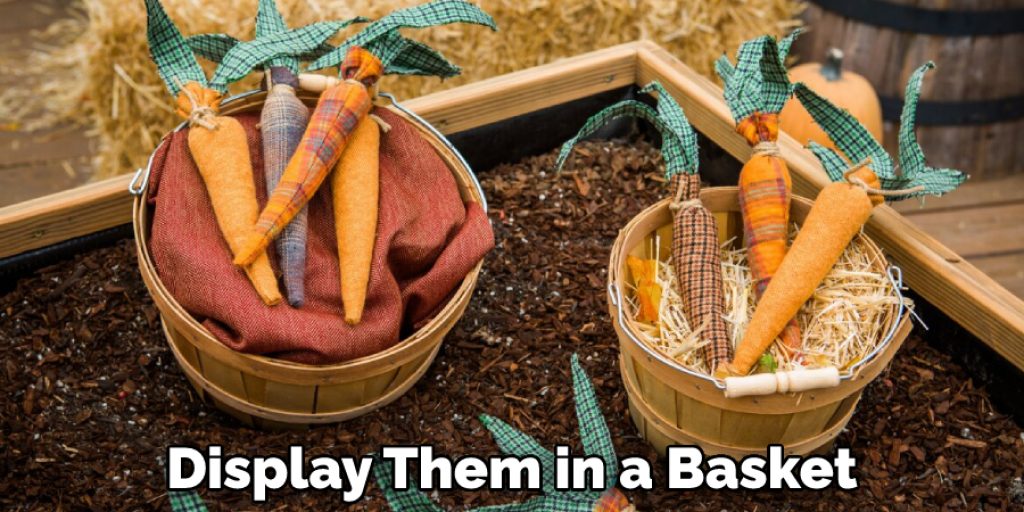
7. Display Your Carrots!
Once your carrots are finished, you can display them in a vase, basket, or bowl – anywhere you want! They make great decorations for Easter, springtime, or any time of year!
That’s it! You’ve now learned how to make fabric carrots. With these seven easy tips, you’ll be able to create a bunch of cute and unique decorations for your home in no time!
Things You Need to Know Before Making Fabric Carrots
Making your own fabric carrots is a great way to add a touch of whimsy to your home décor. And with just a few simple materials, you can have a whole patch of fabric carrots in no time. But before you get started, there are a few things you need to know.
First, it’s important to choose the right fabric. Lightweight cotton or linen will work best, as they’ll be easy to manipulate and won’t add too much bulk. You’ll also want to find a thread that closely matches your chosen fabric, as this will make for a more polished look.
Next, you’ll need to cut out your carrot shapes. You can either use a template or freehand it, but make sure all of your carrots are roughly the same size. Once you’ve cut out your carrot shapes, it’s time to start sewing.
Start by sewing the two sides of the carrot together, then stuff the carrot with fiberfill until it’s plump. Finally, sew the top of the carrot closed, and you’re done! Display your handiwork in a basket or vase, and enjoy your cute and crafty creation.
Benefits of Making Fabric Carrots
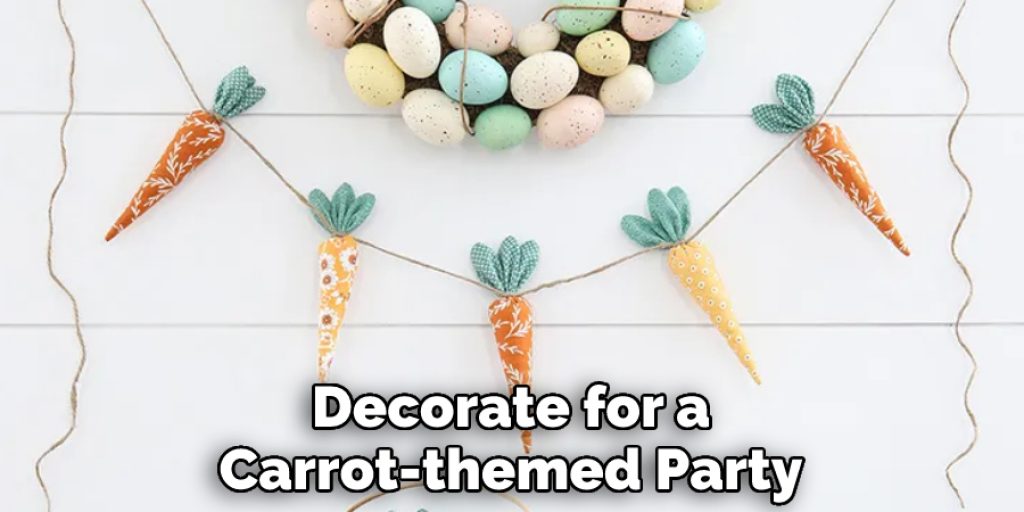
Making fabric carrots is a great way to add a touch of whimsy to your décor. You can use them as accents in a springtime vignette or tuck them into an Easter basket. Fabric carrots are also a fun way to decorate for a carrot-themed party. Best of all, they’re easy to make! All you need is some fabric, stuffing, and a few other basic supplies.
There are many benefits to making your own fabric carrots. First, you can choose the fabrics that you like best. This allows you to coordinate them with your other décor or use fabrics that have special meaning to you.
Second, you can control the amount of stuffing in each carrot. This is important if you want your carrots to stand up straight or if you’re making them for young children who might put them in their mouths. Finally, making your own fabric carrots is a great way to use up scraps of fabric that you might otherwise throw away.
So why not give it a try? Gather up some fabric scraps and give it a go! You might be surprised at how much fun you have – and how cute your fabric carrots turn out!
Some Common Mistakes People Make When Trying to Make Fabric Carrots
Making fabric carrots is a popular craft project, but getting the shape and color just right can be tricky. Here are some common mistakes people make when trying to make fabric carrots:
Using the wrong kind of fabric – you need to use a stiff, smooth fabric-like felt to get the carrot shape. Otherwise, your carrots will be lumpy and misshapen;
Not cutting the fabric correctly – you need to make sure that your cuts are all straight for the carrots to look neat and professional;
Not using enough stuffing – if you don’t stuff your carrots well, they’ll look deflated and sad. Make sure to stuff them generously, so they’re nice and plump;
Overdoing it with the embellishments – a little bit of ribbon or stitching can add interest to your carrots, but too much will make them look cluttered and busy. Keep it simple for the best results.
By avoiding these common mistakes, you can create fabric carrots that are perfect for decorating your home for Easter or any other springtime holiday.
Conclusion
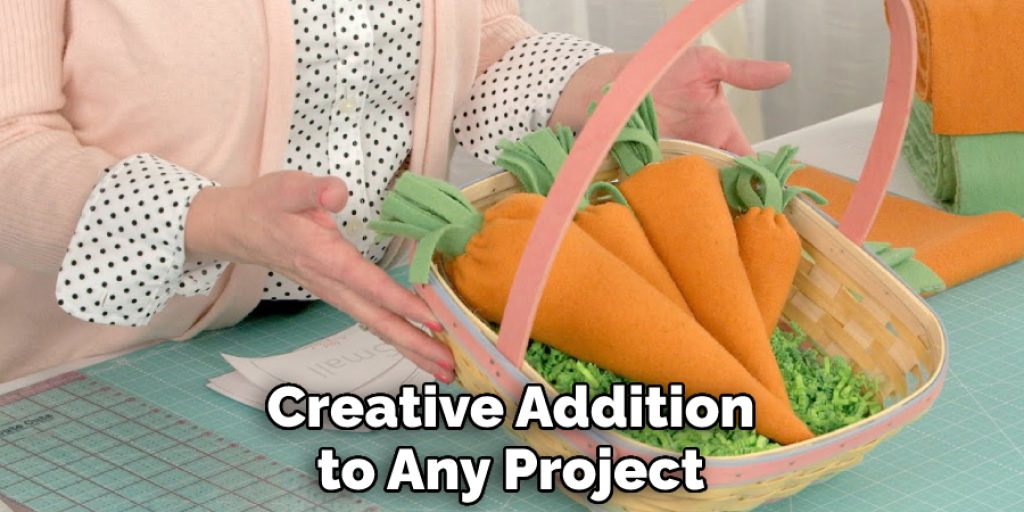
Once your fabric carrots are complete, you can use them to decorate various projects. From seasonal decorations to holiday crafting, fabric carrots make a fun and creative addition to any project. With the many different sizes, shapes, and color options available, you will have no trouble finding the perfect carrot for your next project.
Crafting your own fabric carrots is an enjoyable experience that will provide you with a unique and distinctive decoration. So grab some fabric and get crafting; your next project won’t be complete without a few fabric carrots! Thanks for reading our post about how to make fabric carrots.
Nancy Behan
Nancy is an embroidery artist, fashion blogger and a full time editor at DIY quickly. Nancy edits the fashion section on DIY quickly, focusing on the embroidery and cross stitch articles, alongside with fabric and other costume design elements. She graduated from the University of Michigan with a Bachelor of Arts in Art History. She loves to work on her own projects, read books and watch romantic movies in her spare time.


