How to Crochet a Easter Basket
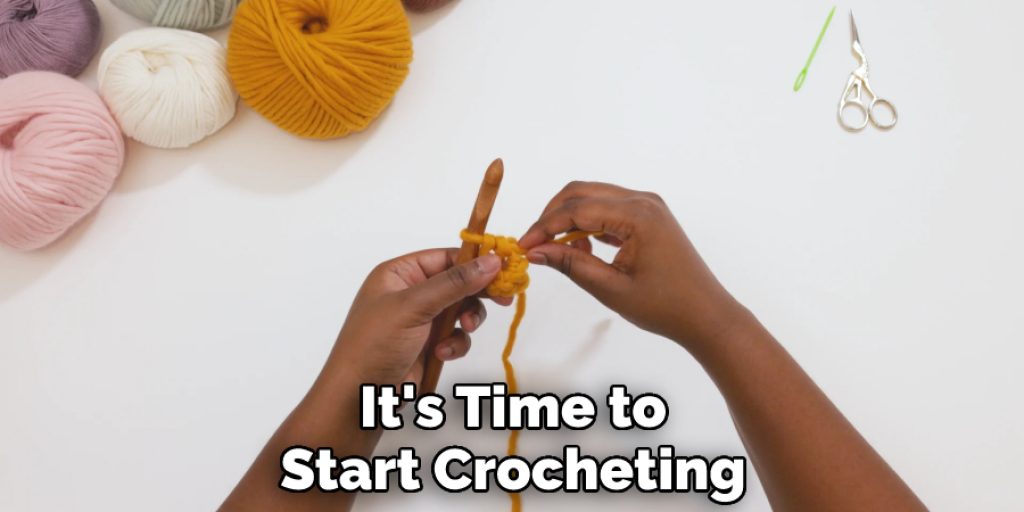
Easter is coming, so it’s time to start thinking about Easter basket ideas! If you’re looking for a way to make your Easter baskets stand out, why not try crocheting them? This is an integral part of the process because it will give the baskets a unique and homemade look.
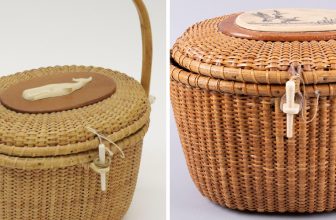
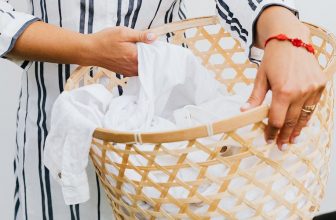
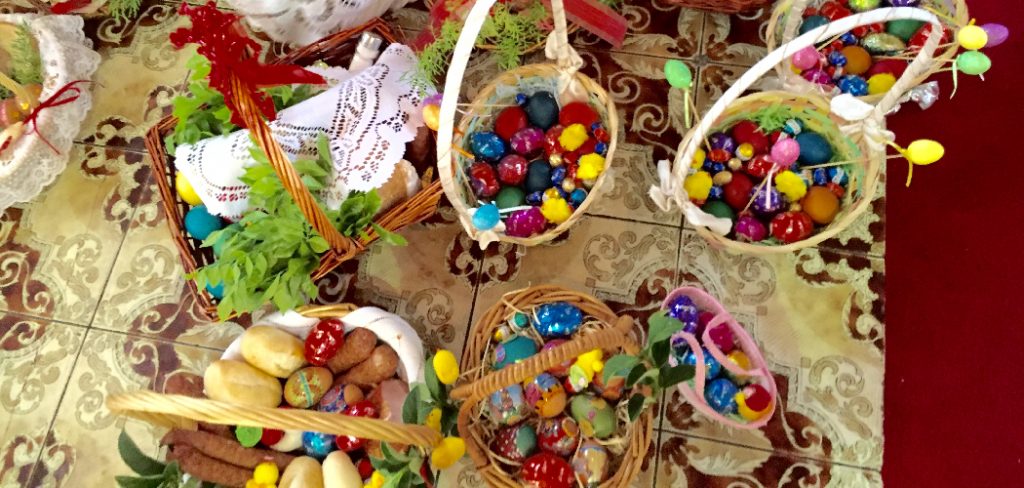
Crocheting an Easter basket is a fun and easy project that can be completed in just a few hours. This guide will teach you how to crochet a easter basket using basic stitches. The finished product will be the perfect place to store candy, eggs, or other Easter goodies. Let’s get started!
Step-by-step Guideline on How to Crochet a Easter Basket
Maintaining a proper step-by-step process is essential to crocheting a beautiful and sturdy Easter basket. Here are the steps you need to take to crochet an Easter basket that will last for years to come:
Step 1: Choose Your Yarn
You can use any type of yarn for your basket, but we recommend using something sturdy like worsted weight yarn. This is a personal choice, so use whatever you like best! Also, you can choose any color, but we think pastels are perfect for Easter. Attractive but also appropriate for younger children.
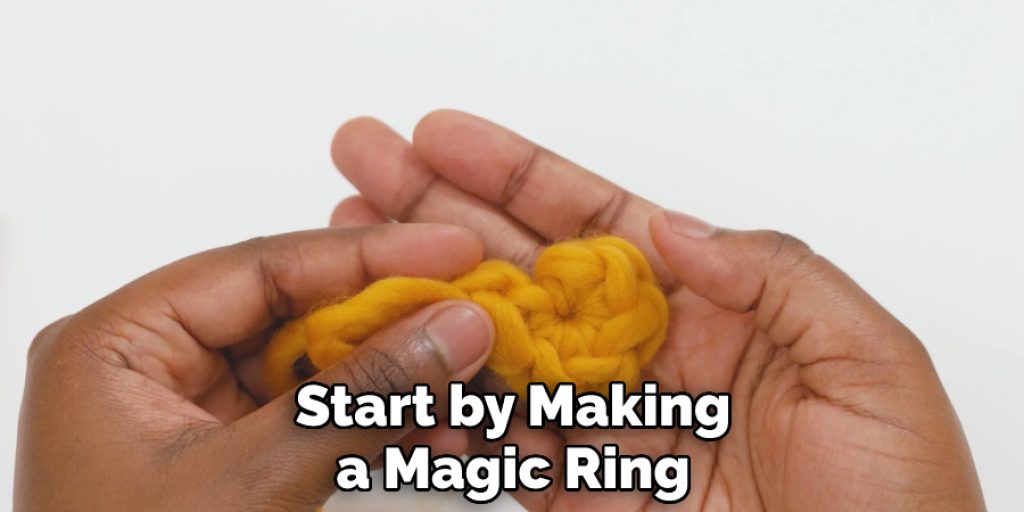
Step 2: Make a Magic Ring
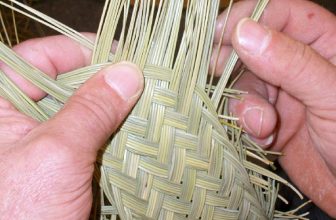
You’ll need to make a magic ring. This can be daunting, but it’s easy! Follow these instructions, and you’ll have it mastered in no time. You’ll need to crochet six single crochets into the ring. Keep your tension loose, so the ring doesn’t close up on you.
Step 3: Crochet the Round
Now that you have your ring, it’s time to start crocheting! For the first round, you’ll need to crochet twelve single crochets into the ring. Be sure to keep your tension loose, so the ring doesn’t close up on you. for the second round, you’ll need to crochet eighteen single crochets into the ring. Again, keep your tension loose. The third round will be twenty-four single crochets into the ring, followed by a round of thirty. After that, you’ll need to crochet thirty-six single crochets into the ring for the fourth round. The fifth and final round will be forty-two single crochets into the ring.
Step 4: Crochet the Sides of the Basket
Now it’s time to start working on the sides of the basket. You’ll need to crochet twelve rows of twelve single crochets for this part. For the side, you can add a stitch marker in the first single crochet of each row to keep track. When you’re finished with the sides, fasten off your yarn and weave in any loose ends.
Step 5: Crochet the Base of the Basket:
Now that your magic ring is made, it’s time to start crocheting! Make sure you crochet these stitches tightly, as you don’t want any gaps in your basket. Now it’s time to start crocheting the base of the basket. We’ll be using a simple single crochet stitch for this part. Start by crocheting ten stitches into your magic ring. Then, continue crocheting in a spiral until your work measures about 4 inches across.
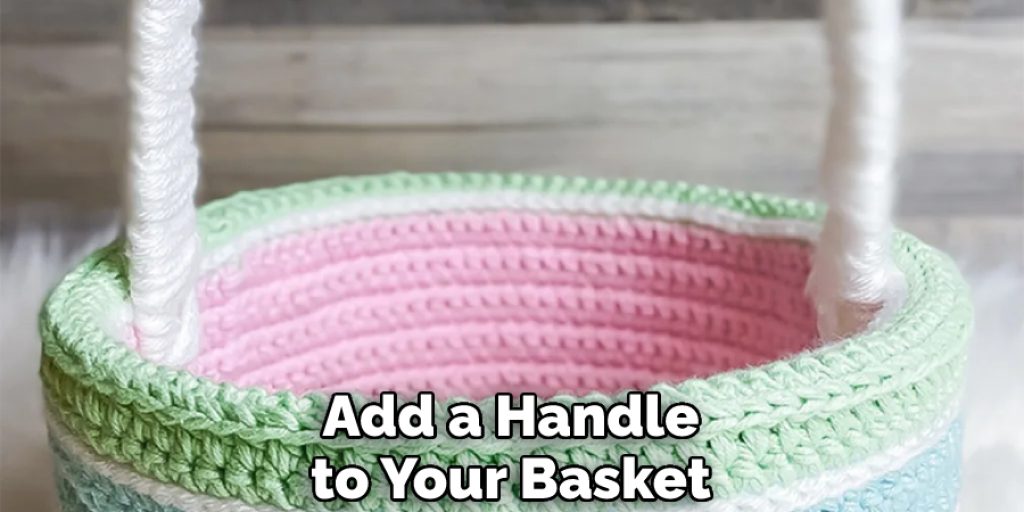
Step 6: Crochet the Handle of the Basket:
The next step is to add a handle to your basket. We’ll be using a simple chain stitch for this part. Start by making a chain that’s about 12 inches long. Then, attach it to the side of the basket with a slip stitch. Next, ensure that the handle is evenly attached by crocheting a few slip stitches around the base of the handle.
Step 7: Crochet the Rim of the Basket:
The final step is to crochet the rim of the basket. This part is optional, but we think it gives the basket a nice finished look. Start by crocheting a round of single crochet stitches around the top of the basket. Then, work the second round of double crochet stitches. Finish off by performing the third round of triple crochet stitches. Finally, fasten off your yarn and weave in any loose ends.
Step 8: Add Some Easter Grass
Add some Easter grass or shredded paper to make your basket look more festive. This is entirely optional, but we think it makes the basket look extra special. For easter grass, you can add a small amount of green yarn. Don’t forget to add some eggs or other goodies to your basket before you give it away!
Step 9: Add a Bow
For the finishing touch, add a bow to the handle of your basket. You can use any type of ribbon or string that you like. We think the grosgrain ribbon looks especially lovely. Also, you can use any kind of fabric or recycled t-shirt material.
There you have it! Your very own Easter basket that you’ve crocheted yourself. We hope you had fun following along with this tutorial. Be sure to share pictures of your finished baskets with us! We can’t wait to see what you come up with.
How Do You Crochet a Little Easter Basket?
Though making a little Easter basket may seem daunting, it’s pretty easy! All you need is some yarn, a crochet hook, and patience. Here’s how to do it:
Start by making a magic ring. To do this, wrap the yarn around your fingers until you have a loop. Then, insert your hook into the loop and pull the yarn through. Next, make six single crochet stitches into the ring. Then, pull the tail of the yarn to close the ring. Then, make two double crochet stitches into each of the six stitches from the previous round. You should now have 12 stitches.
After that, make three double crochet stitches into each stitch from the previous round. You should now have 36 stitches. Next, make four double crochet stitches into each stitch from the last round. You should now have 48 stitches.
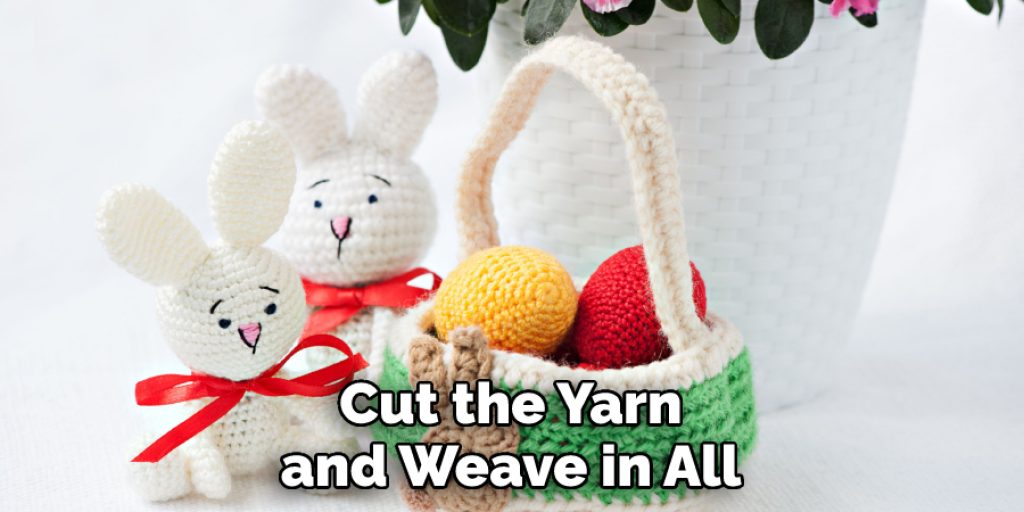
Make five double crochet stitches into each stitch from the previous round. You should now have 60 stitches. To finish the basket, make a slip stitch into the first stitch of the prior round. Finally, cut the yarn and weave in any loose ends.
There you have it! You can use your Easter basket to hold all sorts of goodies. Happy crocheting!
How Do You Crochet a Bunny Basket?
Crocheting a bunny basket is a great way to show your Easter spirit! This festive project is perfect for beginners and can be completed in just a few hours. Plus, it’s a great way to use up any leftover yarn you may have lying around the house.
To get started, you’ll need:
- One skein of worsted weight yarn in white
- One skein of worsted weight yarn in pink
- Size G crochet hook
- Yarn needle
Start by crocheting a magic ring. You can do this by wrapping the yarn around your fingers to form a loop, then inserting the hook into the center of the circle and pulling up a loop of yarn. Continue to crochet single crochet stitches into the ring until you have 8 stitches.
Next, you’ll need to increase the number of stitches in each round. To do this, crochet 2 single crochet stitches into the first stitch of the previous round. Then, continue around the circle, increasing each stitch until you have 16.
Now you’ll begin working in the round without increasing. Simply crochet a single crochet stitch into each stitch around until your work measures about 3 inches.
Next, you’ll start decreasing the number of stitches in each round. To do this, crochet 2 single crochet stitches together (called a “decrease”). Then, continue around the circle, decreasing each stitch until you have 8 stitches.
Finally, cut the yarn and weave in all the loose ends. Your bunny basket is now complete! Fill it with Easter eggs or other goodies, and enjoy!
What Can You Add to an Easter Basket?
Easter baskets are a great way to show your loved ones how much you care. But what do you put in them? Here are some ideas:
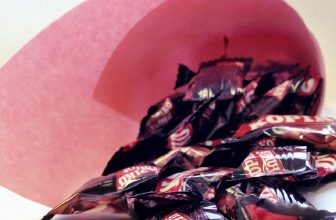
- Chocolate Easter eggs
- Easter bunny plushies
- Colored eggs
- Small toys
- Stuffed animals
- Candies
- Easter grass
- Ribbon
You can add these things to make your Easter basket more fun! Remember, the sky is the limit! Get creative and have fun with it. Your loved ones will appreciate the thoughtfulness.
Conclusion
Easter is just around the corner, so now is the perfect time to start thinking about all things Easter! If you’re looking for a fun and festive crochet project, why not try making an Easter basket? This simple crochet pattern is perfect for beginners and a great way to use some leftover yarn. Plus, it’s the perfect size for collecting all those tasty Easter eggs!
If you read how to crochet a easter basket and still have questions, please let us know in the comments below. We’ll be happy to help!