
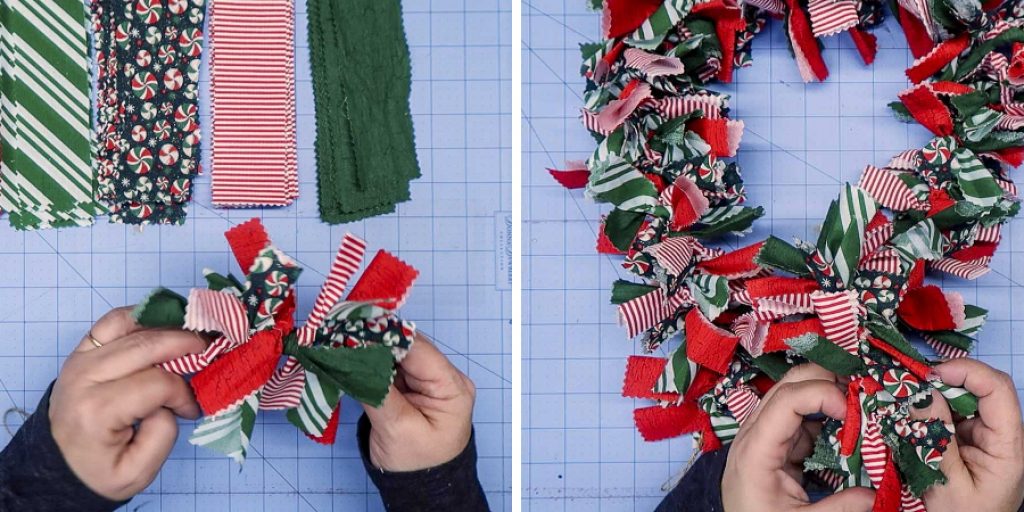
How to Make Fabric Garland
Fabric garlands are a charming and versatile decorative element that can add a festive touch to any occasion or space. Whether you’re planning a birthday party, wedding, or simply want to spruce up your home decor, making a fabric garland is a creative and enjoyable project.
With endless possibilities for customization, fabric garlands allow you to showcase your personal style and creativity. In this article, we will guide you through the process of how to make fabric garland step-by-step.
From selecting the right fabrics and colors to cutting and assembling the fabric strips, we will provide you with valuable tips and techniques to create a stunning fabric garland that will enhance any setting. Get ready to unleash your creativity and bring a whimsical touch to your next celebration or decor project with a beautiful fabric garland.
How Much Fabric Do I Need for a Fabric Garland?
The amount of fabric you need for a fabric garland will depend on the length and width of your desired garland. Generally, you should plan to buy about 1/3 yard of fabric per foot of finished garland you want to make. If you are using larger or wider fabrics, such as burlap or velvet, you may need more than 1/3 yard per foot.
Additionally, if you are making multiple strands of the same patterned fabric for a fuller look, then double or triple the amount of fabric needed. For example, if your finished garland is going to be six feet long, then plan to purchase two yards of your chosen fabric (1/3 yard x 6 = 2 yards).
To ensure that you have enough fabric for your project, it’s best to buy a bit extra. You can always use the excess fabric for other projects or if something goes wrong with the garland.
What Material Is Used to Make Garland?
When making fabric garlands, the most popular material to use is cotton. Cotton is lightweight and easily malleable, which makes it ideal for creating beautiful garlands of any length and size. Other materials, such as wool, felt, or even vinyl, can be used for a different look or texture. It all depends on the desired outcome!
If you want a lightweight garland, opt for cotton.
If you want a more sturdy look or heavier texture, then wool or felt might be the better option. Vinyl is best used when creating waterproof garlands that can be used both indoors and outdoors. Whatever material you choose to use, make sure to wash it before using it to remove any dirt or residue that may have accumulated over time.
This will ensure your fabric lasts longer and looks its best! When selecting fabrics for your garland project, always consider color and pattern combinations so they look cohesive when arranged together in one long piece. Have fun with your design, and show off your creativity with vibrant colors!
Once you’ve chosen the material and colors for your fabric garland, it’s time to start crafting. You can either sew or glue your garland together depending on the fabric used and the desired look. For cotton fabrics, sewing is recommended as it provides a stronger bond. If you are using felt or vinyl material, then gluing is okay, but make sure to use strong adhesive so that your garland stays put.
10 Methods How to Make Fabric Garland
1. Gather Your Materials
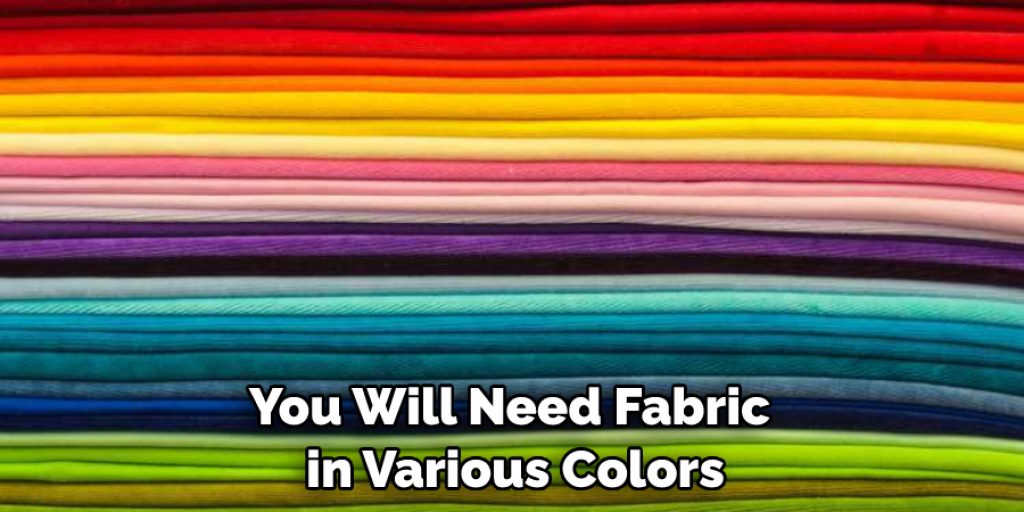
Before starting your fabric garland project, gather all the necessary materials. You will need fabric in various colors and patterns, scissors, a ruler or measuring tape, a fabric pen or chalk, a sewing machine or needle and thread, and twine or ribbon to hang the garland.
If you don’t have a sewing machine, fabric glue, and the appropriate applicator can also be used instead. Although, sewing machines will be much easier to use. To make a more festive garland, you can also add decorations such as buttons, pom-poms, or beads.
2. Choose Your Fabric
Select a variety of fabrics that complement your desired theme or color scheme. Consider using different textures, prints, and colors to add visual interest to your fabric garland. Fabrics such as cotton, linen, or muslin work well for this project.
For a longer garland, consider using heavier fabrics such as denim or canvas. Cut your fabric into strips of the desired length and width. Generally, strips should be about 2” wide and 12-14” long, but you can customize your garland to fit the size of your space.
3. Measure and Cut Fabric Strips
Decide on the length and width of your fabric strips based on your desired garland length and the look you want to achieve. Use a ruler or measuring tape to measure and mark the fabric with a fabric pen or chalk. Then, use sharp fabric scissors to cut along the marked lines, creating fabric strips of consistent size. Continue cutting fabric strips until you have enough for your desired garland length.
4. Sew the Fabric Strips
Fold each fabric strip in half lengthwise, with the pattern or color facing inward. Using a sewing machine or needle and thread, stitch along the long edge of the folded strip, leaving a small seam allowance.
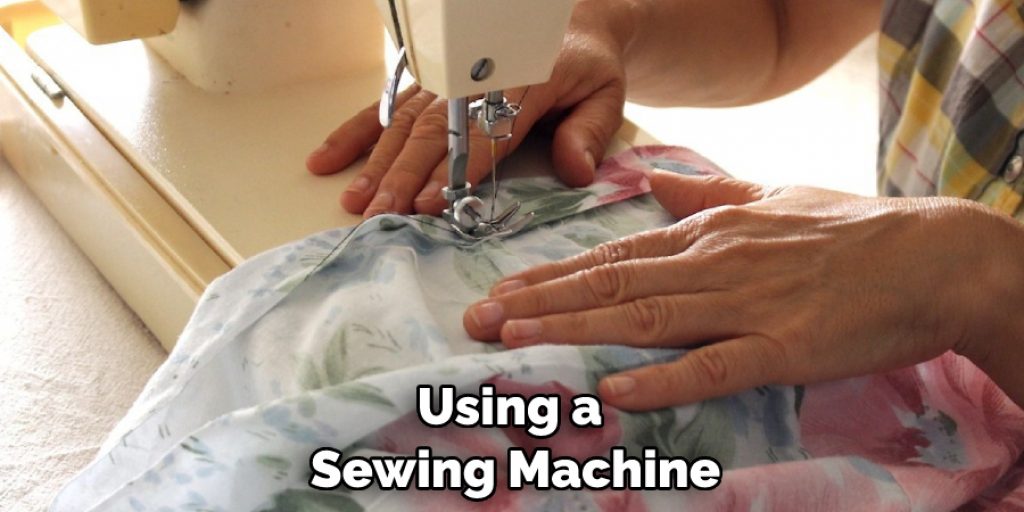
This will create a fabric tube. Repeat this step for each fabric strip. If desired, you can also add fringe to the ends of some of the fabric strips. Although this step is optional, it adds a fun texture to the garland.
5. Turn the Fabric Tubes Inside Out
Carefully turn each fabric tube inside out, so the pattern or color is now on the outside. Use a pencil or chopstick to push out the corners and ensure they are fully turned. Make sure all the tubes are facing in the same direction.
Additionally, keep the tension on the string tight as you turn, otherwise the fabric tubes may become misshapen or loose. When finished, the fabric tubes should all be facing the same direction and have a uniform shape.
6. Press the Fabric Tubes
To give your fabric tubes a neat and crisp appearance, press them with an iron on a low heat setting. Ensure that the seams are pressed open and the fabric tubes lie flat. Once all the fabric tubes are pressed, you can arrange them in a pattern to prepare for sewing.
Although, you can also simply sew the fabric tubes without pressing them first — pressing will give your garland a professional finish. However, this step is completely optional.
7. Determine the Garland Length
Decide how long you want your fabric garland to be. Measure and cut a piece of twine or ribbon to your desired length, leaving extra length for hanging. Although you can make your garland as long or as short as you like, a good general rule is to measure twice the length of the area where you will hang the garland.
8. Attach the Fabric Tubes to the Twine or Ribbon
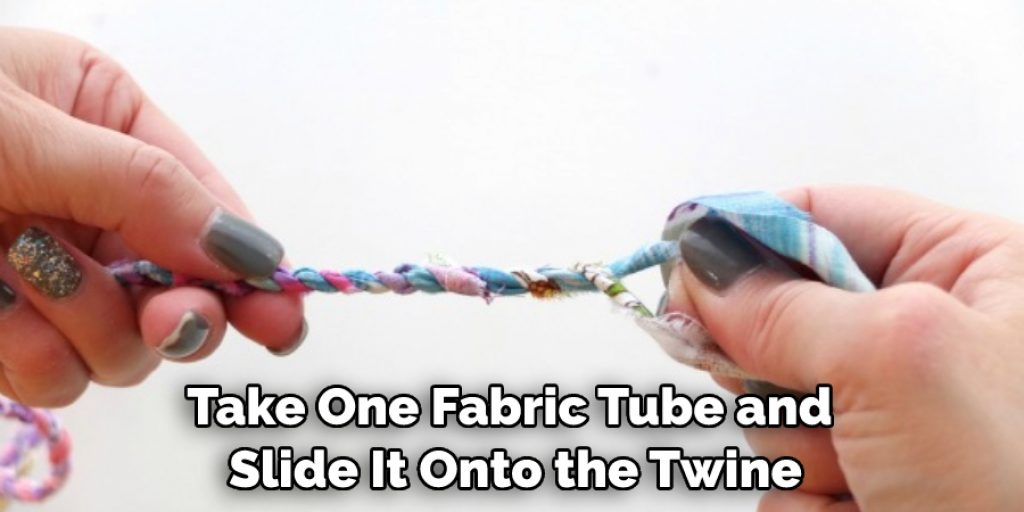
Take one fabric tube and slide it onto the twine or ribbon, pushing it towards the end. Repeat this step with the remaining fabric tubes, spacing them evenly along the twine or ribbon. Leave a small gap between each fabric tube. To secure the fabric tubes in place, tie two knots between each fabric tube. Make sure to leave enough extra twine or ribbon at both ends for hanging.
9. Tie Knots or Bows
Once all the fabric tubes are attached to the twine or ribbon, you can tie knots or bows at the ends of each fabric tube. This will secure the tubes in place and add a decorative touch. If you are using a thinner twine or ribbon, it may be beneficial to add a dab of glue in the center of each knot or bow to hold it together longer.
When you are finished, your fabric garland should be ready to hang! Additionally, you can even choose to add a few decorations such as beads or charms in between the fabric tubes for additional decoration. With a few simple steps and supplies, you can easily make your own fabric garland.
10. Hang and Display Your Fabric Garland
Find a suitable location to hang your fabric garland. You can drape it along a mantel, across a window, or above a party table. Use hooks, pins, or tape to secure the ends of the twine or ribbon. Adjust the placement of the fabric tubes and the twine or ribbon until you achieve the desired look.
Conclusion
With so many fun options underway, fabric garlands have come a long way from the classic streamers of our childhood. Whether you try your hand at making your own or custom-order for a unique festive touch, fabric garlands are an excellent way to incorporate texture and color into your holiday decorations or special event.
As you can see, it’s easy to create an eye-catching fabric garland that adds personality with minimal effort! Start experimenting today and find out which design works best for sprucing up your home and celebrate in style.
You’ll definitely be glad you did! And after this hard work, why not indulge yourself with something special by taking advantage of our featured special offer on How to Make Fabric Garland course? So start getting creative today and show off your handmade masterpiece to impress family and friends alike!
Nancy Behan
Nancy is an embroidery artist, fashion blogger and a full time editor at DIY quickly. Nancy edits the fashion section on DIY quickly, focusing on the embroidery and cross stitch articles, alongside with fabric and other costume design elements. She graduated from the University of Michigan with a Bachelor of Arts in Art History. She loves to work on her own projects, read books and watch romantic movies in her spare time.


