
How to Make Fabric Placemats
Do you want to create something special and unique for your dinner table? Making cloth placemats is the perfect way to add a bit of style and creativity to your meals. Not only are they easy to make, but you can also customize them with any fabric design or color that matches your home decor.
Whether you’re a beginner or an experienced sewing enthusiast, this tutorial will show you how to make fabric placemats with just a few supplies and tools.
In this blog post, we will explore the basics of fabric placemat construction while guiding you through step-by-step instructions on how to make several different variations – from simple rectangle versions all the way up to intricate quilted patterns. So grab some fabric scissors, and let’s get started!
What Will You Need?
To make fabric placemats, you’ll need the following:
- Fabric (enough to cut and hem four placemats)
- Measuring tape
- Iron & Ironing board
- Thread & needle or sewing machine
- Scissors
- Pins (optional)
Once you have all the necessary supplies, it’s time to get started!
10 Easy Steps on How to Make Fabric Placemats
Step 1. Preparing the Fabric
Before cutting your fabric, make sure that it is pre-washed and wrinkle free – this will ensure that your placemats come out looking professional. Cut four pieces of fabric in whatever size you want the finished placemat to be. We recommend allowing an additional one inch around each edge for hemming.
Step 2. Ironing the Fabric
Before you begin sewing, you’ll want to iron out any wrinkles or creases in the fabric using a hot iron and an ironing board. This will make it easier to sew and gives the finished product a crisp, professional look.
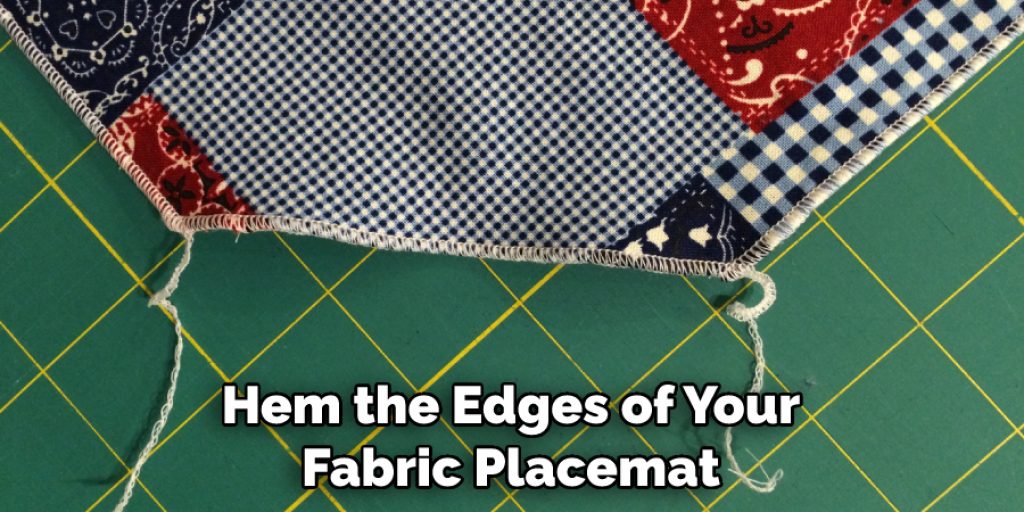
Step 3. Hemming the Edges
Now it’s time to hem the edges of your fabric placemat. At first, fold one inch of fabric all around each edge and pin it in place if desired, then start sewing along the edges with either a needle and thread or a sewing machine. Make sure to leave a few inches of space at both ends for turning the placemat inside out when you’re done.
Step 4. Turning the Placemats Inside Out
Once your placemats are all hemmed, it’s time to turn them inside out. To do this, just pinch the corners of each placemat and turn them inside out using your fingers or a pair of tweezers. This will give you a finished look for your placemats with all edges and seams securely tucked away.
Step 5. Final Touches
You’re almost done! To finish up your fabric placemats, you can add a few decorative touches, like topstitching around the edges or using contrasting colors of thread to give them a unique look. You can also add embellishments such as buttons, ribbons, lace edgings, or any other material that suits your style.
Step 6. Add Some Details
You can add details like monograms or other designs to give your placemats a personal touch. You can also use fabric markers to write your family members’ names on each one if you wish! There are plenty of options for customizing your placemats.
Step 7. Quilting the Placemats
If you’re feeling creative, you can quilt your placemats using any pattern that you desire. This will give them an extra layer of texture and a unique look. To do this, you’ll need a sewing machine and some quilting supplies like quilt batting, fabric glue, pins, or clips. If you’re uncomfortable with quilting, you can also use a pre-made patchwork quilt panel to make your placemats.
Step 8. Finishing the Placemats
Once you’ve finished adding your details and quilting the placemats, it’s time to finish them off.
You’ll need to cut four pieces of batting for each placemat and baste them together with a zigzag stitch. Then all that’s left is to trim off the excess batting, and you’re done!
Step 9. Add a Backing
If desired, you can add a backing fabric to your placemats. This will make them look more professional and also give them an extra layer of protection from spills and stains. To do this, cut a piece of backing fabric slightly larger than your placemat and sew it on with a zigzag stitch.
Step 10. Enjoy Your Finished Placemats
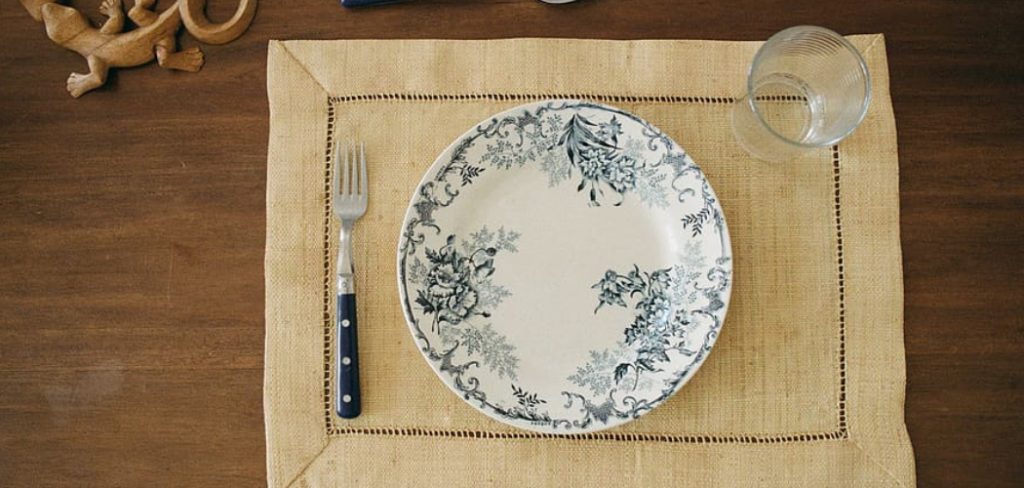
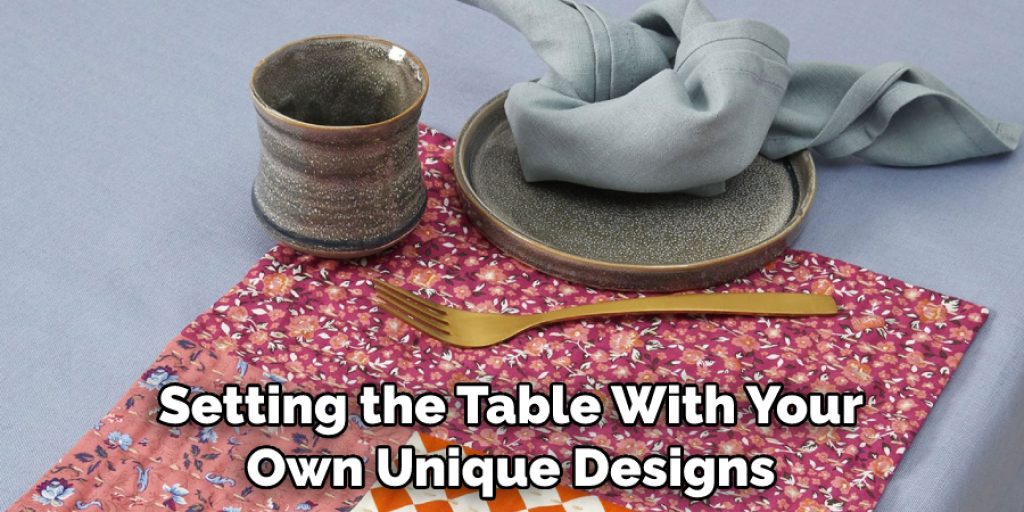
And there you have it – your fabric placemats are finished and ready to enjoy! Now that you know how to make fabric placemats, why not create different sets for special occasions or holidays? Have fun being creative with your placemats, and enjoy setting the table with your own unique designs.
By following this step-by-step guide, you’ll be able to create beautiful table settings for your family dinners and special occasions. We hope this tutorial has inspired you to get creative with fabric placemats and brighten your dining experience!
5 Additional Tips and Tricks
1. Use a cutting mat, ruler, and rotary cutter to ensure a precise cut when cutting fabric for your placemats.
2. Add an extra layer of protection by using laminated cotton or waxed canvas as the backing layer for your placemats.
3. You can use double-sided fusible webbing to make appliques and other design elements.
4. Use a zigzag stitch to attach the backing fabric and for any decorations or embellishments that you are adding.
5. To give your placemats a professional finish, use an overlocker or serger machine to sew all edges together instead of using a standard sewing machine.
6. For a unique look, use different colored threads for the hemming and topstitching on your placemats.
We hope that this tutorial has helped you learn how to make fabric placemats! With the right supplies, a bit of creativity, and these easy steps, your dinner table will look fantastic in no time. Happy crafting!
6 Things You Should Avoid
1. Avoid using pins if possible – they can leave permanent holes in the fabric.
2. When cutting your fabric, make sure to use a ruler and/or rotary cutter to ensure that it is cut straight.
3. If you are hand-sewing the edges of your placemats, make sure to use a tight stitch that will hold securely.
4. Don’t skimp on the fabric – use a sturdy, good-quality material to ensure that your placemats last for years to come.
5. When using an iron, set the temperature according to the type of fabric you are using and be sure not to leave it in one spot too long.
6. If you are using a sewing machine, make sure it is adjusted correctly before beginning to sew your placemats. This will help ensure that the stitches are even and secure.
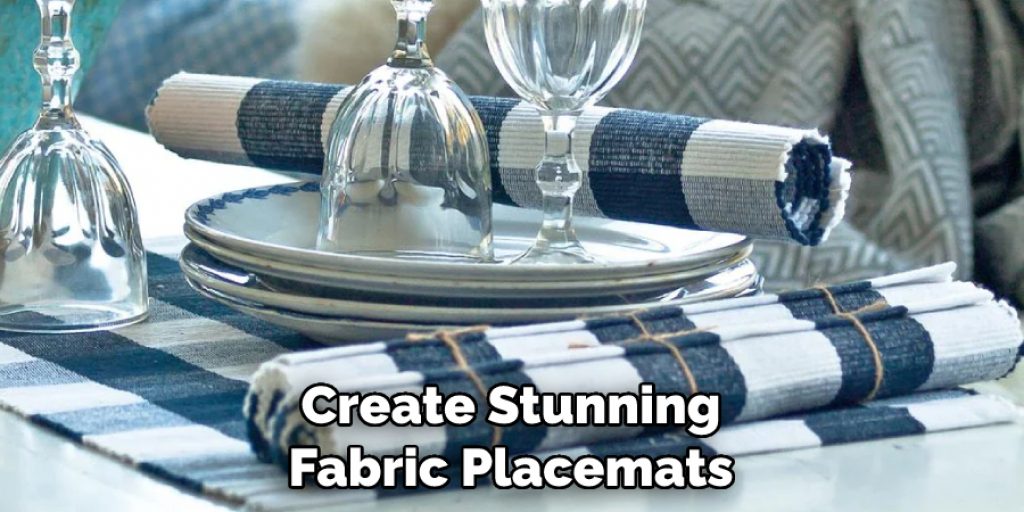
With these tips and tricks, you’ll be able to create stunning fabric placemats that will last a lifetime. Enjoy setting your table with handmade beauty!
What Kind of Fabric Do You Use for Placemats?
The type of fabric you use for your placemats will depend on the look and durability that you’re trying to achieve. Cotton, linen, felt, and twill are all great options if you’re looking for something sturdy and wrinkle-resistant.
Quilting fabrics like flannel and gingham can also be used for a more casual look. Lighter, more sheer fabrics like silk or chiffon are great for adding an elegant touch to the table setting.
No matter which fabric you choose, make sure that it’s pre-washed before starting your project. This will help prevent shrinkage and fading after multiple washings.
What is the Best Filling for Placemats?
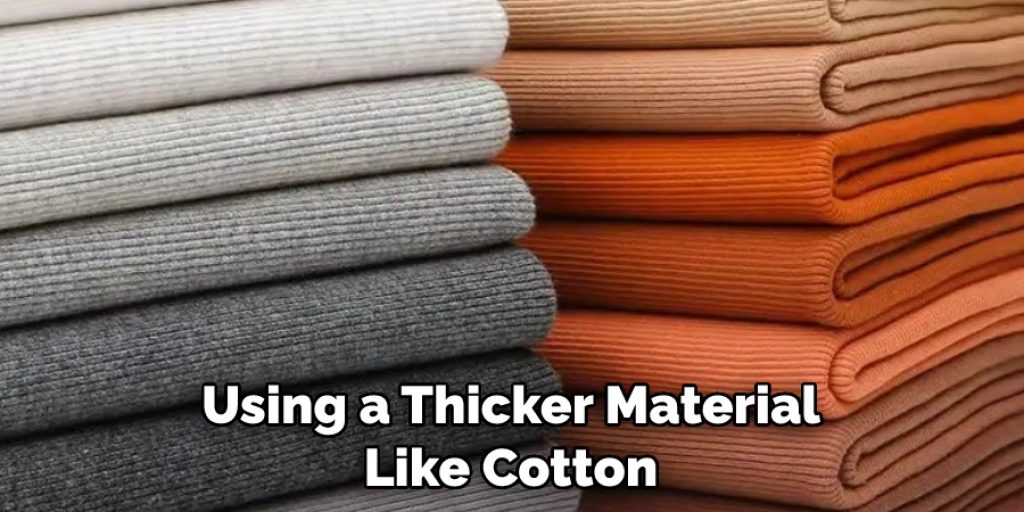
The best filling for placemats will depend on the fabric you use and how much durability you need from your placemat. If you’re using a thicker material like cotton or linen, batting or quilt wadding can be used as a filler to give your placemats more stability. For thinner materials such as chiffon or silk, you can use foam interfacing to give the placemats an extra body.
No matter which type of filling you choose, make sure to check for any instructions on pre-washing or treating the material before using it with your placemats.
Conclusion
Making fabric placemats can be a fun and creative way to give your dining table an update. With the right material and tools, anyone can create a set of unique placemats that add comfort and style to their home. If you don’t consider yourself to be crafty, try it out anyway – you may be pleasantly surprised at what you can create!
The next time you’re looking for something cute and affordable to spruce up your dining décor, why not try making fabric placemats? It is a fun activity you can do on your own or with family and friends; they’re also great gifts. With just a few simple steps, your custom-made placemats are sure to make mealtimes even more enjoyable. Give this DIY project a go – you won’t regret it!
Hopefully, the article on how to make fabric placemats has helped you take the plunge and try out this fun craft. If you have any tips or tricks of your own, please feel free to share them in the comments! Happy placemat making!
Nancy Behan
Nancy is an embroidery artist, fashion blogger and a full time editor at DIY quickly. Nancy edits the fashion section on DIY quickly, focusing on the embroidery and cross stitch articles, alongside with fabric and other costume design elements. She graduated from the University of Michigan with a Bachelor of Arts in Art History. She loves to work on her own projects, read books and watch romantic movies in her spare time.


