
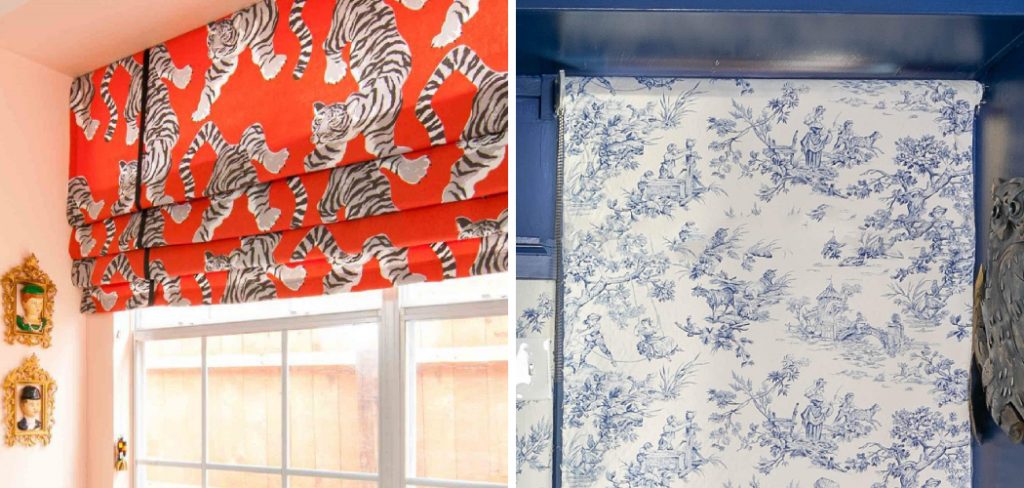
How to Make Fabric Roller Shades
Making your own fabric roller shades is a fantastic way to add a personal touch to your windows while also enjoying the benefits of privacy and light control. Whether you’re looking to update your home decor or seeking a budget-friendly alternative to store-bought roller shades, this DIY project offers endless possibilities.
In this article, we will guide you through the step-by-step process of creating fabric roller shades, providing you with detailed instructions, tips, and creative ideas along the way.
From selecting the right fabric and measuring your windows to assembling the roller mechanism and attaching the fabric, we’ll cover every aspect of how to make fabric roller shades.
Whether you’re a seasoned crafter or a novice DIY enthusiast, making your own fabric roller shades is a rewarding and customizable project that will enhance the beauty and functionality of your space. Get ready to elevate your windows with style and craftsmanship with these fabric roller shades.
Can I Make a Roller Blind with Fabric?
Yes, you can make a roller blind with fabric. It’s actually quite easy, and there are plenty of tutorials available online that will provide step-by-step instructions on how to do it. The only items you’ll need in order to make the roller blind are some fabric, a wooden dowel, two curtain rings, some tape measure, and some basic tools.
Once you have all the materials ready, measure out the size of your window and cut out a piece of fabric that is slightly larger than the measurements. Place the dowel in the middle of the backside of the fabric and attach it using curtain rings.
Now use your tape measure to measure out how much fabric you need for the front of the blind. Make sure to leave enough at the bottom so that when you roll up the fabric, it covers your window completely. Once you have all your measurements in place, sew the edges together using a sewing machine or hand stitch them. When everything is finished, hang up your new roller blind and enjoy!
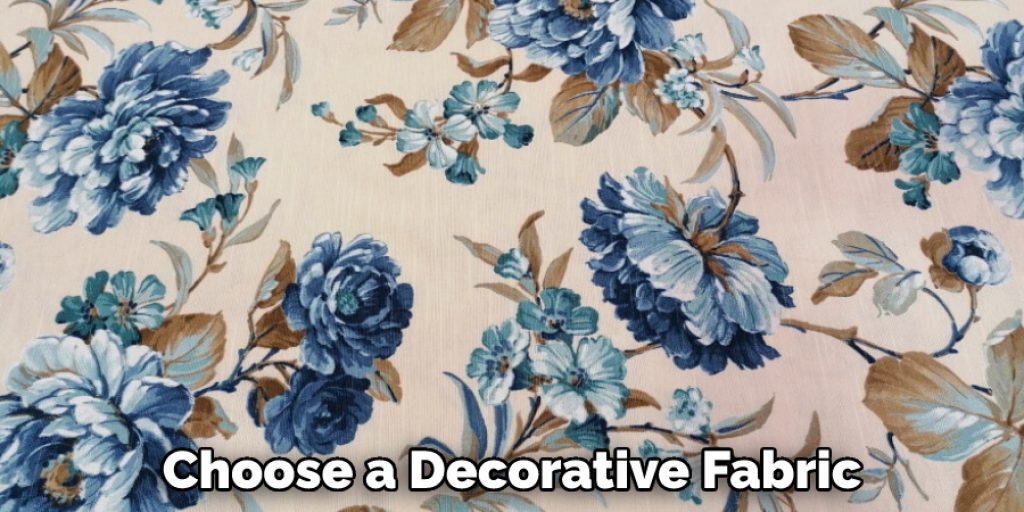
What Type of Fabric Is Used for Roller Shades?
Roller shades are generally made from natural fibers, synthetics, or a combination of the two. The most common fabric used is 100 percent polyester with a light filtering finish that provides privacy and blocks out harsh sunlight. Cotton/polyester blends and vinyl materials may also be used to give added strength and durability as well as advanced color and texture options. Some roller shades are made with fire-retardant fabrics for added safety.
The fabric used in the construction of roller shades impacts their light filtering ability, insulation value, and aesthetic appeal. Natural fibers such as linens, hemp, bamboo, and wood provide a softer look but may fade over time due to exposure to the sun. Synthetic fabrics, such as polyester and vinyl, are more durable and can withstand fading better than natural fibers.
Many roller shade manufacturers offer a range of color choices and textures to meet individual design needs. Customers should also consider special features when selecting a fabric, such as fire-retardant properties or advanced light filtering options.
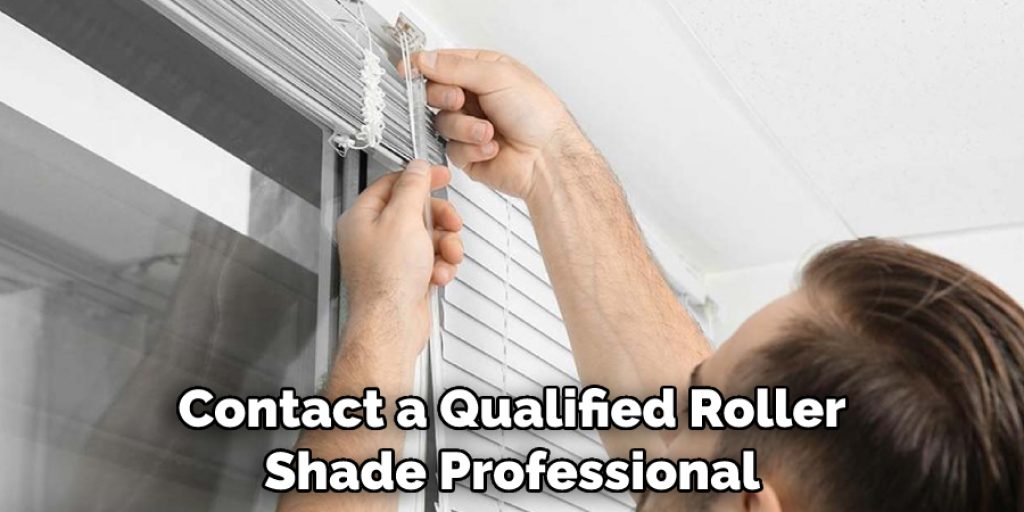
For more information about specific fabrics and their features, it is best to contact a qualified roller shade professional for personalized advice. With the right fabric selection, roller shades can provide an attractive and functional addition to any room.
9 Methods How to Make Fabric Roller Shades
Method 1: Basic Sewn Roller Shade
This method is ideal for those familiar with sewing. We’ll guide you through measuring your window, cutting the fabric, creating hems, and attaching the roller mechanism to assemble a classic sewn roller shade. To begin, measure the width of your window from one side to the other. For our purposes, let’s say that it is 40 inches wide.
You will need to purchase two pieces of fabric that are each 42 inches wide by 27 inches tall. This allows for a 1/2 inch seam on all sides and a 3/4 inch double-fold hem at the top and bottom of each piece.
Method 2: No-Sew Roller Shade
For those without sewing skills or access to a sewing machine, the no-sew method offers a simple alternative. We’ll show you how to use iron-on adhesive tape and fabric glue to create a roller shade without any sewing required. When using this method, be sure to use an iron-on adhesive tape that is specifically designed for use with fabric.
Start by gathering your supplies: a length of blackout roller shade material, a roll of iron-on adhesive tape, and fabric glue. Measure the desired height of your finished shade and then add 6 inches to account for the top and bottom hems. Cut the roller shade material to size, making sure to add 1/2 inch of extra material on all sides for a neat finish.
Method 3: Reverse Roll Roller Shade
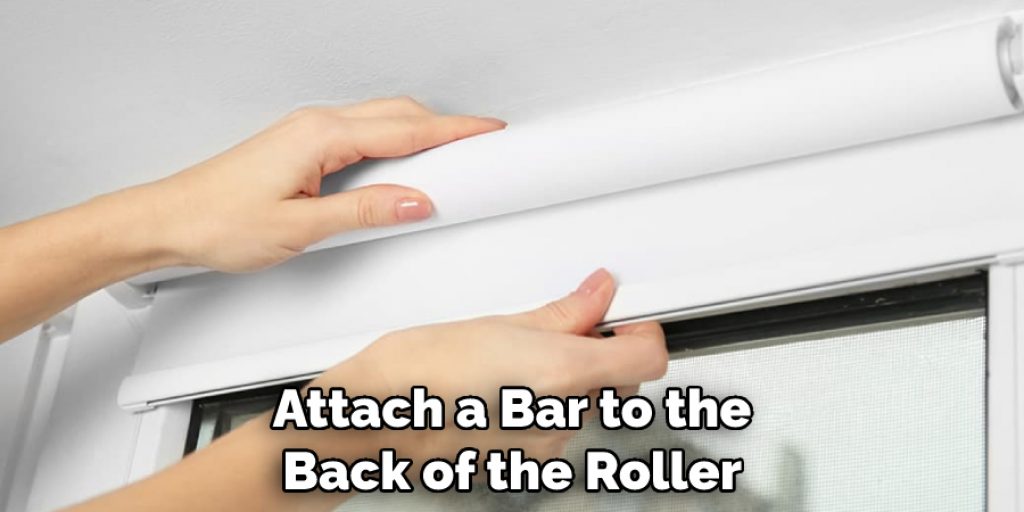
In this method, we’ll explore the reverse roll technique, which allows the fabric to roll from the front of the roller mechanism. We’ll guide you through modifying the roller mechanism and attaching the fabric to achieve a sleek and modern look.
First, you’ll need to remove the roller from its mechanism. You can do this by loosening the screws that hold the roller in place and sliding it out. Next, you’ll need to attach a bar to the back of the roller on which your fabric will hang. This bar should be slightly larger than the width of your window so that the fabric won’t bunch up.
Method 4: Bottom-Up Roller Shade
If you prefer a unique and versatile roller shade, the bottom-up method is perfect. We’ll demonstrate how to modify the roller mechanism and attach the fabric to create a shade that can be raised from the bottom, offering privacy while still allowing natural light to enter.
Although the roller shade can be completely raised, it is usually left partially open to retain some level of privacy. Try to pick a lightweight fabric to ensure the shade can be raised without too much effort.
Method 5: Roman Shade Style Roller Shade
Combine the elegance of a Roman shade with the simplicity of a roller shade using this method. We’ll show you how to create fabric panels that fold neatly when the shade is raised, providing a stylish and sophisticated window treatment.
Start by measuring your window to determine the size of each panel and cut fabric accordingly. Then, use a roller shade kit to attach the panels together, which will also provide a neat way to operate the shade. To finish off the look, frame the edges with decorative trim or fringe for an extra touch of class!
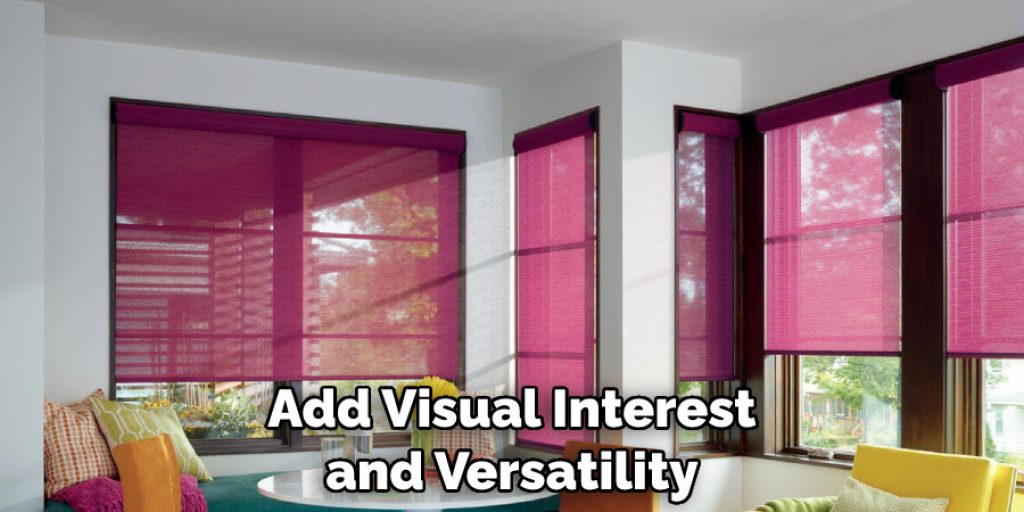
Method 6: Dual Fabric Roller Shade
Add visual interest and versatility to your roller shades by incorporating dual fabrics. We’ll guide you through the process of creating two separate fabric panels and attaching them to the roller mechanism, allowing you to alternate between fabrics for different looks and light levels.
You’ll need to purchase two fabrics of your choice for the project. You’ll also need double rollers, brackets, screws and wall anchors. Make sure you measure the window before starting so you can purchase enough fabric to fit it. To begin, attach the double roller mechanism to the wall using screws and wall anchors.
Method 7: Stenciled Roller Shade
If you’re looking to add a decorative touch to your roller shades, stenciling is a great option. We’ll teach you how to choose a stencil design, apply it to the fabric, and add paint for a customized and artistic roller shade.
Method 8: Printed Image Roller Shade
Create a unique and personalized roller shade by transferring a printed image onto the fabric. We’ll provide step-by-step instructions on how to select and print an image onto fabric, and then attach it to the roller mechanism for a one-of-a-kind window treatment.
Method 9: Appliqué Embellished Roller Shade
Add texture and dimension to your roller shades with fabric appliqué. We’ll show you how to cut and attach fabric shapes or designs onto the main fabric, allowing you to create intricate and eye-catching roller shades.
First, choose a decorative fabric that contrasts the main shade fabric. Using an iron-on adhesive sheet and an iron, attach the appliqué shapes onto the back of your chosen fabric. Then carefully cut out each shape with sharp scissors or a craft knife. To apply each piece to the roller shade, use either hot glue or fabric fusable tape.
Conclusion
Making fabric roller shades can be an easy and affordable way to add a modern, custom look to your home. With the right materials, tools, and technique, you can make beautiful shades in no time. All you’ll need is the right hardware and fabric of your choice. Whether you opt for blackout fabric or a lighter option, the result should be a vibrant focal point that adds style to any room.
Most importantly, making roller shades is simple enough for anyone with a few spare hours and DIY know-how to complete in just one day. So why not give it a try? Who knows? You may even find that you enjoy the process as much as loving the finished product! Follow these simple instructions outlined in this blog post about how to make fabric roller shades and you’ll be able to get the job done with ease.
Nancy Behan
Nancy is an embroidery artist, fashion blogger and a full time editor at DIY quickly. Nancy edits the fashion section on DIY quickly, focusing on the embroidery and cross stitch articles, alongside with fabric and other costume design elements. She graduated from the University of Michigan with a Bachelor of Arts in Art History. She loves to work on her own projects, read books and watch romantic movies in her spare time.


