
How to Make Glass Album Cover
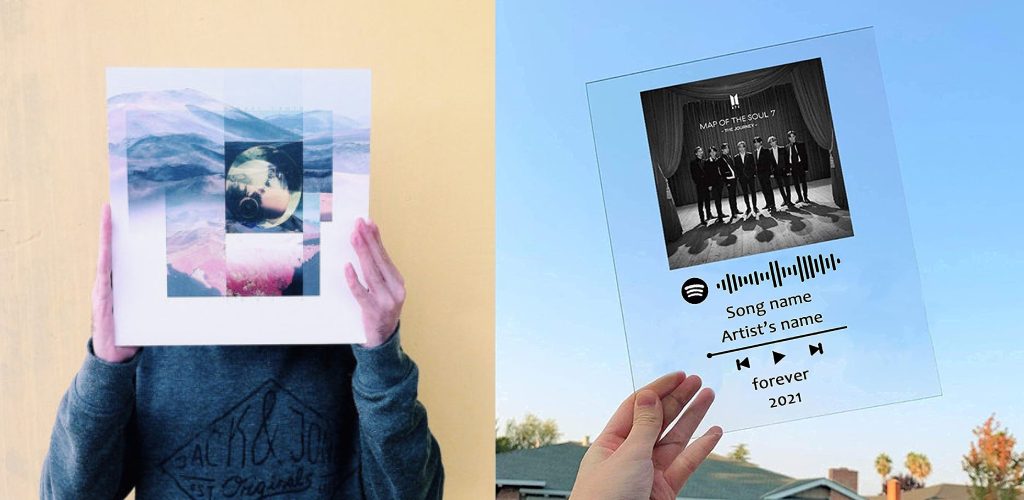
Consider making your glass album covers if you’re looking for a unique way to show off your album collection. It’s a simple process that can be completed in a few hours. Plus, it’s a great way to add some character to your home entertainment area. This article will discuss how to make glass album cover. Follow these steps to make your glass album covers.
Consider making your glass album covers if you’re looking for a unique way to show off your record collection. It’s a simple process that can be completed in a few hours. Plus, it’s a great way to add some character to your home entertainment area.
Things You’ll Need
For This Project, You Will Need the Following Items:
- A CD or DVD case with a clear outer coating. These cases are often known as single maxi cases and can usually be found in various online stores for a low cost.
- Scissors/Craft Knife
- Ruler (or a straight edge object)
- A Xacto knife
- A pair of tweezers or some other small grabbing implement
- A sheet of sandpaper
- A sheet of clear plastic or a small bottle with a flat panel that is large enough for the CD case to fit into
- Glass etching cream
- Paintbrush (or some other tool to apply glass etching cream)
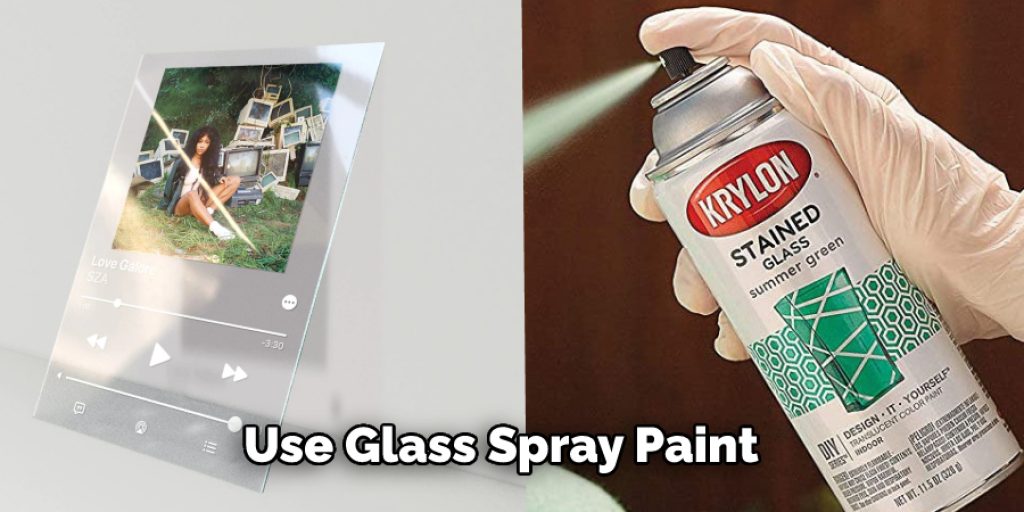
- Clear spray paint
- Glitter for decoration
- Clear-drying adhesive
A Stepwise Guide on How to Make Glass Album Cover
Step 1: Determine How You Want Your Covers to Look
This project will make it possible for you to make a set of unique vinyl style album covers, but it is also possible to create different designs and patterns on each surface. How you want your finished Glass Album Cover product will indicate what tools and materials you need and how you will put the product together.
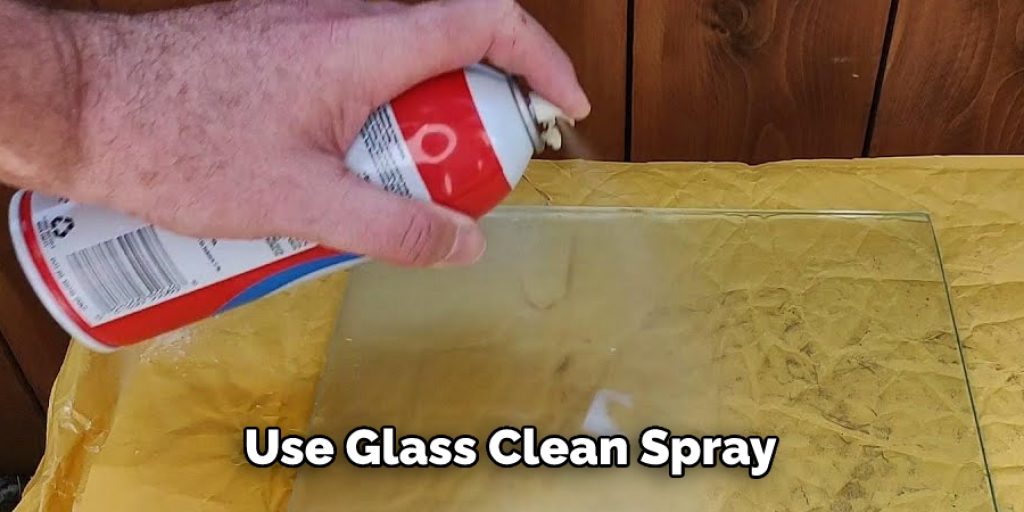
Step 2: Clean the CD Case
The glass album cover must be made out of a clear case with a clear outer coating. If your case does not have a transparent layer, wash the case with soap and water, then dry with a lint-free towel or cloth. Ensure all fingerprints are removed as they can cause unwanted marks on the glass when you cut it.
Step 3: Cut Out the Front Cover of the Case
The glass album cover is made by inverting an empty case, applying ferric chloride to the panel, allowing it to etch for 5-10 minutes, then repeating this process on a second panel. To begin, center your transparent sheet over the clear part of the case and trace its outline with a marker or pen.
Next, remove your sheet from the cover and use scissors or a craft knife to cut out this shape. Use sandpaper to smooth down any rough parts along cut lines and edges. Next, use sharp scissors or a craft knife to cut away any excess plastic protruding beyond your tracing line so that only the outer edge remains. Finally, glue the cutout to the inside of the case’s front panel.
Step 4: Apply Ferric Chloride Solution to Second Panel and Wait for Etching Session
Before applying ferric chloride, you must thoroughly wash your hands with soap and water or wear gloves as it can cause skin burns and irritation if splashed on your hands or comes into contact with your eyes. In addition, wear protective eye-wear (goggles) and a dust mask and follow all manufacturer instructions when using this product.
Pour a small amount of ferric chloride solution onto the clear plastic sheet, then place the CD cover with its cutout face down into this solution to be completely submerged in it. Let etch for 5-10 minutes, remove from the solution and immediately wash under running water. Repeat this process on a second panel, then let dry.
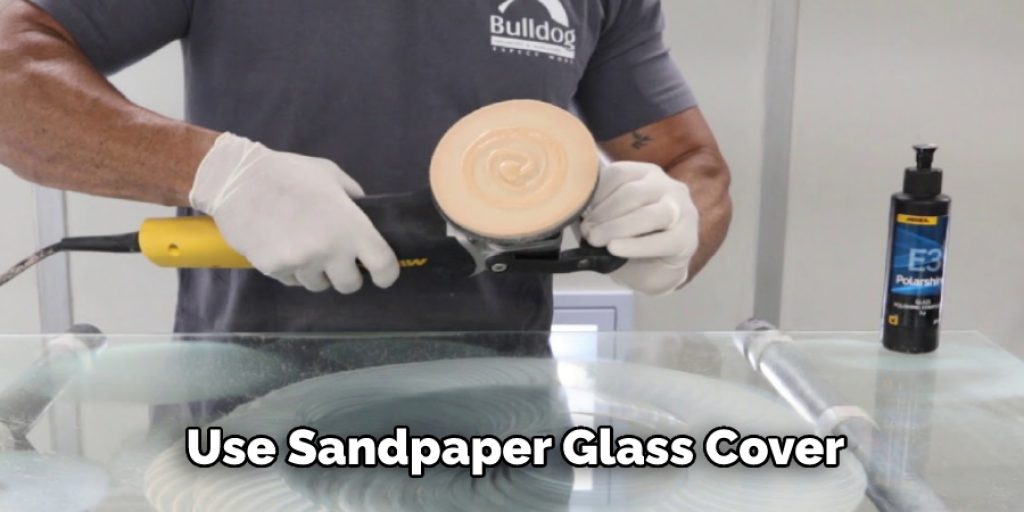
Step 5: Sandblast Etched Panels
Once panels have entirely dried, sandblast or hand-sand all edges and corners of the CD case to remove any rough spots left by the ferric chloride etching process. When finished, wipe down with isopropyl alcohol and allow to dry before proceeding to the next step entirely. Simple hand-sanding will work fine if you do not have access to a sandblaster.
Step 6: Cut Out Back Cover of Case
As you did in Step three, center your transparent plastic sheet over the backside of your clear CD case enclosure and trace its outline with a marker or pen. Next, remove your sheet from the cover and use scissors or a craft knife to cut out this shape. Use sandpaper to smooth down any rough parts along the cut line and edges, then glue the cutout to the inside back of the case’s front panel.
Step 7: Paint Outer Edges with Glass Etching Cream
Apply glass etching cream around the outer edge of one side of the CD case. That will be up to you as it all depends on how dark you want this color to show through your design once it is finished. Allow this layer to sit for 5 minutes, then use a damp cloth or sponge to wipe off cream/mud from the layout area, leaving mottled coloring behind on the case.
Allow this to dry for around 5 minutes, then apply a second coat of cream/mud mixture in the same fashion as step 6, but cover an area 1″ more significant than the first. Repeat this process until the entire plan has been covered with two coats of glass etching cream; let sit for 10 minutes after applying the last layer of mud before wiping off to reveal the design.
Step 8: Fill In Design Area
When you have your plan fully covered with two coats of glass etching cream, wipe off the raised color from exposed areas to reveal a clean outline that will serve as a visual guide for your paint job. Apply painters masking tape around the outside edge of circles and wider line art areas, so only the design area is exposed.
Once all appropriate sections are surrounded by masking tape, use a brush or sponge to apply silver metallic spray paint over the exposed layout area inside taped-off lines. It may take multiple coats for this step as it does not cover entirely on the first application. Allow drying entirely after applying the last coat, then carefully remove all masking tape from the layout before the final drying stage.
Step 9: Cut Out Negative Shape From Custom Glass
Center your custom-cut glass over the CD case’s negative layout and trace around it with a marker or pen. Use a craft knife to cut around this shape carefully, then sand down any rough parts left along the edges using either a sandblaster, file, or sandpaper.
When finished, wipe down inside the new window with isopropyl alcohol and let dry completely before proceeding to the next step. At this point, you will want to decide whether you want your clear glass to be permanent in the frame, so take note of the wire frame’s design so that it can be applied evenly on both sides when complete.
Step 10: Open Wire Frame
If you want the frame to be permanent, remove all four of its hinges on the backside before proceeding. Then, to open up the wireframe, start by carefully cutting out each of the eight small interior squares and removing either an X or O from the frame depending on which options you chose in Step One. When finished, you should have a clear front window surrounded by copper wire on both sides.
Step 11: Glue-On Glass Window
Apply a thin line of super glue around the inside edges of the glass window and press firmly down onto the center of the layout area using even pressure to spread glue evenly across the surface area needed for the new glass pane to adhere correctly. Once applied, let completely until the adhesive has become sturdy, then carefully fold wire frame around glass pane to hold in place while drying. These steps will help in how to make glass album cover.
You Can Check It Out To Make Glass Little Alchemy
What Are the Different Options for Mounting My Album Cover to the Wall?
There are several different ways to mount, display and store your album covers. The list below offers some of the most common cover-hanging methods.
Glue or Glue-Mounted Plates:
In this method, your album cover is permanently attached directly onto the surface used to hang it (a piece of wood, heavy cardboard, or metal) using an acid-free, archival quality adhesive. It’s an excellent way to display your album cover permanently, but the downside is that the glue can cause damage if it comes into contact with the album itself.
Cotton-Tipped No-Caustic Paste:
This method involves rolling a cotton swab or Q-tip in the non-caustic paste to attach the album cover to the wall-mounted object. The paste is acid-free and archival quality, so there’s no danger of it causing damage to your album or affecting its value in any way. It can be a quick option if you need to mount lots of albums quickly, but it isn’t designed to support heavy items like picture frames.
Backing Boards:
Heavy-duty backing boards are available in different materials, but the most commonly used for album covers are acid-free mat boards or archival quality foam core. A piece of the right size is attached to the wall with adhesive before each album is placed on it and pressed flat. The advantage here is that the album is entirely safe from the adhesive, but the covers can still touch if you stack them.
Mat Boards:
These boards are available in various thicknesses and colors, so finding one that matches your decor is easy. They come with a protective backing on either side for extra protection against damage or adhesives, and they’re quite inexpensive. Mat boards make it easy to store and display your album covers without worrying about damaging them or the wall where you hang them.
Conclusion
So, there you have it. Your very own DIY glass album cover! We hope you enjoyed this article on how to make glass album cover and that you are now inspired to create your beautiful glass covers for all of your albums. Be sure to share pictures of your finished projects with us on social media – we can’t wait to see them!


