
How to Make Grubby Candle
The holidays are a time of year when many people like to light candles. However, if you’re not careful with storing them, they can start to look pretty grubby! Thankfully there’s an easy solution- make your own Grubby Candle! This tutorial is going to show you how to make a grubby candle. Grubby candles are made using old, used-up candles and more wax for a new candle.
This is an awesome way to reuse old candles that have been sitting around your house or apartment for years! All you need is some wax (you can use any color), a wick, scissors, and the old candle that needs a home. So grab your supplies, and let’s get started!
What Are The Things You’ll Need To Make a Grubby Candle?
- One or two empty mason jars (depending on how big you want your candle)
- Colored wax for the candle that matches your old candle (You can use any color, but red looks most natural)
- Candle wicks- You can either use one thick wick or two thinner ones, depending on what you see as the best option. Try different combos to see which look works best for you!
- You can also use cinnamon or sandalwood scent.
Instructions: How To Make Grubby Candle
Step 1: Prepare The Candle For Waxing
The first thing you need to do is prepare your old, used-up candle for a new coat of wax. It’s easier to use if it has a “candlestick” base instead of being free-standing, but this isn’t necessary. If the wick doesn’t already exist in the candle, add one and burn the candle until it’s almost all the way down.
If you want to make your Grubby Candle last longer, it’s a good idea to replace the wax every now and then. This will also give you some extra melted wax that you can use as an ingredient in your Grubby Candle!
Step 2: Melt The Wax
Once your old candle is ready, use a small pot to melt the wax in a double boiler. Make sure it’s big enough that there is plenty of room between the water and your pot so you don’t end up with too much water on the bottom of your candle!
When melting the wax, make sure to stir it constantly so that nothing burns or sticks to the bottom of your pan. Once it’s melted, you can move on to the next step.
Step 3: Add The Grubby Candle Ingredients
Now it’s time to add your new ingredients! First, add a few pieces of cinnamon or sandalwood scent into the wax. Depending on how strong you’d like the scent to be, you’ll want anywhere from three to five chips.
You can add about 1/2 tsp of some cinnamon or sandalwood oil if you’d like the candle to smell even stronger! Now stir everything together until it’s well combined, then use a funnel to pour it into the mason jar.
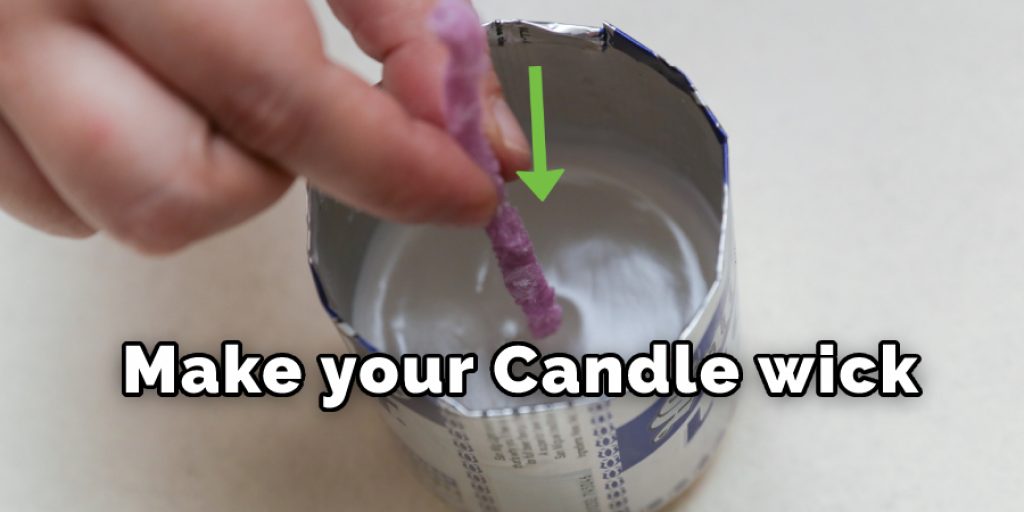
Step 4: Add The Candle Wick And Let Dry
Add the candle wick into the mason jar and then close it with a lid. This seal will allow the water to evaporate from your candle wax so you can use it without worrying about too much liquid getting on anything! Don’t screw on the lid all of the ways through- you’ll need to add the finishing touches to your Grubby Candle!
Step 5: Add The Finishing Touches
Once the wax has dried for a few hours, you’re ready to add your final touches! Now that the candle is finished, you might want to spruce it up a bit. You can use sharp scissors or nail clippers to trim the wick shorter or make it look tidier.
You can add some decorations to the jar, such as silk flowers, ribbons, or other decorative items! The possibilities are endless for what you can do with a Grubby Candle once it’s done.
Step 6: Cut Any Burned Edges Off of Your Candle
You can also cut off any of the candles that have been burned down to a “grubby” edge or made too smooth from all of the heat. It won’t be as pretty, but it’ll still work just fine! Then pour some of the wax you used to melt your candle into a small pan.
You’ll then need to stir in gold glitter until it’s smooth and slightly runny but not too thin! You can use any color glitter, but gold looks absolutely gorgeous when it catches the light from a candle! Pour this mixture on top of the wax and wait a few more hours for everything to dry.
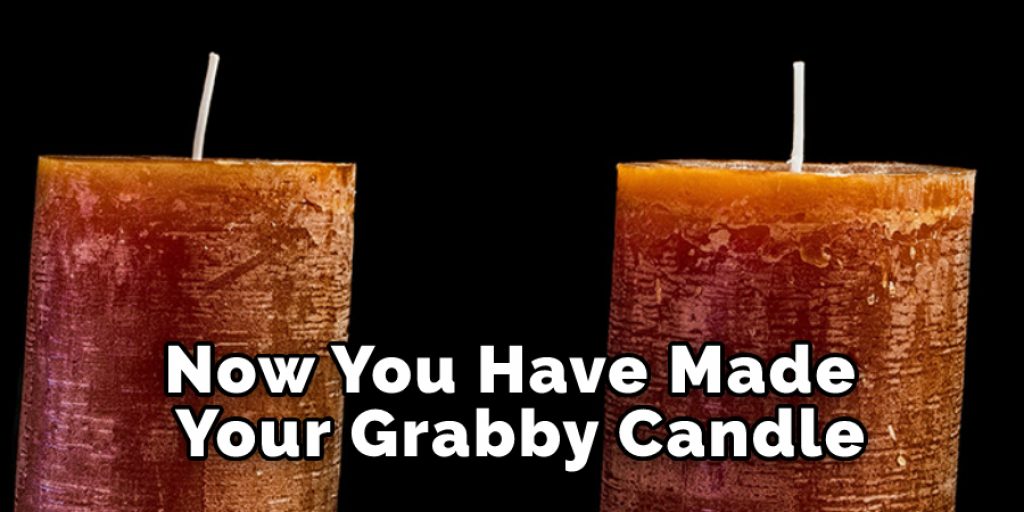
Step 7: Enjoy Your New Grubby Candle
Now that your candle has been finished, you can use it daily to create a warm atmosphere in whatever room you put it in! You can also add more wax to the candle to make it even bigger. Just be sure not to add too much at once, or the candle might get too big for your mason jar.
Also, remember that if there’s only enough wax for a few days, your Grubby Candle will stay lit longer by putting it out when the wax is low. You can also save the extra wax to add it to another candle if necessary!
Some Tips To Make Your Grubby Candle More Gorgeous
- If you want your Grubby Candle to smell extra strong, we recommend adding in some more cinnamon or sandalwood oil after pouring the wax into the jar. Just add a little at first, and then keep going back and smelling it until you’re happy with how strong it is!
- If clean edges aren’t important, you can always paint over your Grubby Candle with some bronze or silver nail polish.
- There are a ton of different things that you can add to the outside of your candle to make it look more unique! You could even use glitter glue or something similar to paint decorations on top of the wax, then let it dry before adding your finishing touches.
- You can also get creative and add different scents to your Grubby Candle instead of just cinnamon or sandalwood! For example, try using a few drops of vanilla extract or lemon extract to make it smell like cookies! The candle will still be warm and cozy, but with a sweet scent that will bring back memories of the holidays!
- Lastly, you can also add a few drops of essential oil to your candle when it’s lit. This will make your home smell amazing and helps humidify the air!

Conclusion
If you are interested in making your own grubby candle, this blog post will walk you through the process. You can customize it to suit any occasion and make a unique gift for someone special. It’s really easy!
Your friends will be so impressed with how well they turned out and what great gifts they’ll have for their loved ones. We hope that the instructions mentioned on how to make grubby candles were clear enough. If you have any questions, then feel free to let us know!


