
How to Make Hanging Ghost Decorations
Welcome to spooky season, where ghosts and ghouls roam the streets and pumpkins adorn every doorstep. Halloween is approaching quickly, so it’s time to get into the spirit of things. If you love decorating your home for the holiday, you may search for new ideas this year.
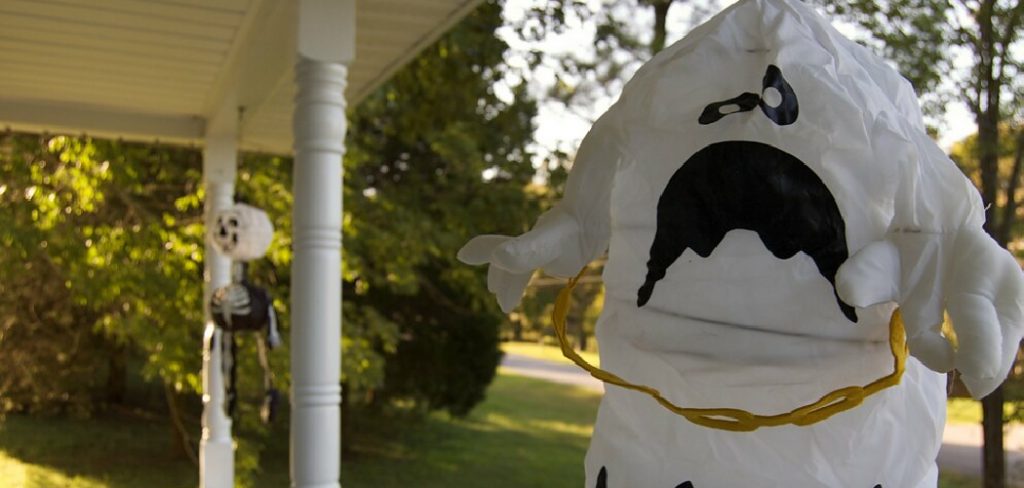
Look no further because we have a fun and easy DIY project that will add a playful touch to your Halloween decor – hanging ghost decorations! These adorable creations are perfect for dressing up your home and making great party or classroom decorations. So grab a cup of pumpkin spice latte and get ready to learn how to make hanging ghost decorations in just a few simple steps. You won’t want to miss out on this spooktacular tutorial!
Necessary Items
First, let’s gather all the necessary items for this project. You’ll need:
- White fabric or cheesecloth
- Scissors
- Tennis balls or other small round objects (such as ping pong balls)
- Black permanent marker
- Twine or string
10 Steps on How to Make Hanging Ghost Decorations
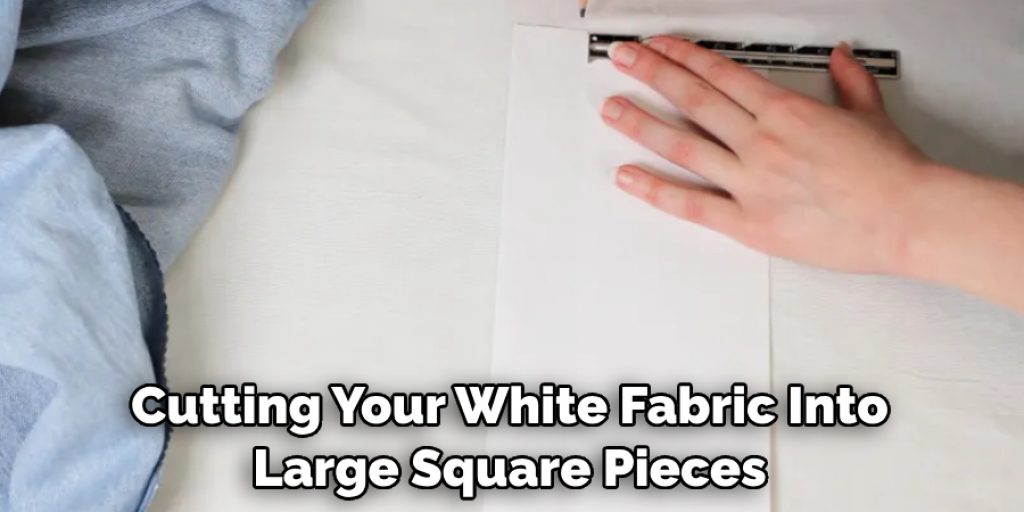
Step 1: Preparing the Fabric
Start by cutting your white fabric into large square pieces. The size of the squares will determine the size of your ghosts, so make sure they’re big enough to cover your chosen round object. If you’re using cheesecloth, cut it into smaller square pieces for a more tattered and ghostly effect.
Step 2: Placing the Round Object
Take one of your fabric squares and place it over the round object. This will be the head of your ghost, so choose an appropriate size based on how big or small you want your spirit to be.
Step 3: Tying the Fabric
Tie the fabric tightly around the round object with twine or string. This will secure the head and create a neck for your ghost. Make sure to leave some excess fabric at the bottom of the body.
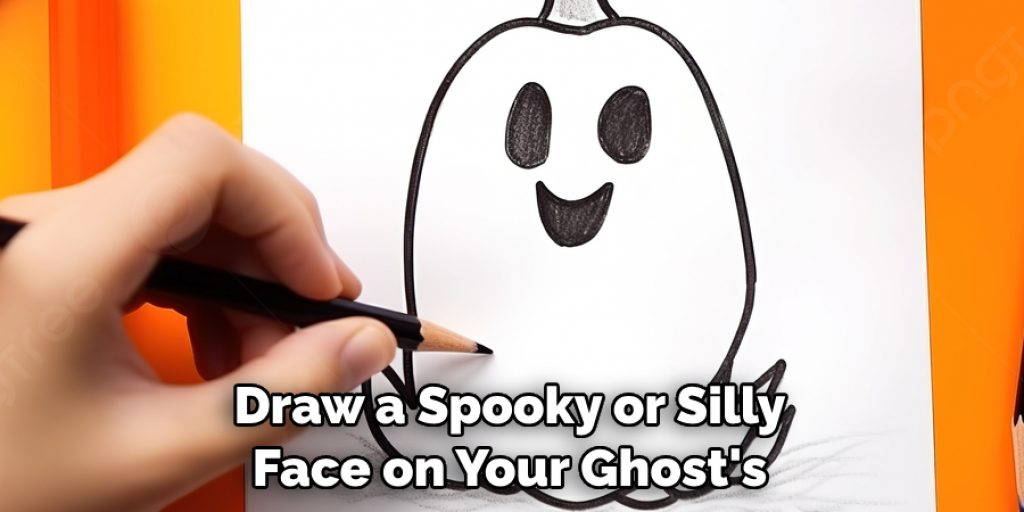
Step 4: Adding a Face
Draw a spooky or silly face on your ghost’s head using a black permanent marker. Get creative with different expressions and designs – this is where you can make each spirit unique! You can also use googly eyes or other craft supplies to add dimension to the face.
Step 5: Creating a Body
Take the excess fabric at the bottom and scrunch it towards the tied portion. This will create a ghost-like shape for your body. Secure it in place with another piece of twine or string.
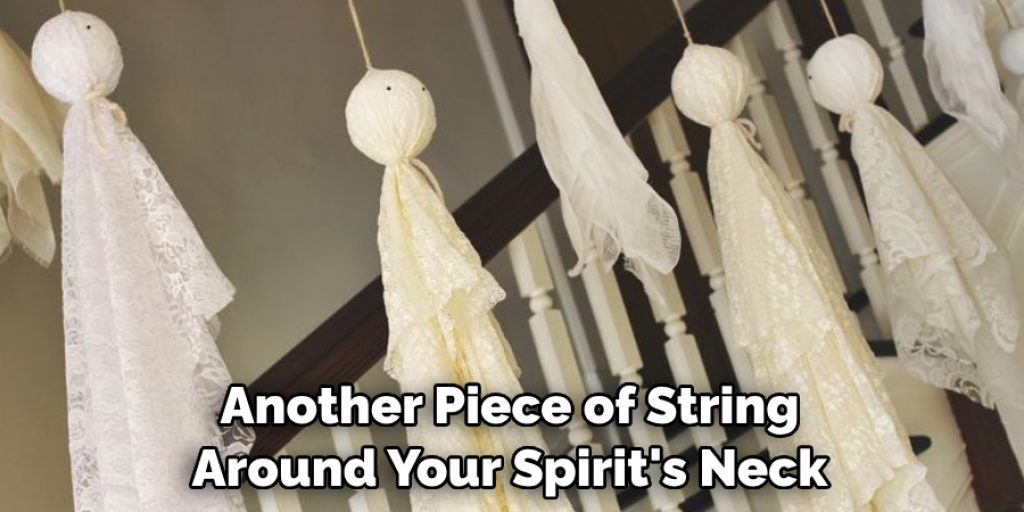
Step 6: Making Arms
If you want your ghosts to have arms, tie two smaller pieces of fabric around your spirit’s neck. Position them as arms and tie them at the ends to create hands.
Step 7: Adding Details
Now is the time to add any additional details to your ghosts. You can cut and fray the edges of the fabric for a more tattered look or add bows or ribbon to give them a more festive touch.
Step 8: Creating a Loop for Hanging
To hang your ghosts, tie another piece of twine or string around your spirit’s neck. Leave enough excess length so you can hang it wherever you like.
Step 9: Repeat Steps for Multiple Ghosts
Repeat these steps for as many ghosts as you want to make. You can also experiment with different sizes and designs to create a whole family of hanging ghosts!
Step 10: Hanging Your Ghosts
Now that your ghosts are ready, it’s time to hang them up! You can use hooks or nails to hang them from the ceiling or attach them to a tree in your yard. Get creative with different heights and groupings to create a spooky atmosphere.
Congratulations, you now know how to make hanging ghost decorations! This fun and easy DIY project is perfect for adding Halloween charm to your home or party. Get creative with different fabrics, designs, and placements to make these ghosts your own.
5 Things to Avoid When Making Hanging Ghost Decorations
1. Using Thin or Transparent Fabric
Make sure to use a thicker and more opaque fabric for your ghosts. This will make them look more substantial and prevent the round objects from showing through.
2. Skipping the Face
The face gives these decorations their character, so take advantage of this step! Even a simple smiley face can add personality to your ghost.
3. Not Leaving Enough Excess Fabric
Leaving enough excess fabric at the bottom is essential for creating a whole, flowing body for your ghost. Make sure to have at least a few inches for scrunching up.
4. Using Too Much or Too Little Twine
You want to ensure your ghosts are secure, but using too much twine can make them look light and appealing. On the other hand, using too little may cause them to fall apart. Find a balance that works for you.
5. Not Hanging Them Safely
Be mindful of where you hang your ghosts, and ensure they are safe for indoor and outdoor use. Avoid hanging them in high-traffic areas or near anything flammable. Safety should always come first.
Hanging ghost decorations are a fun and easy way to add some whimsy to your Halloween decor. They’re also perfect for involving kids in decorating and making great party or classroom decorations. Have fun and get creative with different fabrics, designs, and placements.
5 Additional Tips for Decorating with Hanging Ghost Decorations
1. Create a Garland
String your ghosts together on a long piece of twine or string to create a garland effect. This is perfect for hanging across doorways, windows, or entryways.
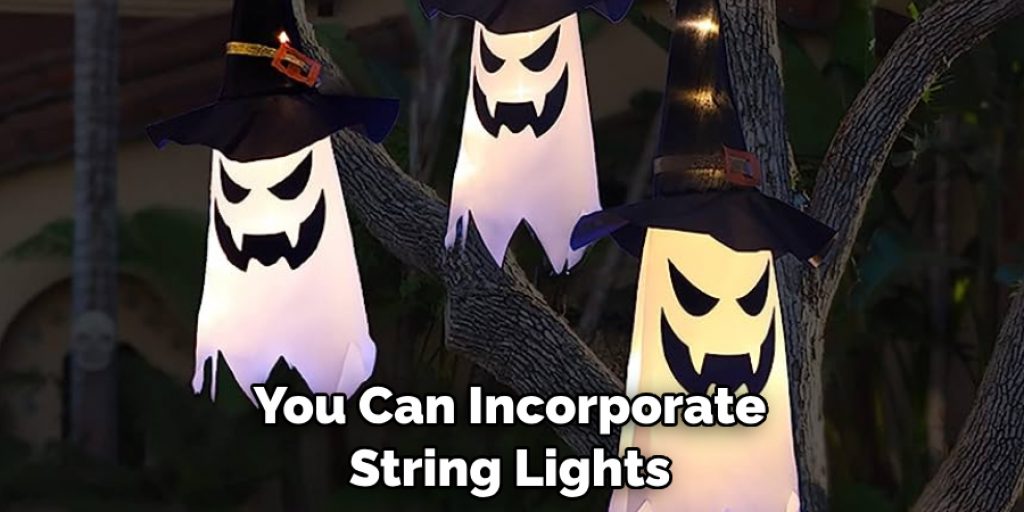
2. Add Lights
You can incorporate string lights into your hanging ghost decorations for an extra spooky touch. Simply wrap the lights around the ghosts before securing them with twine.
3. Use Different Colors
Who says ghosts only have to be white? Get creative and use different colored fabrics like black, purple, or green for a fun twist on traditional Halloween decorations.
4. Create a Scene
To create a ghostly scene, hang your ghosts before a large window or in a corner with other spooky props. This is perfect for a Halloween party or as part of your overall home decor.
5. Make Them Float
For an added eerie effect, hang your ghosts from the ceiling at different levels to create the illusion of them floating. This is sure to give your guests a scare!
Now that you know how to make hanging ghost decorations and have some tips for decorating with them, it’s time to get started on your creations.
Frequently Asked Questions
Can I Use Different Shapes for the Head of My Ghost?
Absolutely! You can use anything from small balloons to foam balls or plastic Easter eggs. Get creative and see what works best for you.
How Long Does It Take to Make Hanging Ghost Decorations?
It typically takes around 15-20 minutes to make one hanging ghost, depending on the size and complexity of your design. However, once you get the hang of it, you can make them even faster.
Can I Use Different Types of Fabric?
Use whatever fabric you have on hand or what fits your desired aesthetic. Just make sure it’s thick enough to create a complete and substantial body for your ghost.
Do I Need Any Special Tools?
No, you don’t need any special tools for this DIY project. All you need is some fabric, twine or string, and scissors. However, you can use a hot glue gun if you want to add extra details like googly eyes or bows.
Can I Wash My Hanging Ghost Decorations?
You can hand wash your hanging ghost decorations if they get dirty. Just remove the twine and any added details before washing and let them air dry completely before rehanging.
Now that you have all the information and tips you need, it’s time to get started on your own spooky hanging ghost decorations. Have fun and happy haunting! The possibilities are endless with this simple DIY project, so don’t be afraid to let your creativity run wild.
Conclusion
Congratulations, you now know how to make hanging ghost decorations and have some tips for decorating with them. These charming and spooky decorations are perfect for adding a fun touch to your Halloween celebrations. Creating your hanging ghost decorations is a fun and easy way to bring some spooky flair to your Halloween decorations. This DIY project allows for endless creative possibilities, from gathering the materials and cutting the fabric to creating unique faces and giving them their personalities. Whether crafting these ghosts with friends or making them as a surprise for your family, bringing these whimsical spirits to life is truly fulfilling.
So why not make this Halloween the best one by incorporating these adorable hanging ghost decorations into your home? Not only will it add a touch of charm to your space, but it will also be a great conversation starter for any guests who may visit. So grab some fabric, scissors, and creativity, and get crafting! Trust me when I say there’s nothing more satisfying than seeing these cute little ghosts swaying in the breeze on your front porch or hanging from your ceiling.
Angela Ervin
Angela is the executive editor of DIY quickly. She began her career as an interior designer before applying her strategic and creative passion to lifestyle and home. She has close to 15 years of experience in creative writing and online content strategy for housekeeping, home decorations as well as other niche efforts. She loves her job and has the privilege of working with an extraordinary team. She lives with her husband, two sons, and daughter in Petersburg. When she's not busy working she spent time with her family.


