
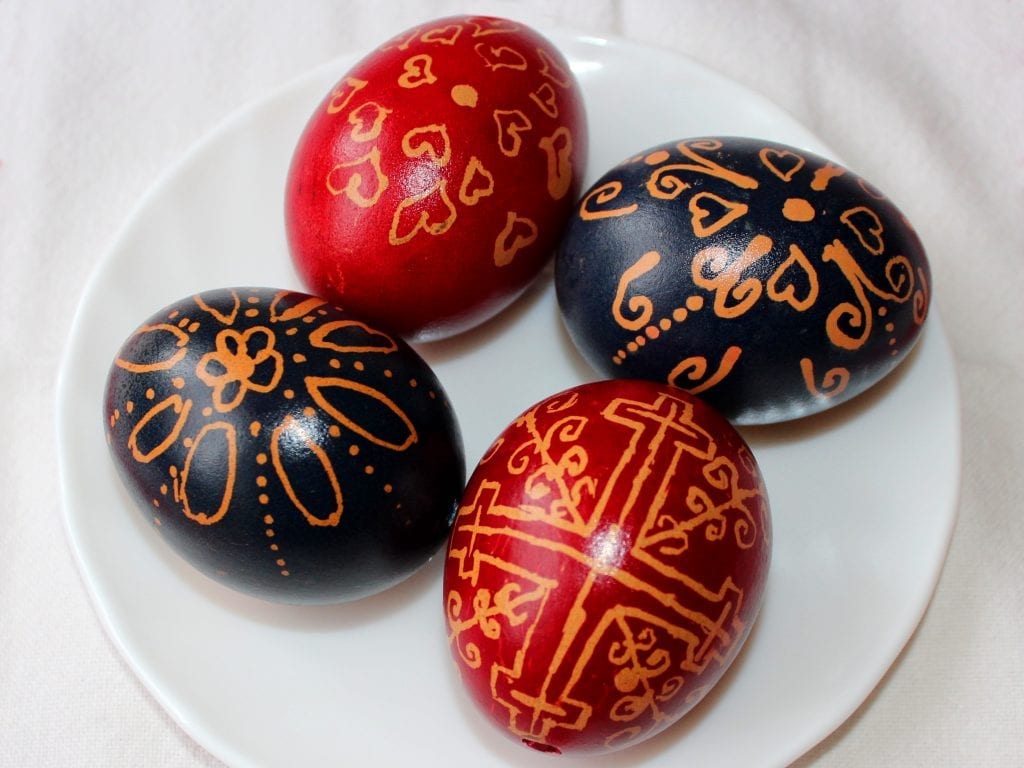
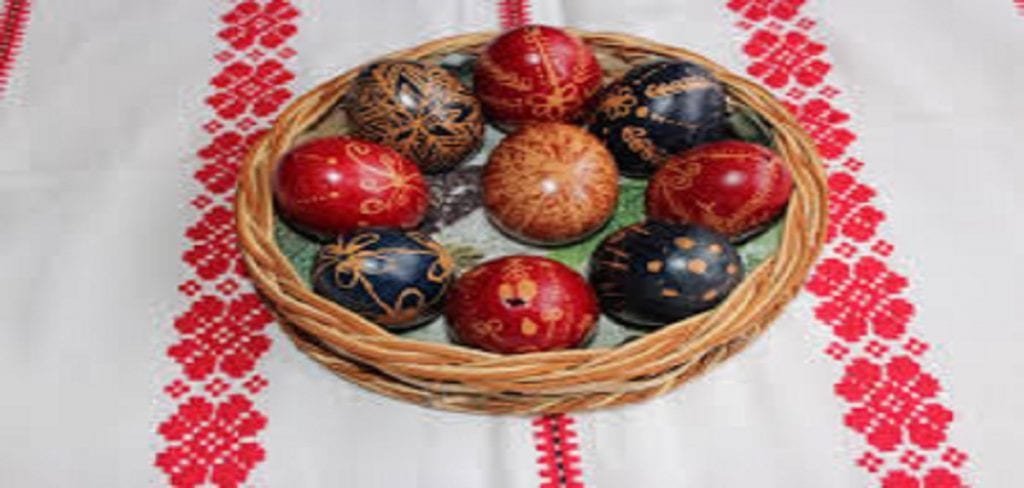
How to Make Hungarian Easter Eggs
Introduction
Ripping the eggs out from its shell, if you want to have the egg adorned for a more extended period, it is recommended that you take out the egg using just the cover. The egg must be cleaned. Therefore the gaps must be punched with a hard needle on either edge. The very final portion, your pressure on each hand and the egg falls out the other hand, is very self-explanatory.
When the shell is vacant, it must be adequately cleaned on the inner too. Color the eggs with better components. After all, chemical coloring and painting should not be the only choices for coloring our eggs. In the refrigerator or freezer, you can locate several items that you can use to paint various shades of your eggs. Let us look at what that is.
Instructions
Inject more water with onion peel extract for the classic red color, then dissolve the mixture’s cooked eggs and shells. Heat 1⁄2 liter of beet juice and 1 tbsp.Of cider for a purplish color. Paying alert, and the eggs would have a reddish hue when you cook it for too while. Cook it to have a purple shade for 15 min and then cook in your eggs. To have a pink hue, add 1⁄2 liter of cranberry juice and 1 tbsp. Of cider. Incorporate 4 tbsp. Of the mixture of water and onion peel extract and cook for 10 minutes.
Wash the Curcuma, onions, lemon, or oranges peel and rinse the already boiled eggs in the mixture to acquire a pleasant yellow hue. For the taste, add salt and pepper to taste.
Utilize lettuce to have an excellent green shade, then use blue cabbage. Water was added with red paprika and moistened your eggs in all that to have an orange tinge. Take it to the oven and let them do their magic until they are ready. The result is a perfect, amusing and tasty egg!
Marble Eggs
Pour boiled water into a glass container, and drop rubbed crayons inside it. Place the cooked or blowing out the egg in the mixture as the crayon started melting and gently whirl the shell in the water with a teaspoon. This tactic will end up leaving the eggs on a lovely marble-like structure. Don’t be too quick to throw away your leftovers. For example, freeze leftover tomato sauce into ice cube trays and then pop the cubes out as you need them in future recipes. Freezing it will preserve it for months.
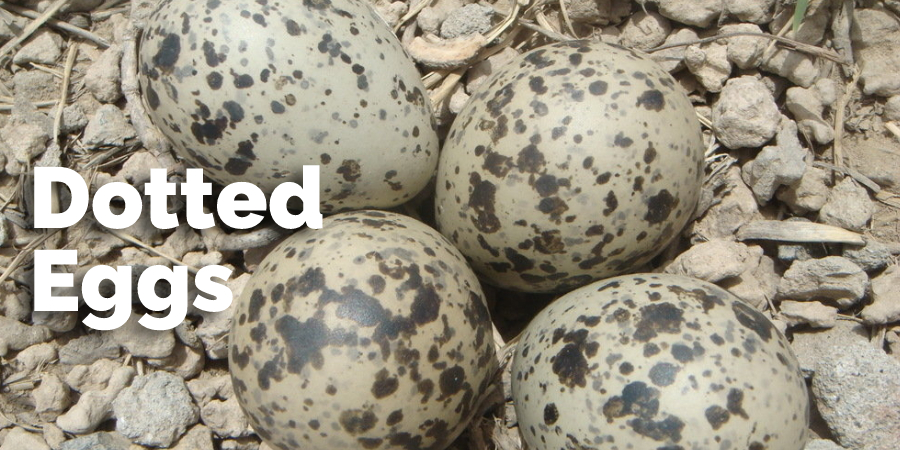
Dotted Eggs
Paint the surface with a color of the choosing, then add spots or adhesive strips on it and drop this into the colored dust. Make sure the paint is dry before starting. Lay a sheet of newspaper or plastic under your work surface. Shake the colored dust over the entire surface, holding the bottle several inches above the paint. Apply pressure to the bottle and hold it close to the paint for best results.
Rubbing
You should use a knife to scrape the surface best way to make numerous designs until you have also painted the eggs a particular color.
Using Wax
You should outline with wax on or sketch on the shell, then leave it in vinegar for a few hours.
Precautions
The eggs should be made at least one week before Easter.
It is important to keep the eggs cool during this time and not let them freeze or get too warm.
Some recipes recommend using cold water rather than hot when cooking hard-boiled eggs for their shells.
To ensure that they are cooked through without cracking, place them in a pan with enough room to fit in boiling water on two sides of each egg – so all four edges have contact with the boiling water, but none touch another egg. This way, if there’s ever an issue of some part not being fully done (i.e., yolk), it will still cook properly while everything else does as well.
How Much Time Will it Take For This Process?
This process takes about an hour and a half. The eggs will be dipped in cold water for 30 minutes, then boiled for 20-25 minutes before removing the shells to dry out and harden. Lastly, they are dyed with natural food coloring or liquid dye of your choice!
Which Color is Best for Dying Easter Eggs?
There are a number of colors that can be used when dying eggs for the holidays—the most popular being red, green, and yellow. However, there is so much more potential than just these three choices. Different countries get creative with their egg coloring options during the holiday season by using different natural dyes found in nature, such as onion peels or carrot skins.
In Hungary, they create beautiful pastel purple and pink eggs for celebrations like Easter by boiling down grape skin extract into liquid form, then dipping hard-boiled eggs into this dye before drying them off on a paper towel. It is an easy process with gorgeous results! Many other cultures will use turmeric, which produces an orange color if mixed with vinegar, while Turkish cultures will use onion skins for a nice brown color.
What Are Easter Eggs?
Easter eggs are fun because they represent hope and new beginnings. It is a tradition that has been around for many years, with most people referencing Easter’s Christian holiday as the reason it’s done.
In some cultures, Easter eggs have different meanings. Still, in general, these types of egg decorating projects symbolize fertility and rebirth, which is what makes them appropriate for this time of year when we’re celebrating springtime renewal.
Conclusion
Lastly, we hope that the process w have stated here will be beneficial for making Hungarian Easter eggs. Ensure personal safety throughout the process and while working with hot water and other materials, make sure to wear gloves. This will serve as a protection against adversities. Thank o and have a good day.
You may read also –
Elizabeth Davis
Elizabeth is a creative writer and digital editor based in the United States. She has a passion for the arts and crafts, which she developed from a young age. Elizabeth has always loved experimenting with new mediums and sharing her work with others. When she started blogging, she knew that DIYquickly would be the perfect platform to share her tutorials and tips. She's been writing for the blog from the beginning, and her readers love her helpful advice and easy-to-follow instructions. When she's not writing or editing, Elizabeth enjoys spending time with her family and friends.


