
How to Make Large Paper Mache Sculptures
Introduction:
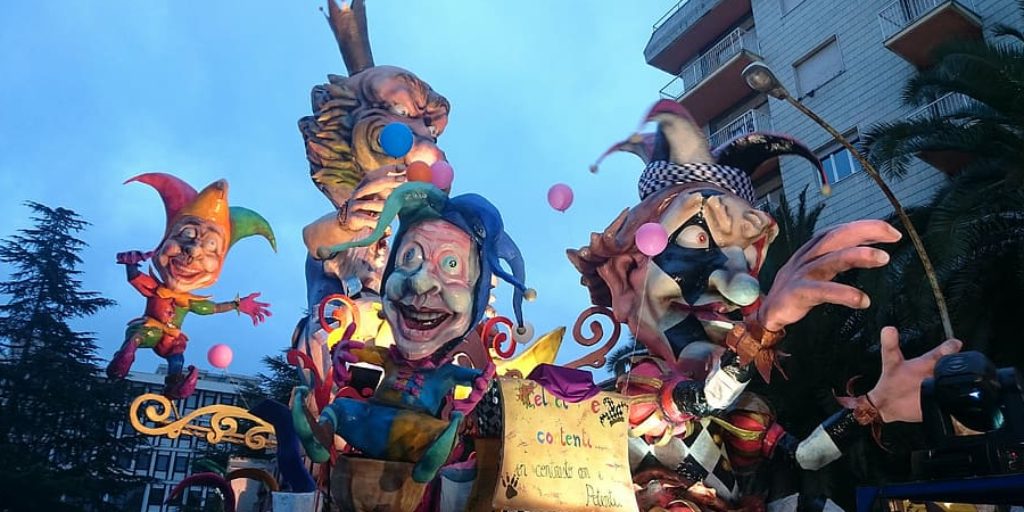
Paper mache sculptures are a craft that has been around for centuries. It was used to create statues and forms before the invention of plasticine and paper–mâché. The great thing about paper mache sculptures is you can make them in different sizes and styles, and they are all unique as each artist has their own technique when doing these projects.
Some artists make them from paper, while others use materials such as newspaper and magazine pages, and then their styrofoam peanuts are used to build a base for the project. I will discuss how to make large paper mache sculptures in this article. So let us get started.
Summary: Start by cutting out your desired shape from some sturdy paper. Then, use your favorite glue and a paintbrush to apply a layer of glue to the back of the shape. Next, carefully place the shape on top of a sheet of foam or cardboard and press down firmly. Finally, cover the sculpture with a layer of newspaper or other lightweight material to keep it in place while the glue dries. Once the glue is dry, carefully remove the newspaper and enjoy your beautiful sculpture!
How to Make Large Paper Mache Sculptures:
Papier-mache is a craft that uses paper pulp and flour to create decorative objects. There are two different ways of making papier-mache: wet methods and dry methods. Dry methods involve mixing the ingredients in a container and pressing them into shape.
Wet methods involve creating a pulp by soaking the paper, adding fabric or flour, and then using the wet mixture to mold the object into its desired shape. Large sculptures are often made by turning old newspapers into pulp; however, many people are unaware of how this process works or what it entails. To successfully make large pieces of papier-mache, you must have certain materials ready as well as follow several steps:
Materials Needed for Large Papier Mache Sculptures:
Paper, Newspaper, or Magazines –
Old newspapers work best. Be sure that it is not glossy; use only white or natural colored paper. Notebooks and graph paper can be used instead of newspapers if you want softer pieces of papier-mache. The amount of paper needed will depend on how large your sculpture will be, the size of the container in which you mix it, and what parts are being covered.

A general rule for most sculptures works quite successfully if you have a big enough bucket to put all your papier-mache into: use about two boxes (5-6 reams) of paper per 1-foot cube area for standard-sized sculptures such as life-sized humans. Use 3-4 boxes (8 reams) per 1-foot cube for larger animals, dinosaurs, and other large projects.
Flour –
All-purpose flour works best for papier mache as it is the strongest of all flours. Before using the paper, you must soak it in water until it is softened. Once saturated, remove excess water by squeezing it, then lay on a flat surface with about five newspapers underneath. Then you add your flour on top of each sheet and work through them all, rubbing thoroughly to ensure no loose parts (such as crumbs or curls).
Using unsifted flour can lead to lumps being in your newspaper and thus making it harder when molding your sculpture, so sifting is recommended; however, if you do not have a sifter or hand crank mill, then you can do it the old-fashioned way and use your hands to rub the flour through.
Glue –
Glue is essential for papier mache because it acts as both binder (a substance to hold everything together) and adhesives (the substance that sticks the pieces of paper together). Modge Podge works very well, but any glue will work. If you are using Modge Podge, be sure to mix in about three parts of water with 1 part of glue before putting it onto your sculpture.
To make this easier, mix the water and glue into one container instead of getting two separate containers and whisk thoroughly until thoroughly combined.
The amount needed will vary by how many layers you put onto your sculpture, but remember that the more layers you have, the thicker they will be and thus require more glue. A good general rule is to use about a cup of water per 5 reams of paper (about 1/2 gallon per box).
Paint –
Paint should only be sprayed after your papier-mache sculpture has dried (about 30 days) because wet paint can dissolve damp cardboard. Spray painting works well, but make sure to spray thin coats and wait for each layer to dry before spraying another, or else it may stick to the surface underneath.
This method is not recommended unless you have very minimal details or want a rough surface paint job; it is much easier and faster to brush-paint your project. Acrylic paint will dry hard and is cheap, making it the best choice for large projects through any paint should work just fine.
The amount of Modge Podge you’ll need for your project will depend on how many paper layers you use. A good rule of thumb is to use 1 cup of Modge Podge per 3-4 reams of paper (1/2 gallon per box). Remember that Modge Podge also acts as glue and paint, so you may need to use more of it to get the desired effect.
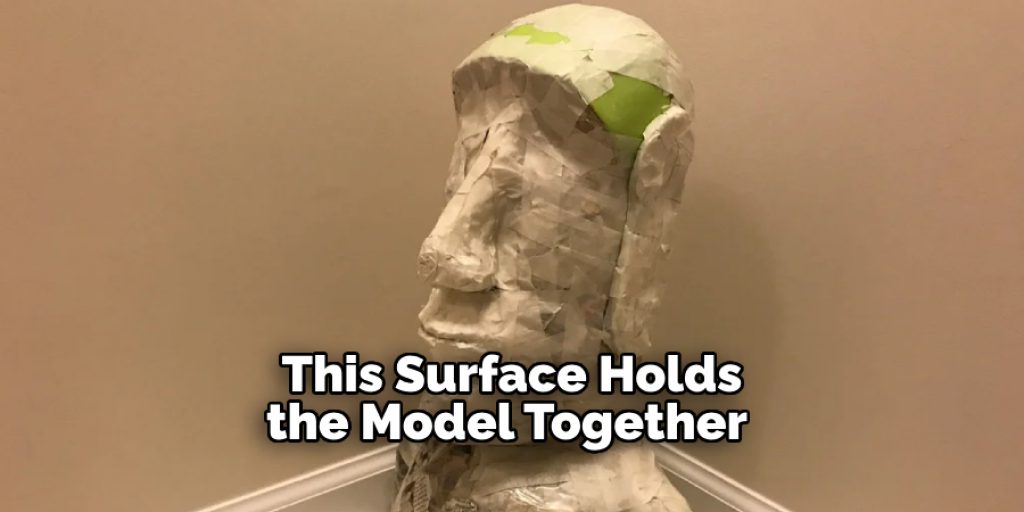
Sponges or another porous surface – Used to apply layers 2-6 only after the papier-mache sculpture has been dried. This surface holds the model together by eliminating air pockets and helps give a smoother texture:
Container –
When you are ready to start applying layers, you will need a container to mix up the papier-mache and something to put it in. A 5-gallon bucket works best for large projects, but any plastic or other non-reactive material that can hold water will work fine. The amount needed depends on how much you want to use:
Well-
ventilated area – When making papier-mache, you should always be working in an area with good ventilation as this is a very messy process, and the result needs plenty of space from drafts so it can dry thoroughly. If it gets wet before drying, it could end up warped or destroyed by mold. A garage, shed, or someplace like that would be perfect; however, if that is not available, the outdoors will do as long as you have a roof.
You Can Check It Out to Seal Plaster Sculpture
Procedure:
Once you have gathered all of your necessary materials and tools, it is time to begin. You should always start with the layer closest to the eyes and work down toward the feet.
This is because they are usually less detailed than the head or hands, so if an air bubble were to pop up, it would not be seen as much; if one does, in fact, pop on those areas though pat it flat again before adding more layers (if you do accidentally get one underneath make sure to fix it right away).
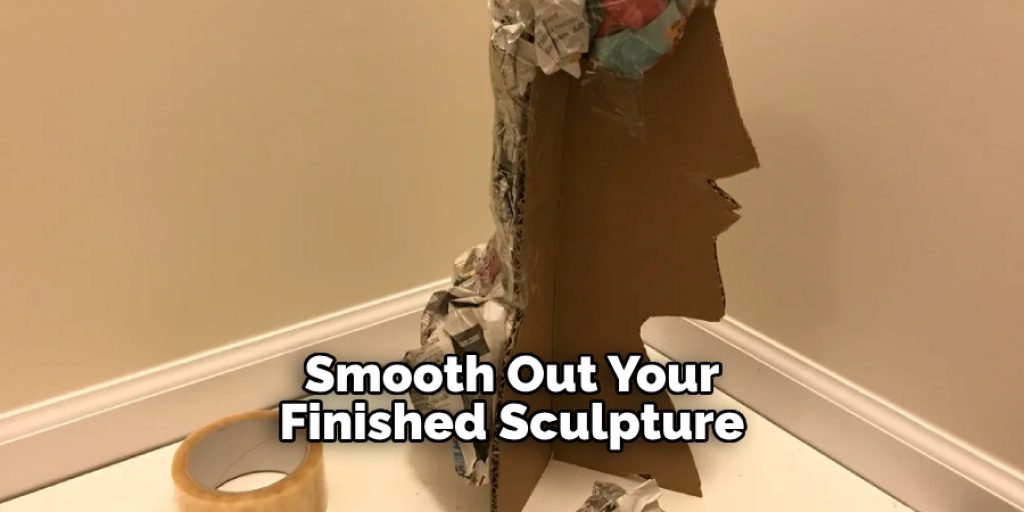
If there are little children around, having them help may also be helpful when applying glue and painting; however, do not let them use any tools such as sandpaper or the brushes you will use later to smooth out your finished sculpture, as these may be dangerous.
Creating a frame:
The first thing you want to do is create a good sturdy frame to hold and support the sculpture (this does not have to be particularly pretty; it is just used for safety). With whatever materials are available from around your house, they all should work fine.
The only important things are that there must be enough space both above and below the model for coats of papier-mache, as well as space on either side so it can dry properly without coming into contact with any other objects.
Also, be sure to leave enough of an opening at the top so you can get the model and any materials needed back in once it is finished.
You may want to rough up the surface with sandpaper or something similar before applying glue if you do not plan on covering it with paper later; this will help keep your paper from sticking as bad and make paint smoother. Once that is done, apply a thin coat of glue evenly over the areas you wish to include paper.
Paper-mache main body layer: Your next step would be to add cardboard pieces to cover all surfaces except for the bottom; these are what you will use every time you create new layers (though I would suggest including some newspaper or other type of paper under the first layer as this will help smooth out your finished product).
You should use some tape or glue to keep them in place, though I would avoid using paint, so you do not have to sand it off later
. First, apply a good thick coat of glue onto both sides. Next, take sections of newspaper and crumple them into balls approximately the size of your hand; this is a significant step because this is what holds everything together during the drying process;
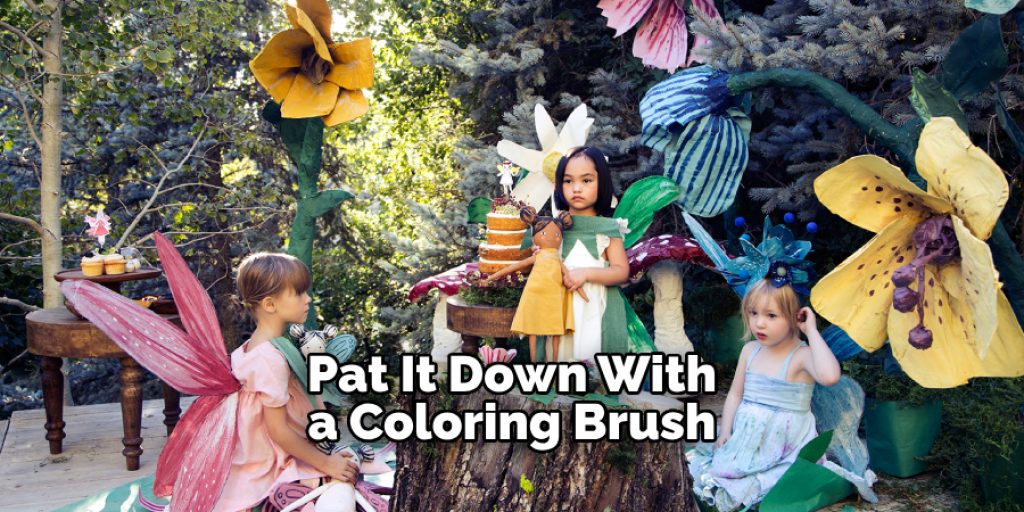
however, if you are not careful when applying these, they can tear through pieces and ruin your project (the one on the left was done improperly). After that, start adding layers until you get to where you want, then pat it down with a coloring brush:
Do two or three coats of this process to get a nice thickness. Finally, add your last layer (make sure it is thick enough that you will not be able to see through it) and let it dry for around 24 hours; use something like the following to prop up the model so air can pass underneath while drying (be sure to remove when done). Once dry, take everything off, and you should have a good start on your sculpture!
Paper-mache hands & face details: Next, you would want to add more detail to the hands and/or feet, as well as any other parts where there may be holes, such as ears. This goes basically the same way as before with paper-mache, only you use newspaper cut into strips for the details.
However, if you are putting them on your hands, you may want to try and find some paint that will make it stick better (I used craft glue). Just apply a coat of glue, then add the pieces:
You can also rub sandpaper over areas once dried to create a rougher texture which is good for making your fingers look more like skin; be careful, especially with this part, not to destroy any details. Detail tips:
This will take a little bit of practice, but I would suggest doing lots of small projects first before trying anything big, so you get the hang of using these techniques.
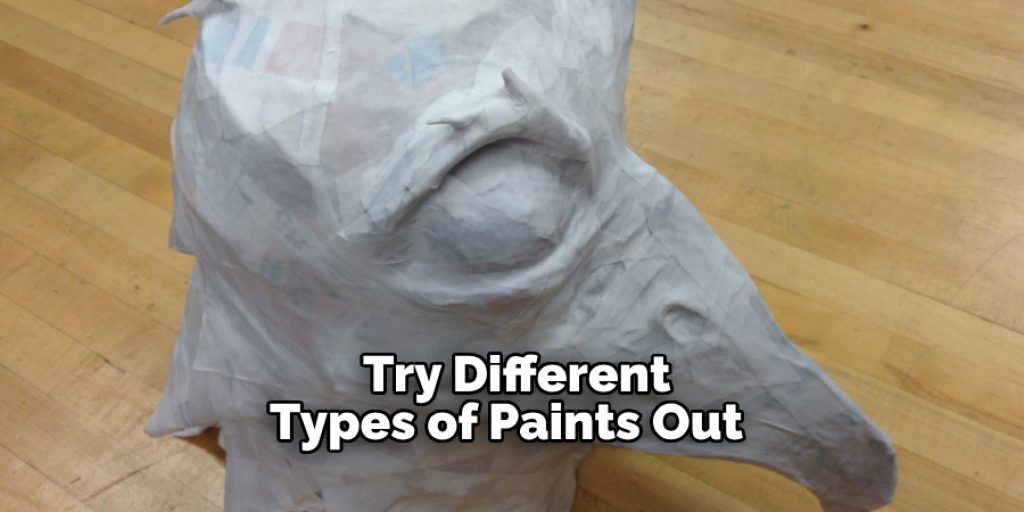
Depending on what kind of paper or material you use you may need to use some primer before painting if the material is not strong enough; this will give a smoother surface that paint will not stick to as bad. Also, try different types of paints out and see what looks best!
Conclusion:
I hope you have contained a clear idea on how to make large paper mache sculptures from this article. Thank you, and have a nice day!
Elizabeth Davis
Elizabeth is a creative writer and digital editor based in the United States. She has a passion for the arts and crafts, which she developed from a young age. Elizabeth has always loved experimenting with new mediums and sharing her work with others. When she started blogging, she knew that DIYquickly would be the perfect platform to share her tutorials and tips. She's been writing for the blog from the beginning, and her readers love her helpful advice and easy-to-follow instructions. When she's not writing or editing, Elizabeth enjoys spending time with her family and friends.


