
How to Make Led Lights Stick Again
It’s happened to all of us at some point – you’re trying to stick an LED light in a tight space, and it just won’t stay put. Whether it’s because the adhesive isn’t strong enough or the surface is too smooth, getting LEDs to stay put can be frustrating. But don’t give up! You can use a few tricks to ensure your LEDs stay put.
One option is to use a stronger adhesive. If the original adhesive isn’t doing the trick, try using something like super glue or hot glue. Just be careful not to get any on your skin or clothes, as it can be difficult to remove.
Another option is to roughen up the surface where you’re trying to stick the LED. This will give the adhesive something to grip onto, making it more likely to stay put. You can roughen up the surface with sandpaper or a file. Just be careful not to damage the surface too much.
In this blog post, you will learn in detail how to make led lights stick again.
Step-by-Step Processes for How to Make Led Lights Stick Again
Step 1: Cut a Small Slit
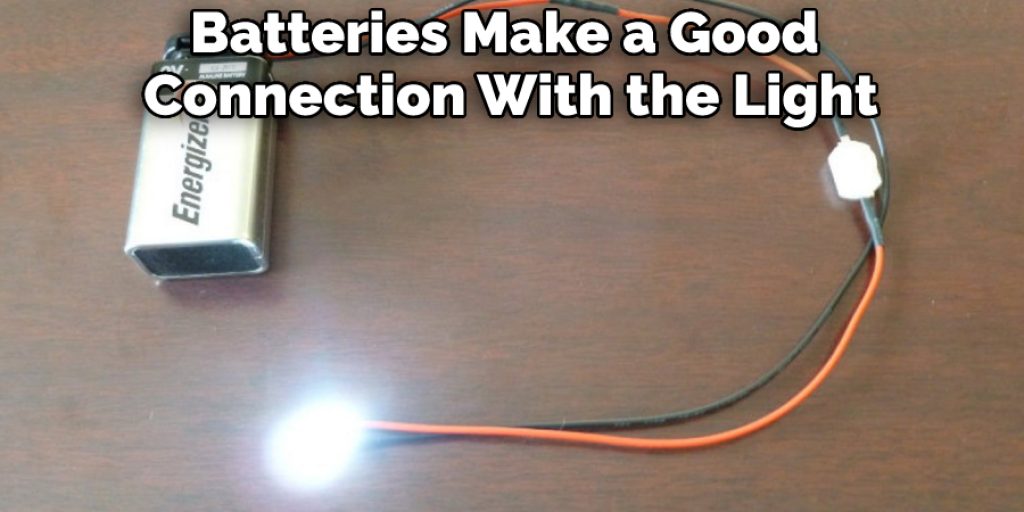
To make the LED light stick again, you will need to cut a small slit in the back of the battery case. Once you have cut the slit, use a small screwdriver or another sharp object to pry open the battery case. Once the case is pried open, remove the old batteries from the compartment.
Use a cotton swab or a q-tip soaked in rubbing alcohol to clean the battery contacts. This will help ensure that the new batteries have a good connection. Once the contacts are clean, insert new batteries into the compartment. Use the screwdriver to close the battery case.
Step 2: Remove the Old Batteries
Once you have cut the slit, carefully remove the old batteries from the case. You may need a small screwdriver to help pry them out. Once the old batteries are out, dispose of them properly.
Cut two new batteries to the same size as the old ones using a sharp knife. Make sure that the positive end of each battery is facing up. Slide the new batteries into the case, being careful not to damage the LED light.
Step 3: Clean the Contacts
Before you insert new batteries, it is important to clean the contacts. This will help to ensure that the batteries make a good connection with the light.
Use a soft cloth or cotton swab to remove any dirt or debris from the contacts. If the contacts are very dirty, you can also use a mild solvent such as rubbing alcohol to clean them.
Step 4: Insert New Batteries
Once the contacts are clean, you can insert new batteries into the case. Make sure that the positive and negative ends of the batteries are facing the correct directions, according to the markings inside the case.
If your LED light uses AA or AAA batteries, you can use rechargeable batteries to save money in the long run. Just be sure to use the same type of battery for all four slots; mixing battery types can cause damage to the light.
Step 5: Secure the Back
Once the batteries are inserted, you will need to secure the back of the case. This will ensure that the batteries do not come loose and that the entire unit stays together. You can use a small piece of tape or a drop of glue to keep the back in place.
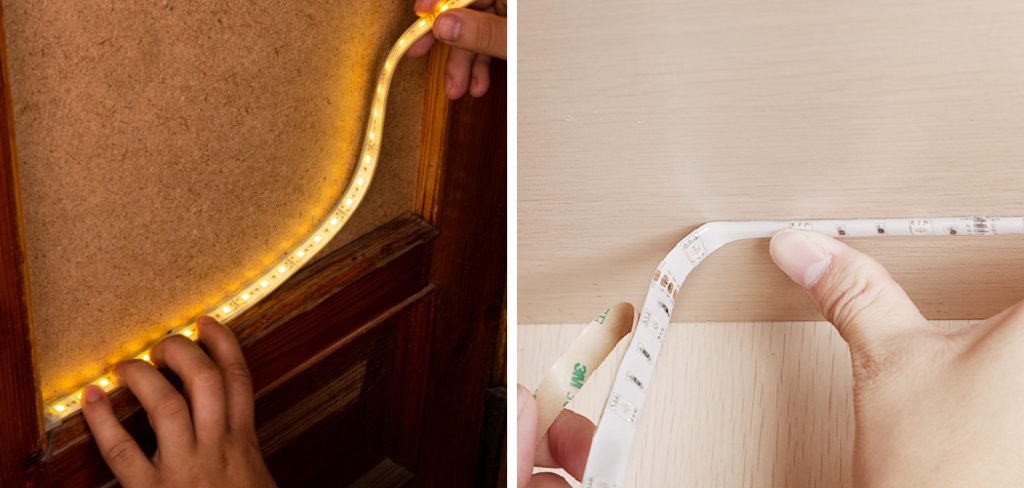
Step 6: Attach the Led Light to Desired Location
Now you can attach the LED light to the desired location. Be sure to use the proper adhesive for your working material. Also, be sure that the LED light is in a location where other objects will not obstruct it.
After inserting the new batteries, close up the battery case and try the light. If it still doesn’t work, ensure the batteries are inserted correctly, and the contacts are clean. You may need to replace the batteries again.
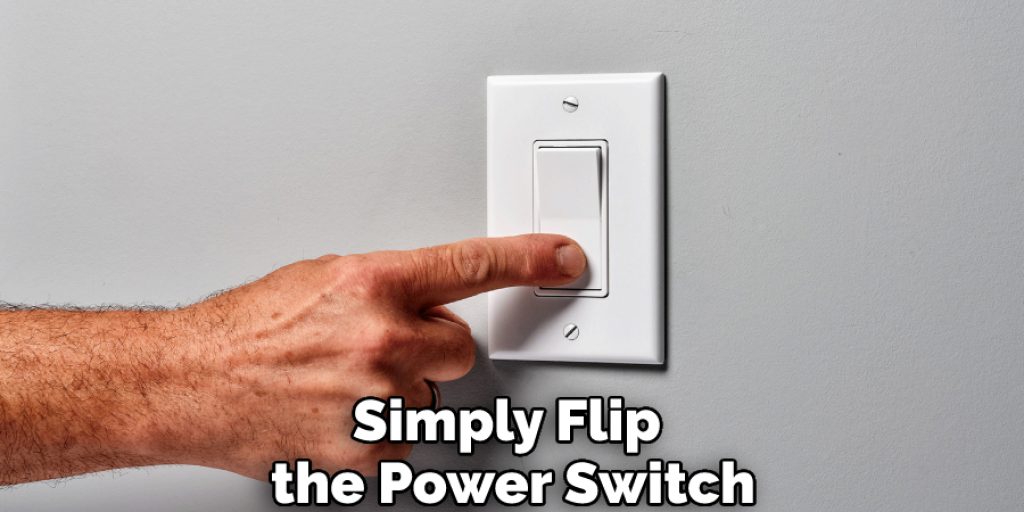
Step 7: Turn on the Power Switch
To turn on the LED light, simply flip the power switch. The LED will now be on and shining brightly. You have now successfully made your very own LED light! This light can be used for various purposes, including accent, task, or even general room lighting. Be sure to show off your work to family and friends.
If your LED light is still not working, there may be a problem with the light itself. Try contacting the manufacturer for troubleshooting tips or a replacement.
Safety Tips for Making Led Lights Stick Again
- Use only high-quality LED lights. Make sure the area around the light is clean and free of debris.
- Apply the adhesive to both the light and the surface. Wait for the adhesive to dry completely before attaching the light.
- Do not use too much adhesive, which can cause the light to fall off. Secure the light in a place with tape or another method if necessary.
- Allow the adhesive to cure for 24 hours before using the light. Do not use the light in an area where it will be exposed to water.
- If the light falls off, do not attempt to reattach it yourself. Inspect the light regularly to make sure it is still securely attached.
- Do not use the light if it appears to be damaged in any way.
- Do not use the light if the adhesive is coming off.
- Always follow the manufacturer’s instructions for use and care. Keep out of reach of children and pets.
- Discard the light properly when it is no longer needed.
How Can You Keep Your Led Lights From Falling Off?
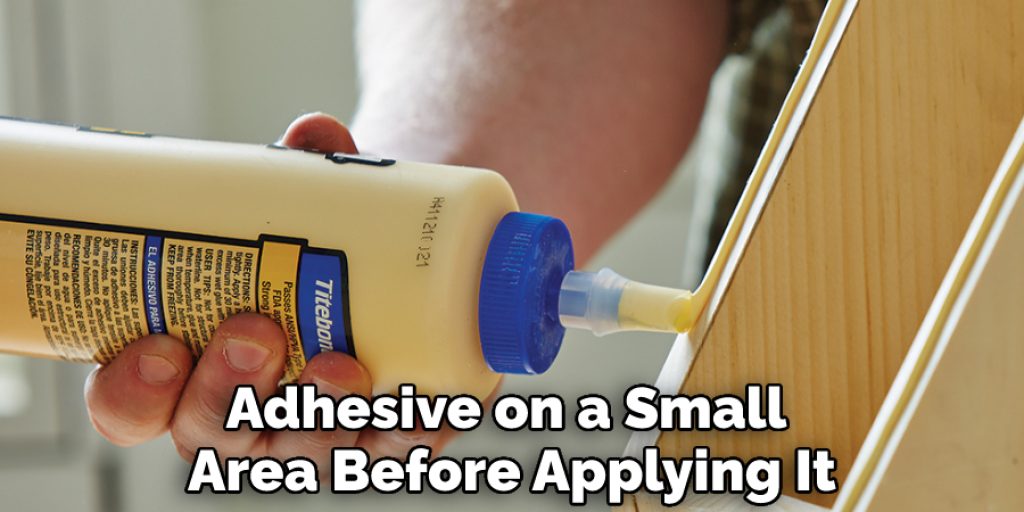
If your LED lights have started to fall off or become loose, there are a few things you can do to make them stick again. First, try cleaning both the light and the surface it is supposed to be sticking to with mild soap and water.
This will remove any dirt or grime that may prevent the adhesive from sticking. If this doesn’t work, you can try using a stronger adhesive such as super glue or epoxy. Be sure to follow the instructions on the product packaging and test the adhesive on a small area before applying it to the light.
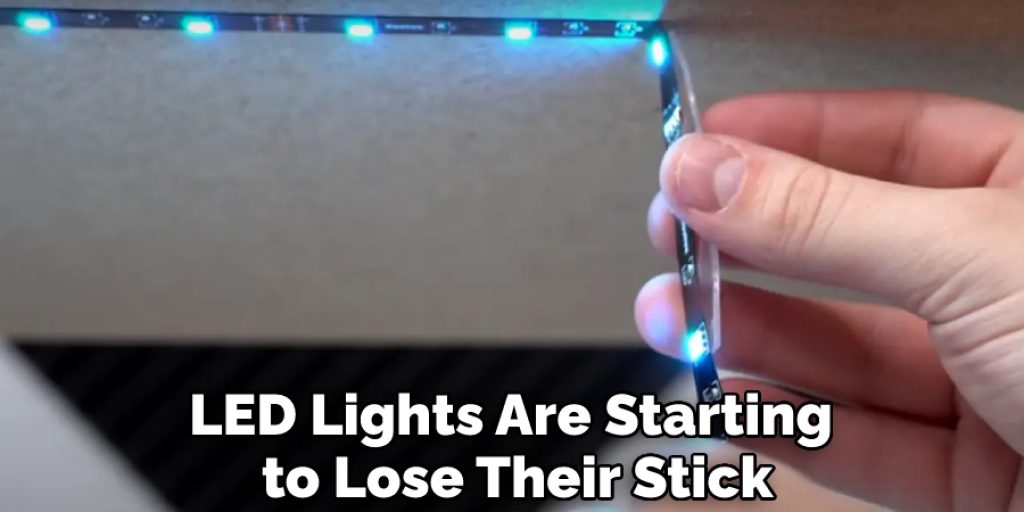
Can Led Strip Lights Be Sticky Once Again?
If your LED lights have stopped sticking, there are a few things you can do to make them sticky again. First, try cleaning the surface where the LED lights will be applied. If that doesn’t work, try using a stronger adhesive or double-sided tape. Finally, if all else fails, you can try using magnets to attach the LED lights to the surface.
You Can Check It Out To Keep Led Light Strips From Falling Off
Do Led Light Strips Get Hot?
LED light strips are a popular way to add accent lighting to your home. They are typically used to highlight a room’s features or add a bit of fun and whimsy. However, one downside of LED light strips is that they can get quite hot. This can cause the adhesive backing to loosen, making the lights fall off.
If your LED light strip has fallen off, you can do a few things to make it stick again. First, try cleaning the strip’s surface and the surface to which it is attached with rubbing alcohol. This will remove any dirt or debris that may be preventing the adhesive from making a good seal.
If that doesn’t work, you can try using a stronger adhesive. Many hardware stores sell double-sided tape that is specifically designed for use with LED light strips. Be sure to follow the manufacturer’s instructions for the best results.
In some cases, replacing the entire LED light strip may be necessary. If the strip is damaged or the adhesive backing is no longer sticky, it will need to be replaced. You can find replacement strips at most hardware stores or online retailers.
With a little bit of effort, you can make your LED light strip stick again and enjoy the benefits of accent lighting in your home.
Conclusion
If your LED lights are starting to lose their stick, there are a few things you can do to make them stick again. First, try cleaning the surface of the lights with a damp cloth. If that doesn’t work, you can try using a bit of clear nail polish or rubber adhesive. If those don’t work, you can always buy new lights.
You can make your LED lights stick again by following these simple tips. By taking the time to clean your lights and ensure that they are free of debris, you can prolong their lifespan and keep them shining brightly for years to come. I hope this article has been beneficial in learning how to make led lights stick again.


