
How to Make Luster Dust
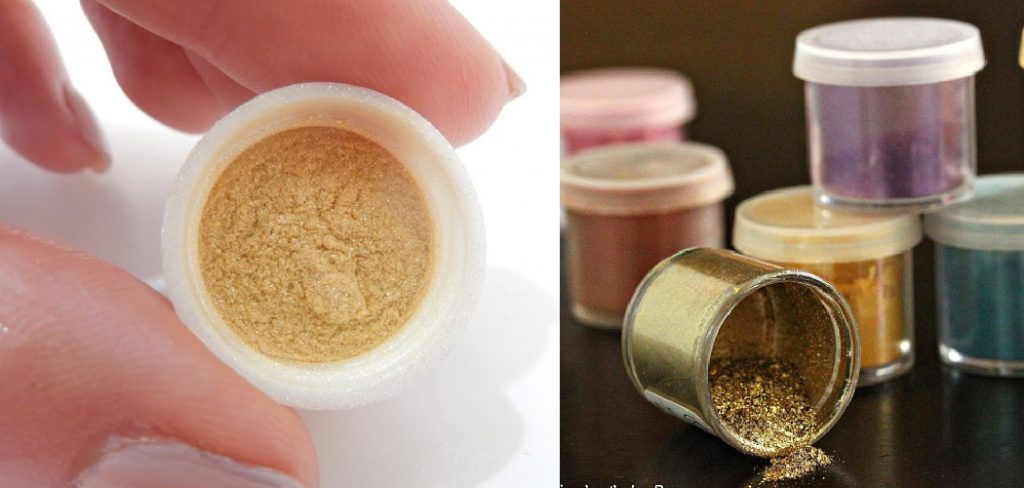
Luster dust is a versatile and inexpensive craft supply that can be used to add shimmer and shine to many different projects. It comes in a wide array of colors, so you’re likely to find the exact hue you need for your project. This article will discuss how to make luster dust and provide some ideas on what types of projects it may work well with.
Luster Dust has many uses from cake decorating, wedding decor, scrapbooking, etc. Making your luster dust at home is relatively inexpensive and straightforward! Not only does it give the appearance of natural, edible glitter, but it’s lightweight and won’t damage the structure of your cake like heavier embellishments can do.
It also has little chance for the mess as you apply it with a simple paintbrush or even an old toothbrush! Read on to know how to make this amazing sparkling dust at home.
10 Ways on How to Make Luster Dust:
1. With water
Pour a small amount of luster dust into a small container. Add just enough water to dissolve the luster dust. If it doesn’t dissolve, add more water. A toothpick may be used to help dissolve the luster dust if needed.
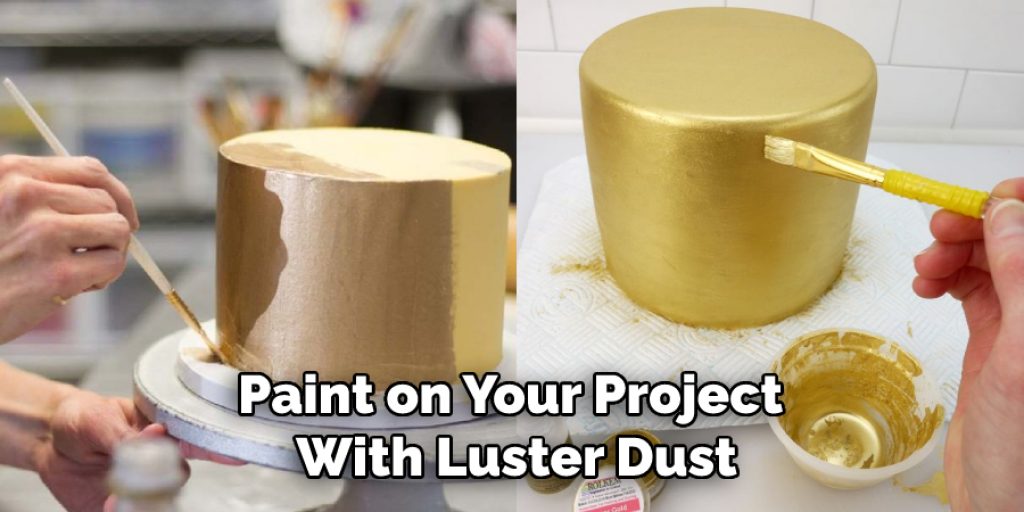
Now you can paint on your project with this mixture using a brush or cotton swabs. Hold the paintbrush or cotton swab upright while dipping it into the luster mix. Let excess mix drip off before applying it to your project for a more dramatic effect.
2. With Baby Powder
Add a small amount of luster dust to an empty baby powder container. Add just enough baby powder to make the luster dust stick together, but not too much that you can’t mix it in thoroughly. Next, sprinkle this mixture on your project using a toothpick or paintbrush dipped in water.
This is very similar to method one but is a little less messy. As with method one, this is a great way to create colorful or glittery eyes, but it can also be used on your project as a whole. Some crafters like to use colored baby powder and then sprinkle over their paint or glue, to create a multi-colored finish.
3. With alcohol
Make a robust luster dust solution in alcohol. Alcohol will dissolve luster dust better than water, so you can use less alcohol to create a stronger solution. Pour your luster dust into a small container and add just enough alcohol for it to be dissolved.
You can test the strength of your luster dust solution using this method Wet one side of a clean cotton swab with plain water and the other side of the cotton swab with your luster dust solution. Dab or swipe the wet swabs onto a piece of paper to see if your luster dust solution is strong enough. If it isn’t, add more alcohol and test again. Use this mixture on your project using a toothpick or paintbrush dipped in water.
4. With White Glue
Make a very thick mixture of white glue and luster dust. You can use a toothpick or a pen to mix the two. Once the mixture is thick, add a few drops of water until it’s thin enough to paint on your project with. Apply this mixture to your project using cotton swabs or paintbrush dipped in water. Apply a coat of spray sealer.
This will protect your project and keep it from getting dusty or dirty. Seal the area with several thin coats instead of one thick one, which will cause the glue to become gummy.
5. With Clear Nail Polish
Make a thick luster dust solution with clear nail polish. Pour a small amount of clear nail polish into an empty container, then add just enough luster dust to thicken the solution. Add more luster dust until it is very thick, almost like syrup. You can test if your mixture is too thin by dipping a toothpick or cotton swab into the mixture and seeing if it coats the toothpick/cotton swab. If it doesn’t coat well, add more luster dust to thicken it up.
6. With Glue Stick
For more shine, coat the finished Luster Dust-covered areas with a light layer of glue stick. This will seal it and make any slightly bumpy area, especially in dark colors, look smooth. But be careful not to use too much, so you don’t see the glue in the final product. We recommend testing this method on a small area before getting started.
7. With Block Mod Podge
Another way to seal your project is with a coat of Block Mod Podge. This method works best for more significant projects, as this product can be pricey and heavy-duty. When you cover the area with Mod Podge, make sure it’s completely sealed and leave it to dry for several hours (or overnight). The Mod Podge will add a protective coating to your Luster Dust and prevent it from rubbing off other surfaces.
8. With Gel Medium
There is a medium that works similarly to Mod Podge but with better results. Gel Medium, as the name suggests, is thicker and gives off a gel-like consistency. This method is also more durable than using Glue Stick or Mod Podge alone. You can seal your Luster Dust creations with Gel Medium the same way you would use Block Mod Podge. You can then paint, ink, or stamp on top of it.
I have used Gel Medium to seal and preserve my polymer clay creations. You can also use Gel Medium as an adhesive if you just want to add a bit of sparkle to an existing project without changing the overall appearance.
9. With Acrylic Varnish
Adding an acrylic varnish to your Luster Dust project will create a protective layer while adding shine. This method is best used when creating metal-like objects that are more durable, like jewelry and small metal trinkets. To apply the varnish, use a gel medium and mix in translucent acrylic varnish.
The gel medium acts as a binding agent, so the varnish will adhere to your project better. This can be applied with a brush, or by using a fine paint brush and a small container of the mixture. Simply dip the tip of the brush into the mixed liquid and apply to your project. Let it dry overnight before handling.
10. With Stain and Varnish
For a satin finish to your luster dust items, try using a stain and varnish mixture. First, apply the stain of your choice to your project. We recommend choosing a darker color, like red or black, because it will show off the golden shine of the luster dust better than lighter colors. After the stain dries, apply a layer of varnish. This method will bring out rustic qualities in your luster dust, making it look like golden metal.
You Can Check It Out to Apply Dry Luster Dust
Some Tips and Suggestions
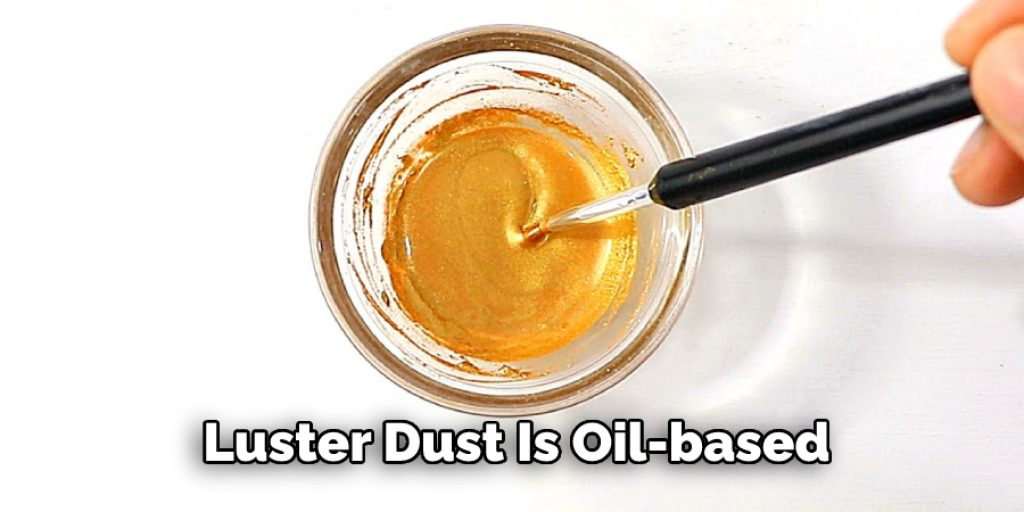
- Luster dust is oil-based. You can use any non-toxic oil, but don’t ever substitute baby or mineral oil. Olive oil is good, too, as well as many others.
- Oil-based luster dust is not dangerous if you use them properly. But when inhaled, they can cause respiratory problems (such as asthma). So use in a well-ventilated area.
- Luster dust, generally speaking, is a food-grade material. But few brands of luster dust are meant to be eaten. Some will cause problems if ingested.
- Avoid using powdered sugar or cornstarch on dark surfaces because you won’t get the desired effect, and it can be dangerous to consume.
- You can create a paste with luster dust and isopropyl alcohol (rubbing alcohol) for more accessible application and control.
- If you don’t want to use oil, you can use an emulsifier such as glycerin or propylene glycol in water instead. You will need less color because it is already diluted.
- To mix colors or change the color completely, add different amounts of TKB’s Earths and Pearls to get different shades.
Conclusion:
Luster dust is a great way to add shimmer and sparkle to your work. As you can see, it’s easy enough for anyone with even the most basic of crafting skills. Once you have mixed your luster dust, seal it with a clear topcoat. Next, use the brush to pat on the dry mixture for best results. The DIY luster dust recipe is now complete!
You can also use this same technique for making shimmer powder; just substitute cornstarch or baby oil instead of tylose. Have fun experimenting with different colors and textures to find what works best for you! We hope that these instructions are helpful and informative so that you too can enjoy crafting at home without spending an arm and a leg on supplies from craft stores. If you liked this post on how to make luster dust, be sure to share it with friends and family!


