How to Apply Dry Luster Dust
Dry luster dust is a great way to add extra sparkle and shine to your finished projects. It’s easy to apply, and it comes in various colors to match your project. In this blog post, we’ll show you how to apply dry luster dust so you can get that high-end look for your next project.
First, apply a primer or base coat on eyelids and brow bones before applying powder shadow. Next, use an angled brush to apply a thin layer of loose powder eye shadow over the top lid only, from lash line up towards where your eyebrow begins.
Finally, brush away any excess powder with a clean blending brush or tissue paper until there’s no visible residue left on the skin. Read on to know more!
10 Ways on How to Apply Dry Luster Dust
1. Brush or Sponge
Brushing on the dry luster dust gives a very subtle application that works well with a light touch. If you have a dense brush, use it to work the powder into all the nooks and crannies of your project. A sponge can also be used, but it soaks up more powder.
2. Cotton Swab
A cotton swab is perfect for adding highlights to your project. Dip the end of the swab into the powder and then apply it to your project. Use a wet or dry cotton swab, depending on the desired effect.
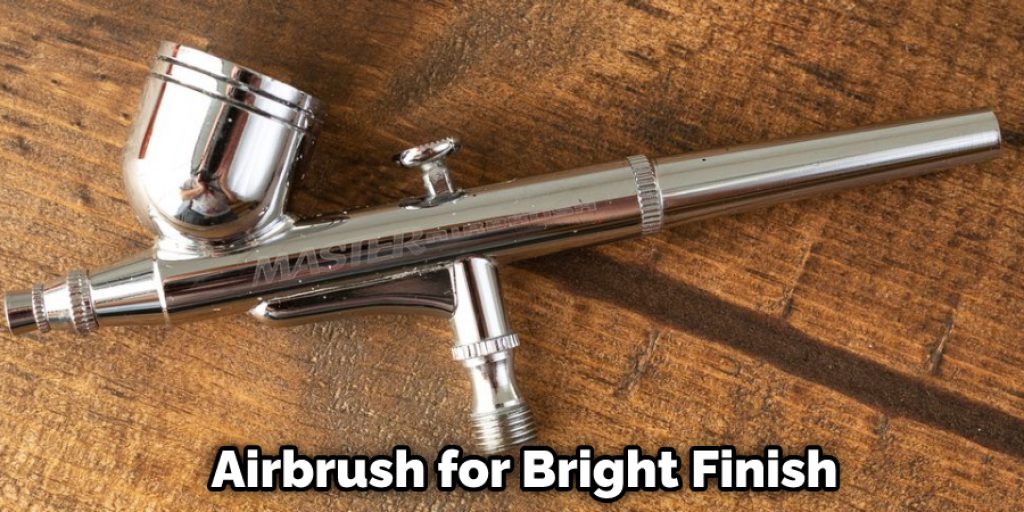
3. Airbrush
Airbrushing is a great way to get even, opaque coverage, especially if you’re going for a bright finish. Just tap off any excess powder from your brush or sponge before you start. You can always add more if you need to, but it’s harder to take away once it’s on!
4. Alcohol Ink Applicator
Instead of using water as an activator, use some alcohol ink. This will give you a completely different finish. Apply this technique with a brush or sponge, depending on the desired effect.
5. Sprays
Use aerosol sprays to create an even sheet of powder on your project. This works especially well on flat surfaces. Remember that too much spray will have the opposite effect of what you want and make it appear powdery instead of sparkly.
6. Calligraphy Pen & Ink
At first, this may sound a little strange, but it works! Use an ink pad to apply the luster dust to your project or stamp with a calligraphy pen dipped in some luster dust. This gives a unique look to your project.
7. Spritz with Water Before Drying
This method creates an even powder coating on large surfaces, like a wall! Simply use an atomizer bottle filled with water and spray it onto your surface before applying the dry luster dust.
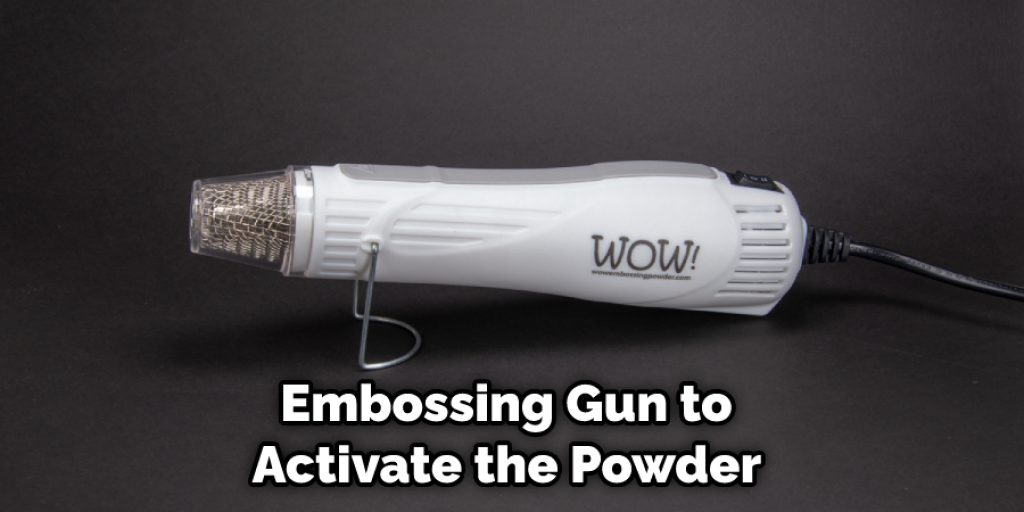
8. Heat Tool or Embossing Gun
If you want to make your project shine, use a heat tool or embossing gun to activate the powder. Hold the heat tool or embossing gun about 1/2 inch away from your project and move it in a circular motion to cover the entire project.
9. Glue Dots
Adding dry luster dust to your projects with glue dots is a quick and easy way to get a pretty finish. Apply glue dots to where you want the powder to go, tap on some of the luster dust, and then press gently to activate the powder with your finger.
10. A Sponge Dauber
Use a sponge dauber to apply dry luster dust for a very subtle, creative application that works well with intricate designs and details. This is a great method for adding highlights and dimensions.
Now that you know all of the different ways to apply dry luster dust, it’s time to get creative! Try out some of these methods and see which one gives you the desired effect. Happy crafting!
You Can Check It Out to Use Luster Dust on Buttercream
Some Tips and Suggestions
1. Always shake the container of luster dust well before use.
2. To apply the luster dust, use a dry paintbrush.
3. Tap off any excess dust before applying it to your project.
4. Apply in small amounts, and brush gently to avoid smudging.
5. If you are working with a dark color scheme, it is best to start with a lighter color of luster dust and then add more as needed.
6. Luster dust can also be mixed with other mediums, such as alcohol or glycerin, to create various effects.
7. For a shiny finish, work with the tacky top layer of paint and add luster dust in small amounts.
8. For a matte finish, brush off any excess powder and work on the second or third layers of paint.
8 Benefits of Applying Luster Dust
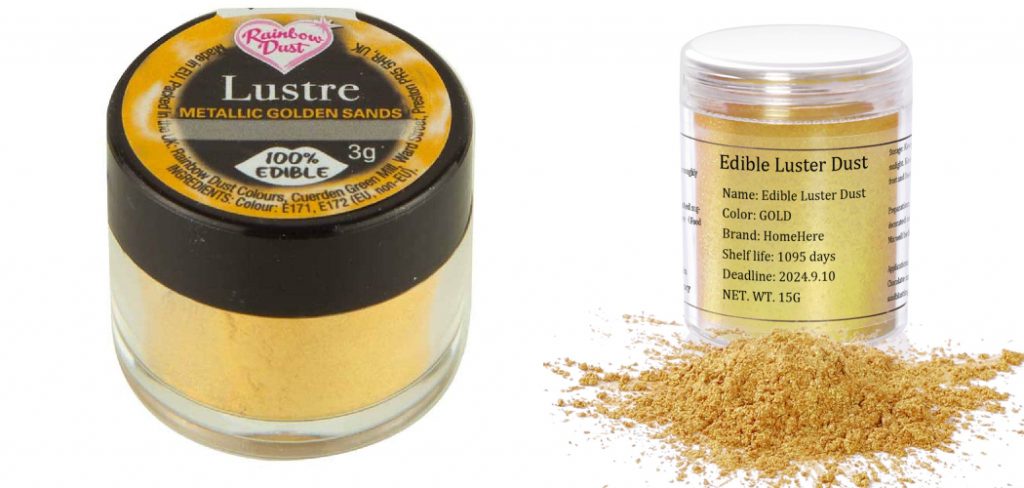
1. Luster dust is a great way to add color and shine to your cakes and desserts.
2. It can be used to create highlights and depth on your cakes.
3. Luster dust can also be used to create edible decorations on your cakes.
4. Luster dust can help cover up any imperfections on your cakes.
5. Luster dust will give your cakes a professional finish.
6. Luster dust is easy to use and is a non-toxic product.
7. Luster dust comes in various colors, so you can choose the perfect color for your cake.
8. Luster dust is a great way to make your cakes look more elegant and festive.
Things to Consider When Applying Luster Dust
1. Luster dust is a cosmetic-grade powder. It contains no preservatives and does not need to be sterile, but clean your tools well after each use!
2. Luster dust must contact a damp surface, either water or alcohol-based. This causes the dust to stick to whatever you are applying it to. If you want it to stick to something dry, you must first coat it with a natural or alcohol-based sealer.
3. Some luster dust colors are more resistant to fading in sunlight than others. Reds and pinks are generally the most light-sensitive, while greens and blues are more resistant.
4. Luster dust can be mixed with other powders to create custom colors.
Conclusion
With dry luster dust, you can create a glamorous and sophisticated look. You’ll need to apply it with an eye shadow brush or your fingers before applying the eyeshadow. Dry luster dust is available in many different colors, so you should find one that matches any skin tone or desired effect.
It’s important to note that these types of powders tend to have fallout, which means they may get on clothes and other surfaces if not applied carefully. If this happens, simply wipe off the powder with a makeup remover cloth without rubbing too hard!
We hope this blog post on how to apply dry luster dust has been helpful. If you have questions about anything we’ve discussed in this blog post, please get in touch with us anytime!