
How to Make Miniatures Figures?
Miniature figures are literally fun. It somehow represents the character inside you. You can easily buy one of the favorite characters from your nearest shops or online. But honestly, it is hard to find a miniature character that actually represents you. Maybe you are also one of them, and even after looking for your favorite character for hours, couldn’t find it. If that’s the case, why not built your own miniature characters? Sounds interesting, right? You can design it in your own way and express the boss monster that accurately suits your style. So, leave all your works for a while, and let’s see how to make miniatures figures.
Honestly, it isn’t as hard as you are thinking. I also felt as hesitation before my first attempt, but once I completed it, I am now confident enough to make thousands of them. I neither have any art training, nor I am a professional sculptor, but I made it out with a little effort. That’s why I would love to share my experience with you guys. With these simple tactics, your miniature character will be ready within no time. So, without any delay, let’s dive in!
How to Make Miniatures Figures?
First, you’ll need to gather some materials. You can use different materials to make your miniature figures, but I’ve made them more affordable. If you want, you can use expensive Green Stuff, but be careful; otherwise, the sculpture can become slightly brittle. For now, though, gather the following materials.

Super Sculpey
Sculpey is a type of clay that can be used to make sculptures. It is available at most hobby shops for around 20 dollars. Some people use a combination of Sculpey and another type of clay, but you can also just use Sculpey by itself.
There are two main types of clay – regular and grey. Regular clay is soft and sticky, making it good for creating thin parts or adding textures. However, it can be difficult to remove smoothly. Grey clay is rigid and good for creating sharp, clean edges. However, it doesn’t stick well.
Wires
I have used two different kinds of wire one is a steel wire with a 1mm diameter of thickness, and the other one is “twist tie” wire. You can easily find the twist tie wire in your house.
Pilers
Pilers are needed for making the arms and legs. These things are also useful when you are going to make the figure on the twist tie wire only.
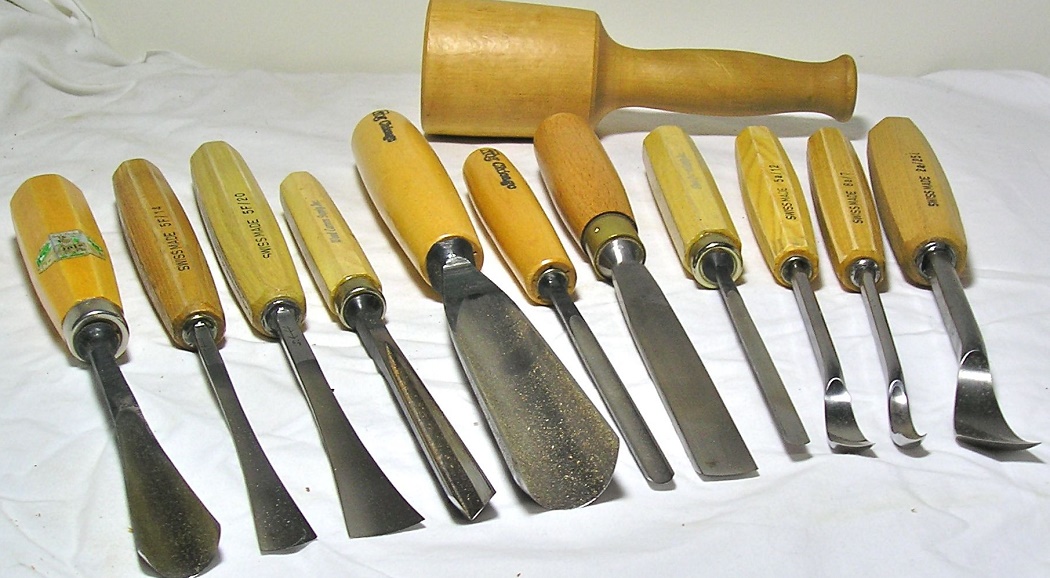
Sculpting Tools
When making small sculptures, it may be better to use a dentistry tool, a wood branch, a flattened-out paper clip, some epoxy, and a needle.
Acrylic Paint and Paintbrushes
You have to color your sculpture to give it a realistic look, and of course, small paintbrushes are required for that. You need a top-quality paintbrush to achieve the best results.
The best option is to choose a synthetic brush, because it is more durable and holds more paint.
If you want to paint with acrylics, make sure that your brush is designed for this specific type of paint.
Acrylic paint is water-based, so it can damage natural bristles if you don’t clean your brush immediately after use. I highly recommend buying a set of small brushes to avoid wasting time on choosing the right one every time you need it.
A Flat Workspace and a Magnifying Glass
You are going to need enough space to make your sculpture. You can use your desk for that, and the magnifying glass will be useful for giving the figure the required detailing. Now follow these simple steps.
The Methods
Step 1
Sculpey is a modeling clay that is soft and easy to work with. To make a flat piece of Sculpey, start with a small piece of clay around 1 inch in diameter. Roll the clay until it is flattened, then cut off any excess clay and smooth the edges.
Step 2
In this step, you have to make the armature. I begin it by cutting the thicker wire into a diameter of 3cm tall. It will be better if you cut it with 5cm or a bit longer. If needed, excessive points can be cut off. Once you have cut the wire, use the pliers to bend it and turn it into the shape of your sculpture’s body. You have to also make the legs and arms through this, so make sure to bend it in such a way.
Step 3
It’s time to start sculpting your character! Add some Sculpey to the bottom of the sculpture to help hold it in place, then start adding clay to the shape. Use your imagination to add clothing, armor, or anything else the character might need. Once you’re happy with the sculpture, add some colors to give it a realistic look. But be careful not to work too quickly or you might ruin the whole thing. When you’re finished, give your sculpture a final check before baking.
Step 4
It is time for baking. At first, preheat your oven at 130C or 275F. Then put the sculpture into the oven for 15 minutes. Make sure to keep an eye on the plastic or metals because excessive heat can melt them down. In this case, it will be better if you keep the plastic pieces out when baking it. However, if you have completed baking, make it cool for another 15 minutes. Your DIY miniature figure will be ready then.
Frequently Asked Questions
Which Clay Is Best for Miniature Sculpting?
Clay is a versatile material that can be used for many different purposes. Clay comes in many colors and textures, and each type of clay has its own unique characteristics.
The most popular types of clay are:
• Fimo – this is a soft white clay that can be molded easily and doesn’t require a lot of special tools to work with it.
• Sculpey – this is an easy-to-use clay that’s perfect for kids because it’s non-toxic, sticks well to itself, and dries quickly without cracking or warping.
• Plaster of Paris is great for beginners because it has similar properties as Fimo but is slightly harder to hold its shape better when sculpting.
Do I Need to Be Good at Drawing to Sculpt?
No, drawing is not necessary to sculpt. However, it does help in a number of ways.
Drawing helps you learn about the 3D world through observation and use of perspective, color theory, and more. It also helps you understand how light works in your sculpture and what shadows will look like on different surfaces.
It also makes sculpting easier because you can use your imagination to create shapes that aren’t there yet or think of new ideas while working with clay.
What Is the Opposite of a Miniature?
The opposite of a miniature is the term for a person who doesn’t live in the same place as their parents or siblings. A miniature would be someone who lives with their parents or siblings but not in the same house.
Why Are Miniatures Called Miniatures?
A miniature is a small replica of something that is usually much larger. In the case of miniatures, they are usually smaller than life-size and are made to be decorative objects.
In old times, when artists created paintings, sculptures, or drawings, they would make these objects “the size of a man’s fist” to show them off in their studio. Of course, they would also sell these works as real art pieces. However, as people became more wealthy and started collecting such works for themselves, artists began creating smaller versions that could fit on shelves or tables instead of being displayed in galleries.
Conclusion
I have covered the easiest way to make the miniature figures at home. As I have said, there are many ways (expensive ways) to make these figures. If you got some suggestions or something more unique to make these figures, let me know. But hopefully, none of you has to ask how to make miniatures figures again.
Check it out to learn to clean bisque figurines.
Elizabeth Davis
Elizabeth is a creative writer and digital editor based in the United States. She has a passion for the arts and crafts, which she developed from a young age. Elizabeth has always loved experimenting with new mediums and sharing her work with others. When she started blogging, she knew that DIYquickly would be the perfect platform to share her tutorials and tips. She's been writing for the blog from the beginning, and her readers love her helpful advice and easy-to-follow instructions. When she's not writing or editing, Elizabeth enjoys spending time with her family and friends.


