How to Make Movable Louver Shutters
Movable louvers shutters are an excellent way for homeowners to add privacy and security while still letting light in. They can be used on any window at least 8 feet high by 6 feet wide, which covers most windows you’ll find around the home. Here are some ideas to get started with your project.
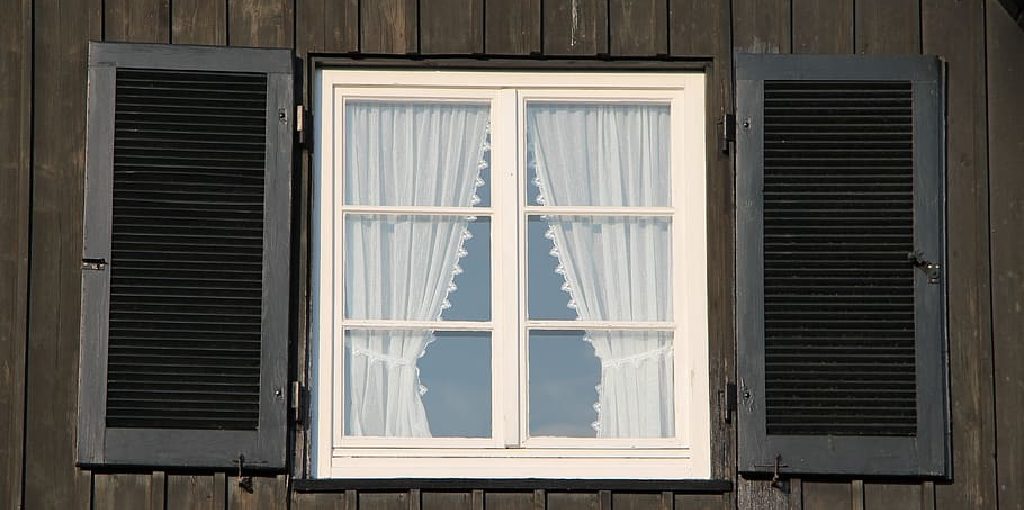
Movable Louver Shutters provide a unique design element and add practicality and functionality to your home’s exterior decor. In this article, we will cover how to make movable louver shutters and explore the many benefits of these versatile shuttering options and how they can improve both the interior and exterior of your house or office building. Read on to know more!
Tools and Supplies Needed:
- Circular saw
- Drill press, or power drill
- Handsaw (preferably a hacksaw)
- Table or radial arm saw
- Straight edge or chalk line
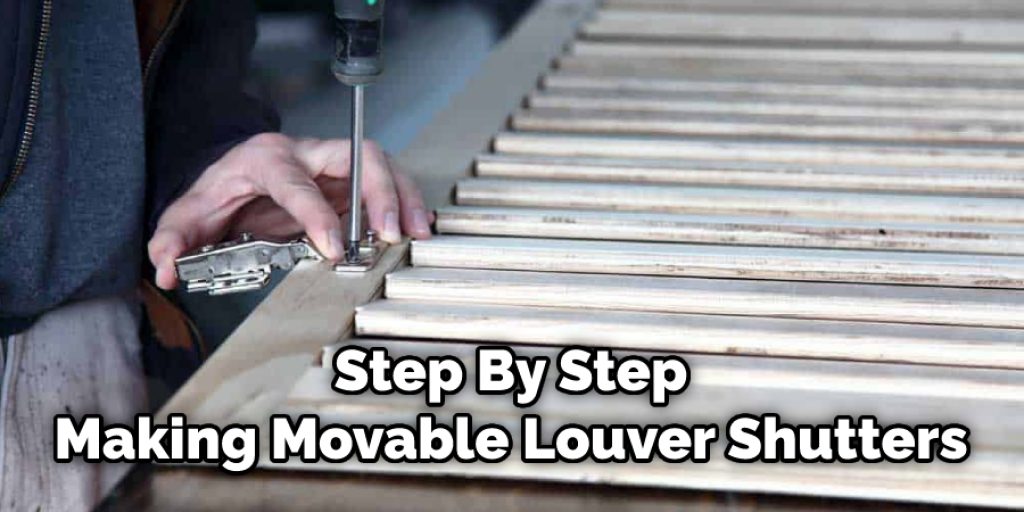
Step by Step Guide: How to Make Movable Louver Shutters
Step 1:
First, you want to grab a measuring tape and a hot glue gun. Measure the height of your windows, then measure how tall each louver will be from its edge to the bottom. For this window, we chose 8 inches. The middle of each “blade” is 4 inches high, so we made it 7 inches long to be about 2 inches from each side.
Step 2:
Next, you’ll reach into your can of paint and grab a roller that has been cut in half with a utility knife, so it’s two small rollers. Dip the roller into the paint and spread it evenly on one side of all your pieces.
Step 3:
Take your pieces and coat them with a layer of hot glue. Next, lay each piece on wax paper or aluminum foil so the excess glue won’t stick onto anything else.
Step 4:
Once all the louver blades have been glued, use something flat to push the glued edges down tightly. Make sure you’re putting pressure directly over the seam, so it’s very flat.
Step 5:
Once you have a tight seam going along the two pieces of wood, take some more hot glue and run a line of glue entirely around the piece. The excess glue will squeeze out as you press the pieces together, so you don’t have to worry about globs of glue.
Step 6:
To decide how wide your louver should be, grab a pencil and a scrap piece of wood. First, mark it at 1-1/2 inches from one end, then keep it every other inch after that.
Step 7:
Measure 1-1/2 inches from the top of your window frame. Mark a point with your pencil, then measure how far it is to each mark start. In this case, it’s about 23-1/2 inches to the next mark. Next, make a mark in the center of each gap. Repeat for all holes going down your window frame.
Step 8:
You’ll use two techniques to create the same effect as louvers. First, you’re going to take your scrap wood and nail it into the back of your frame where your pencil marks are. Don’t put nails where the gaps are or they will show through on the front of your window. However, don’t worry about being exact yet.
Step 9:
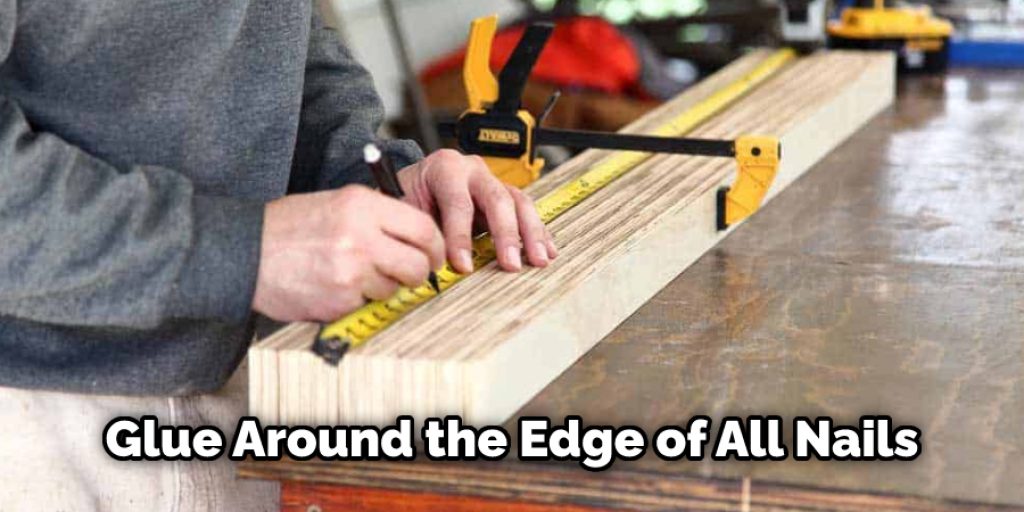
Take the first louver piece, flip it over, and line up the bottom of your pencil marks with the top of the scrap wood. Hammer a nail into each mark, being careful not to let it go through the other side. Use hot glue around the edge of all nails, then coat that section with more glue.
Step 10:
Press the pieces together as tight as you can. Please make sure there are no gaps between them. If you do have an opening, reach back into your hot glue gun and squeeze some more glue in there to fill it up. You’ll need a lot of pressure to get an airtight seal on these things, so use whatever you need to get them together.
Some Tips and Suggestions:
- Make a template out of a disposable material such as paper or cardboard to use as a guide.
- To start, leave the bottom part of the shutter open until everything is adjusted and perfect.
- Measure from where you want your louvers to be, so that they can hang straight down when open.
- Make sure the space between each louver is even.
- Make sure there is enough space between the louver and the window frame (or whatever you’re hanging it on).
- When it’s helpful, drill holes in some of your louver slats so they can be attached to a string or wire for adjusting purposes.
- Use a pencil to mark off the slats. You can also use a ruler or something else that’s thin and straight to line up your marks.
- Make sure that you’re using paintable, removable hot glue for this project (and lots of it).
How Do You Make Folding Shutters?
Movable shutters can be used in many different ways. They are very versatile and can protect the windows in your home from the elements without leaving a cluttered look on your window when they’re not being used.
There are a few different types of these shutters that you could make, but one of the most common is a louver style. These shutters are easy to make and can be used for many projects because of their versatility.
Why Make Movable Louver Shutters?
Louver-style movable shutters are very common because they come in several different sizes and styles. In addition, they can be made out of different types of materials, which allows you to choose what you would like best for your home.
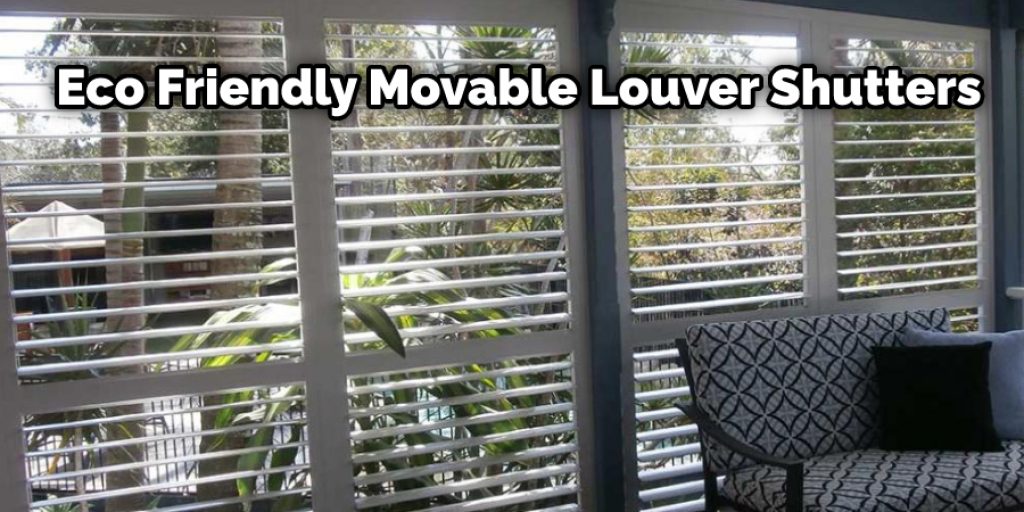
This type of shutter is an excellent way for those who have a family or children around as they can be used as protection from flying objects, such as projectiles and baseballs. These shutters are also very inexpensive to make because they don’t require a lot of material. In addition, they can be made using recycled materials, which makes them eco-friendly.
Conclusion:
We have provided you with an overview of what movable louvers are, the benefits they provide, and how to make them. This is a practical guide that will allow you to build your shutters for less cost than purchasing custom-made units from a retail store or contractor.
While this article has primarily focused on building new shutters, it’s worth mentioning that these devices can also be used as replacements if yours need repair or replacement due to wear and tear over time. If you’re interested in learning more about how to make movable louver shutters feel free to contact us for further information so we can help answer any questions you may have!
Angela Ervin
Angela is the executive editor of DIY quickly. She began her career as an interior designer before applying her strategic and creative passion to lifestyle and home. She has close to 15 years of experience in creative writing and online content strategy for housekeeping, home decorations as well as other niche efforts. She loves her job and has the privilege of working with an extraordinary team. She lives with her husband, two sons, and daughter in Petersburg. When she's not busy working she spent time with her family.