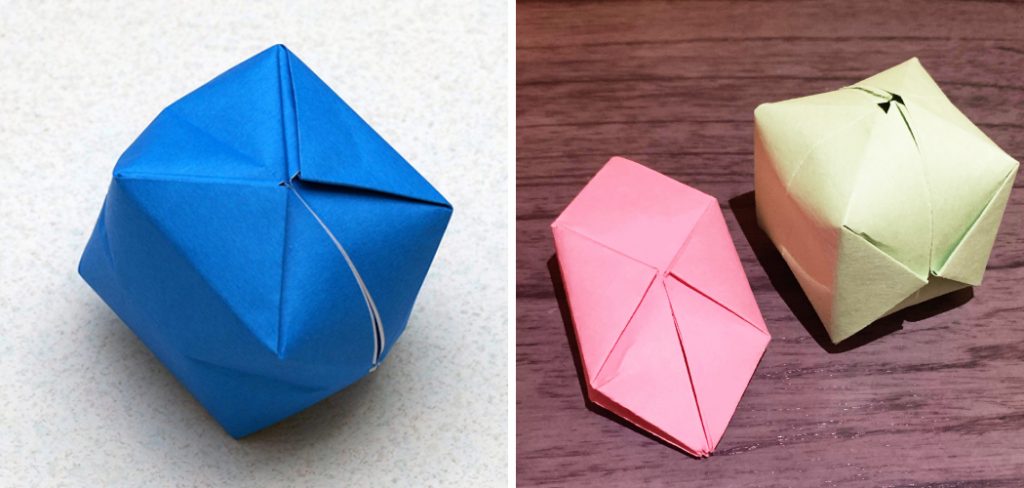
How to Make Origami Balloon
Have you ever marveled at the intricate art of origami? If so, you’ll be thrilled to learn how easy it is to make your origami balloon! With just a few simple tools and materials, you can transform any sheet of paper into a unique three-dimensional work of art.
If you’re ready to create your origami balloon, here’s what you need to get started.
Not only will this project give you an amazing sense of accomplishment, but it’s also insanely fun! Plus, how to make origami balloon is something everyone can enjoy. Whether you are a novice or an experienced crafter, these instructions will ensure that creating your stunning balloon is as hassle-free as possible.
What Will You Need?
- One sheet of origami paper (or plain paper cut into a square)
- Scissors
- Tape
Once you’ve gathered all the necessary materials, it’s time to start making your own origami balloon!
10 Easy Steps on How to Make Origami Balloon
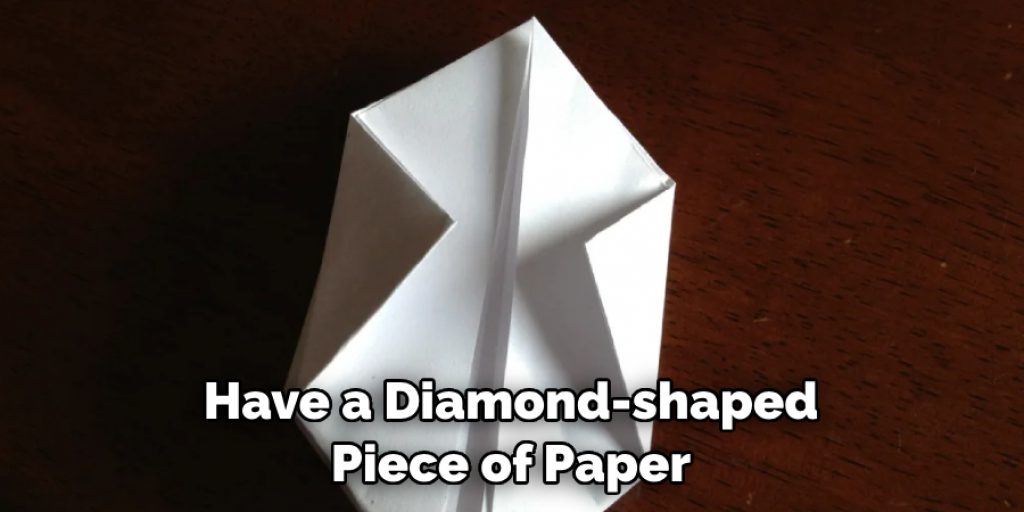
Step 1: Cut & Fold Your Paper
To begin crafting your balloon, fold your square piece of paper in half diagonally from corner to corner. Once folded, cut off the two triangles on either side of the fold. This will leave you with a diamond-shaped paper.
Step 2: Fold Again
Now, fold your diamond-shaped paper in half again, aligning the top and bottom corners. You should end up with a smaller diamond shape. Make sure the folds are sharp and precise for the best origami balloon outcome.
Step 3: Create the Folds for Later
Next, fold the top layer of the smaller diamond in half by bringing the bottom corner of the top layer to the top of the diamond. Repeat this on the other side. You will end up with a shape that looks like a square within a diamond. Unfold these last two folds. These are creases for the next step.
Step 4: Form the Base Shape
To create the base shape for your balloon, locate the creases you made in the previous step. Using these creases, lift the bottom layer of the paper and squash down the sides to form a square shape, with the top layer lying flat. Repeat this step on the other side. You should now have a square-shaped piece of paper with two flaps on either side. This is the base shape for your origami balloon.
Step 5: Form the Flaps
At this point, your square base has two flaps on the top and two on the bottom. Now, take the bottom corner of the top flap and fold it upwards towards the top corner, forming a triangle. Repeat this step on the other side. You should now have a diamond-shaped piece of paper with two flaps at the bottom.
Step 6: Repeat on the Other Side
Flip the paper over and repeat Step 5 on this side. Fold the bottom corner of the top flap upwards towards the top corner. Now, repeat on the other side. You should have a diamond shape on this side as well.
Remember, precision is key in origami. Ensure that the folds are sharp and the edges align nicely. It’s all coming together; your origami balloon is starting to take shape!
Step 7: Create the Folds for the Balloon
Now that you have your diamond shape take the top layer’s right corner and fold it towards the center line. Repeat this on the left side. You should end up with a shape that resembles a kite. Make sure to press down firmly to create sharp folds. Flip the paper over and repeat this step on the other side. These folds are essential for shaping your origami balloon.
Step 8: Form the Balloon’s Tail and Top
Now, you will see that the top and bottom of your paper look like little triangles sticking out from the kite shape. Fold the top triangle downwards and the bottom upwards to meet in the middle. Make sure to fold firmly to create a distinct crease. Flip the paper over and repeat this step on the other side. These folds will form the top and tail of your origami balloon.
Step 9: Insert the Corners
At this point, you’ll notice that the top and bottom triangles have smaller triangles. Take the tip of the smaller triangle on top and tuck it into the pocket formed by the kite shape. Do the same with the smaller triangle at the bottom. Flip the paper over and repeat for the other side. These insertions are crucial for maintaining the balloon shape.
Step 10: Inflate the Balloon
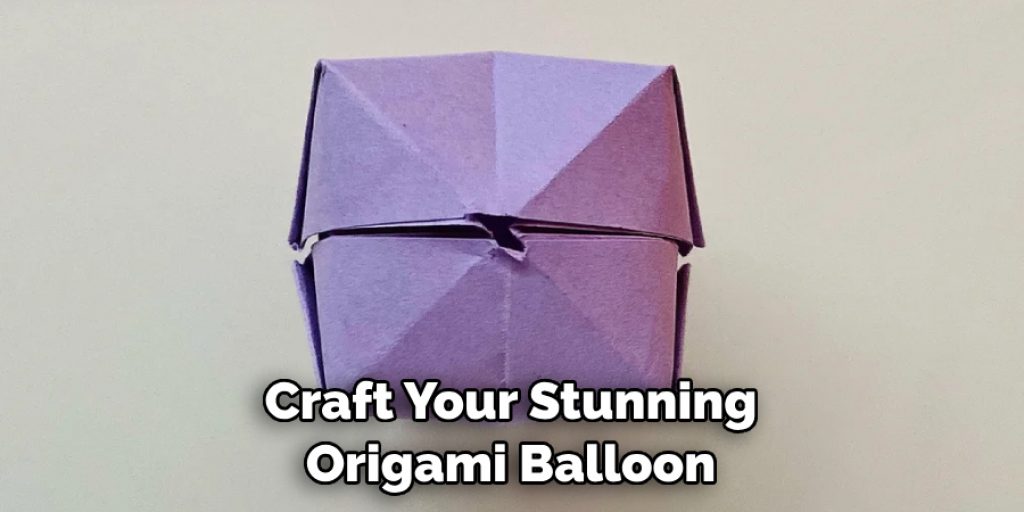
Congratulations, you’re almost done! To finish your origami balloon, locate the small hole at the bottom of your balloon (where you inserted the bottom triangle). Gently blow into this hole to inflate your balloon. Once inflated, pinch the sides to shape the balloon. Voila! You’ve just created a beautiful origami balloon!
By following these simple instructions, you’ll be able to craft your stunning origami balloon. And if you’re feeling creative, feel free to try out different colors or patterns of paper! Who knows, maybe you’ll come up with an amazing origami piece that can take pride of place in your home.
6 Additional Tips and Tricks
- Use different paper colors for your origami balloon to add variety and interest!
- You can also use markers, crayons, paints, or glitter to decorate the balloon after it is folded.
- A square piece of paper divided into four sections makes folding the balloon easier.
- Make sure you press down firmly when making the folds to get a crisp and accurate balloon.
- You can add an imaginary string or ribbon when gluing or taping your balloon for an extra detail. This will give it a more realistic look!
- If you’re feeling creative, try experimenting with different shapes and sizes of origami balloons. As long as they have the same basic structure, you can come up with some unique and interesting designs!
With these tips, you can make amazing origami balloons that are both fun and easy to create! Have fun and enjoy your
5 Things You Should Avoid
- Don’t make the creases too deep, or else it could damage your paper.
- Folding the balloon with too many layers of paper can be difficult and messy.
- Avoid using different types of paper, as this may cause the balloon to tear when folding it.
- Be careful not to rip any parts of the paper while folding, as this could ruin the shape of your balloon.
- Don’t be too hasty when gluing or taping the balloon; do it slowly and precisely for a better finish.
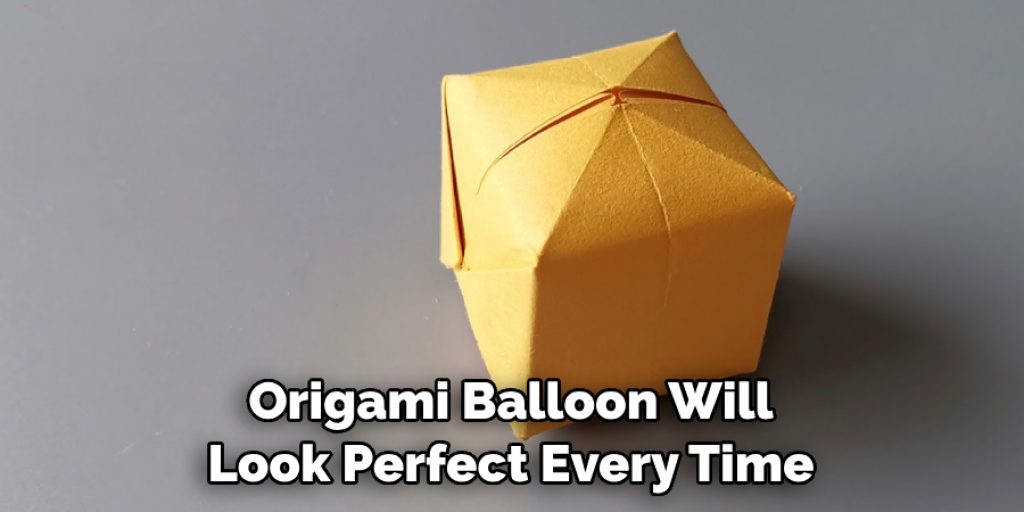
By avoiding these common mistakes, you can ensure that your origami balloon will look perfect every time! With patience and practice, you’ll soon become an expert at making these delightful decorations. Happy folding!
5 Different Design Ideas
- Cut narrow strips of paper, fold them into loops, and attach them to the base of your balloon using glue or tape.
- Add multiple layers of paper to make a giant balloon with lots of volume!
- Make smaller origami balloons and hang them in a cluster for a pretty window decoration.
- Take inspiration from traditional Japanese designs and create a vibrant, colorful balloon.
- Make a long paper chain by connecting several balloons for an interesting decoration.
No matter which design you choose, origami balloons will surely bring a unique touch of flair to any room! Enjoy trying out different ideas and making your own creative masterpieces.
Which Color of Paper Suits Your Origami Balloon Best?
The color of the paper you choose for your origami balloon will depend on the design or effect you want to achieve. Bright and vibrant colors such as yellow, pink, red, or orange can make a cheerful and fun decoration, while more subtle shades like blues, greens, and whites are perfect for creating an elegant look. Whatever your preference, you can be sure to find the right color for your origami balloon!
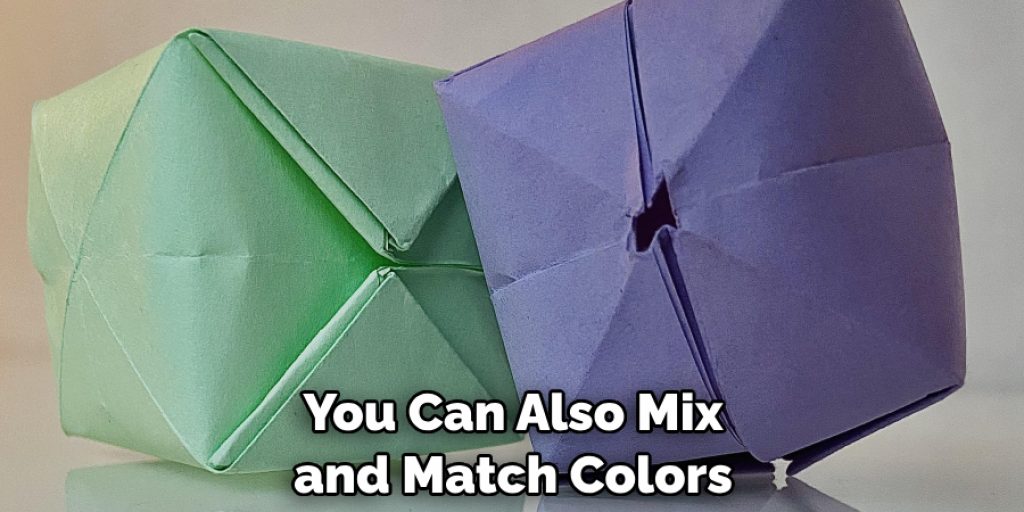
You can also mix and match colors to create interesting patterns or make special occasions even more memorable. For example, you could use red and pink paper to make a Valentine’s Day balloon or blue and white for a Hanukkah decoration!
With the right color combination, your origami balloon will look amazing no matter the occasion.
Conclusion
Now that you know how to make an origami balloon, why not try it out and impress your friends with the amazing craft? There’s no limit to the creative possibilities when you combine paper folding with color and pattern. Feature the ever-changing look of origami balloons in a few places around your home or school for a unique conversation piece. You can even sprinkle them into party settings for added atmosphere.
Hopefully, the article on how to make origami balloon has inspired you to create imaginative pieces of art and decorations that will bring a touch of style to any room. Get creative, have fun, and enjoy the process!
Don’t forget to take pictures of your origami creations so that you can share them with family and friends!
Angela Ervin
Angela is the executive editor of DIY quickly. She began her career as an interior designer before applying her strategic and creative passion to lifestyle and home. She has close to 15 years of experience in creative writing and online content strategy for housekeeping, home decorations as well as other niche efforts. She loves her job and has the privilege of working with an extraordinary team. She lives with her husband, two sons, and daughter in Petersburg. When she's not busy working she spent time with her family.