
How to Make Rat Clothes
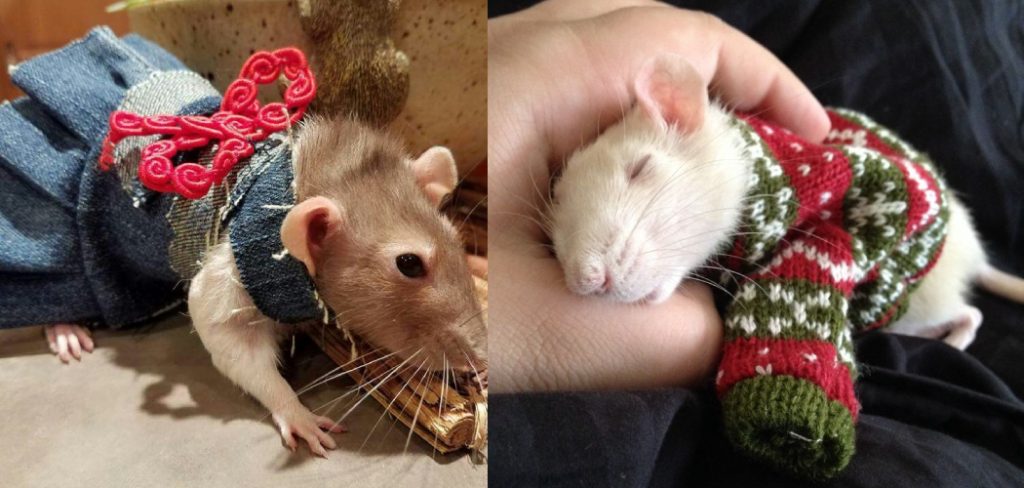
It’s not often you come across a rat wearing clothes, but with a little bit of effort, you can make your rat clothes that will fit your furry friend perfectly. There are various clothing items you can make for rats, including sweaters, hats, and scarves. This blog post will show you how to make rat clothes. Rat clothing is not only fun to make, but it can also help keep your rat warm in colder weather.
You will need a rat, some scissors, and a needle and thread to make rat clothes. However, the process is relatively simple: cut two pieces of fabric the size of your rat’s body, sew them together, and then sew on some straps or ties to hold the dress or shirt in place. Read on to know more!
10 Easy Ways on How to Make Rat Clothes
1. Rhinestone and Fabric Collar
Take a rectangle of fabric and sew one of the short ends to make it into a tube. Turn inside-out if you can’t sew, and thread a ribbon or lace through the top for a collar. Glue on rhinestone eyes to make your rat’s outfit shimmer. Add a little bowtie if you’d like. Turn the costume inside out and sew a ribbon or lace around the top for a collar. Glue on rhinestone eyes to make your rat’s outfit shimmer. Add a little bowtie if you’d like.
2. Beach Towel Cape
To make a cape, you will need an old beach towel, a pair of scissors, and some thread. First, cut out two armholes in the towel. Next, cut off one of the short ends of the towel, so that it is about half the length of a regular towel. Then, fold the remaining short end of the towel under, so that it doesn’t unravel. Finally, sew around the edge of the cape to secure it.
Next, you will need to cut out a hood and fringe the top edge with fabric. Then, sew on velcro for closure. Next, put your cape on your rat and tie its hands together with ribbon or yarn if it has no clothes (and if you don’t mind it being naked).
3. Felt Vest
To make a rat costume, you will need two pieces of felt. Cut the felt to fit your rat’s body, then fold one piece in half. Sew up the back seam and around the edges, leaving the front unattached at the bottom. Your rat will now have a cute costume to wear!
Cut off any excess fabric if you have too much, then use the same technique with your other piece of felt to make an identical vest. Turn them both right-side-out, and attach buttons or velcro at the front so you can close it up.
4. Custom Collar
Make a circle big enough to fit around your rat’s neck, then sew together one side at a time. Make it into any shape you’d like! Glue on beads or decorations if you want to make it extra fancy.
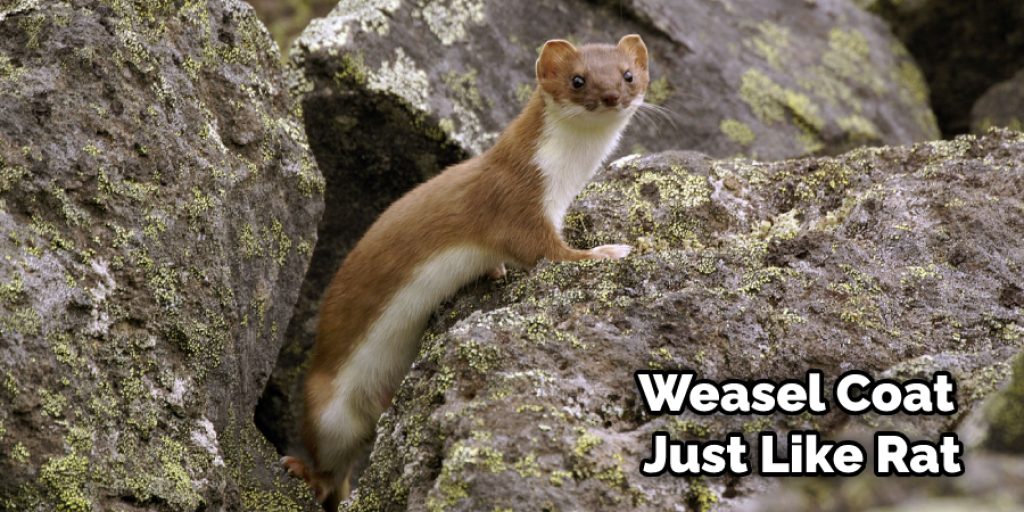
5. DIY Ferret or Weasel Coat
If you don’t have a rat and would like to make one for another pet in your household (or just want one for yourself), this works best with short-haired animals. First, cut out two identical pieces of fabric large enough to fit around your pet’s body, then sew along the back seam and both sides. Next, sew up the bottom and attach a velcro strip to shut it, then add a hood.
6. Crocheted Sweater
This is another project that works best with short-haired animals because you will be working in single crochet all the way around (no purling). Use any multicolored yarn you’d like, and crochet with two strands at once to make it thicker. Work your way around the body of your rat or other pet, then sew on buttons or bows if you’d like (or leave it open).
7. T-shirt Dress
This one is easy! Just cut out armholes in an old t-shirt, and sew up the back and sides for a finished look. Leave the front open, and you can add buttons or velcro if you wish.
8. Button-down dress
Cut off one short end of a button-down shirt to make it a rectangle, then cut armholes. Sew along the back seam first, then sew up the side seams. Leave the front open, then sew on buttons or velcro to close it.
9. Hoodie Dress
Cut off one short end of a hooded sweatshirt to make it a rectangle, then cut armholes. Sew along the back seam first, then sew up the side seams. Leave the front open, then sew on buttons or velcro to close it.
10. DIY Sweaters
If you’re crafty and don’t mind trying new things, you can make your sweater patterns. It’s pretty simple to measure your rat’s size and go from there! You’ll need a yarn that matches whatever color best suits your pet, as well as a crochet hook or knitting needles to work the fabric. Just try out different stitches to make different patterns, and take note of rows for future reference!
Some Tips and Suggestions
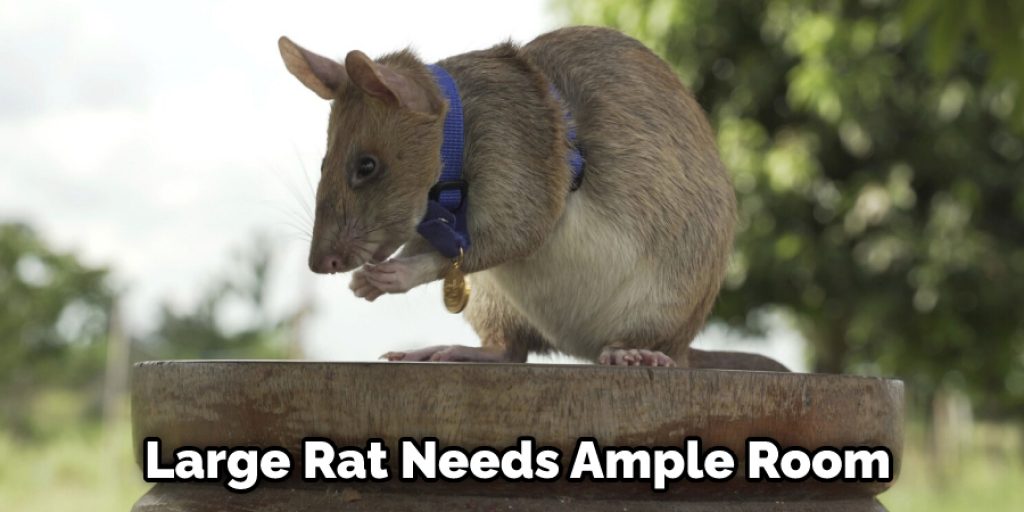
1. For a rat, make sure you have ample room in whatever clothes you’re making. For example, a full-length coat for a large rat will be about the same size as a child’s winter coat.
2. If your rat has big hips/belly or a very fat tail, it would be a good idea to line any of these areas to avoid snagging.
3. If you’re making clothes out of anything stretchy, remember that rats’ bodies are not very large or wide, so small clothing items will fit them well.
4. If your rat needs to go to the hospital or a similar place, it’s a good idea to make sure they can be taken out of their clothes pretty quickly, so the items don’t need to come off during surgery or anything like that.
5. Make sure your rat can freely use its tail and toes while wearing its clothing.
Conclusion
This post has provided information for those who want to have a rat as their pet but are unsure how to take care of it or what to feed them. Rats make great pets, but they can be a little difficult to dress. This article explains how to make rat clothes by first cutting out the shapes on a pattern you’ve drawn onto fabric using a pencil or pen.
You then cut off excess material from around the edges with scissors before pinning them together with safety pins along the outside seams, so they don’t unravel as you sew each one closed individually. We hope that you found this blog post helpful and informative on how to make rat clothes! If you have any questions or comments about rats in general, please feel free to leave them below for our experts!


