
How to Make Reed and Paper Tissue Lamp
Introduction
The paper tissue lamp is made of reed and tissue. In woodworking, the tissue is pasted with a mixture of white glue and starch onto reed or rattan processed in advance. Paper tissues are mainly used for decoration rather than lighting purposes.
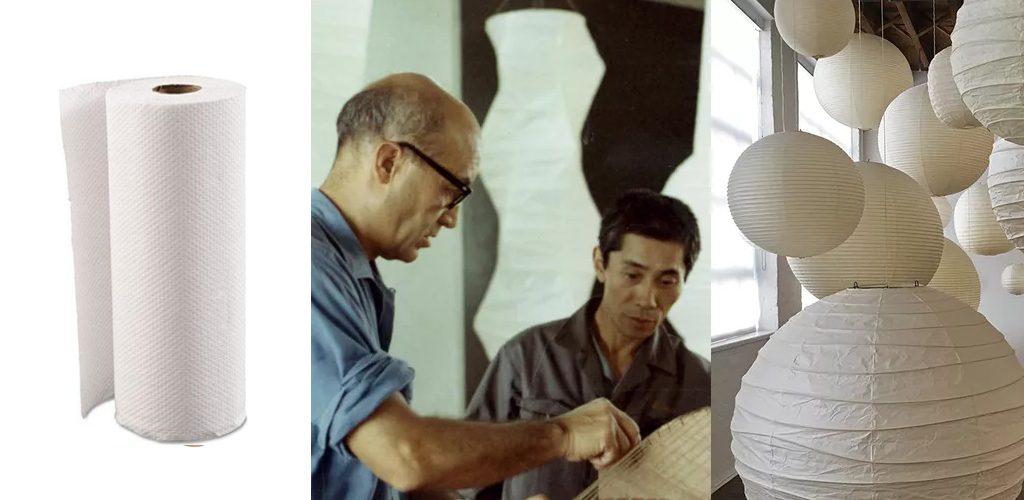
The paper tissue lamp can be used as home décor and simple and convenient. It takes only 15 minutes to make one piece of paper tissue lamp, so you can enjoy its beautiful form whenever you want. The finished product’s size depends on how much time you put into it – the longer, the bigger! In this article I
Step-wise Guide on How to Make Reed and Paper Tissue Lamp
Materials Required:
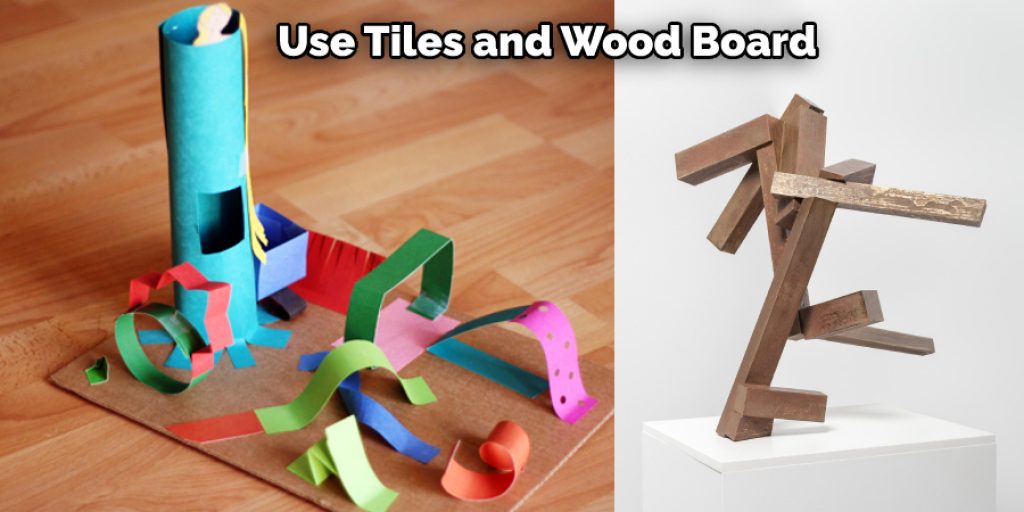
- A thick flat wooden board of 20″ x 32 “ ( any size would do)
- Some tissue papers in different colors, about 135 cm in length per color
- Scissors for cutting the paper and reed stems (5 scissor blades will be enough to cut all the 135 cm paper and reeds)
- I used a pencil and ruler to trace the pattern on the wood board. I made two pencil marks with a ruler at the angle corners. This should be self-explanatory for you to cut the circular pattern.
- Hot Glue for sticking the tissue and reeds onto the board
- some graphite powder to fill up the holes made out of cutting tissues, making it stronger and sturdy
- A light bulb with a suitable fitting holder ( you can use an old one)
- A decorative lampshade
- Some 3-D foam cubes from the nearest craft shop give a cushion effect under each tile on which we will stick tissues using a hot glue gun. The size of this small cube is 20 mm x 10 mm x10mm.
Procedure:
- Give a graphite powder coat on the wooden board and allow it to dry for about a day. The graphite powder prevents the wood from absorbing too much glue while sticking tissues.
- Cut down the tissue papers to the desired length (3*135 cm) and colors using scissors.
- Trace out the circular pattern on paper with a pencil and ruler, allowing enough space for hot glue lamps space under each tile so that we can insulate it by inserting 3-D foam cubes between tiles and wood board
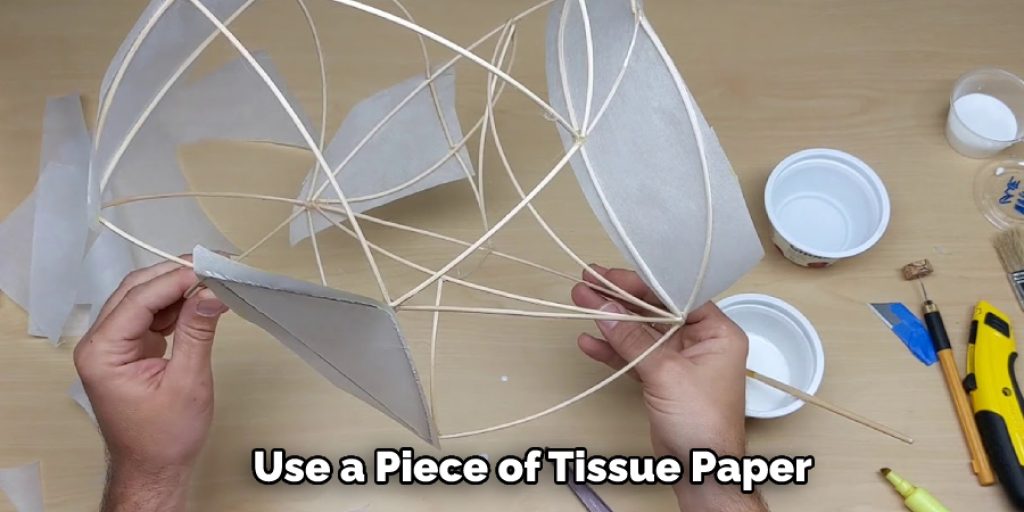
- Stick tissues on the wooden board one after another, starting from outside edges to periphery till you end up with a single layer of tissue paper while leaving a sufficient amount of paper sticks out of the board on the sides
- Measure and cut rectangular strips equal to the amount of space left inside the circular pattern for placing light bulbs – less than 2 cm on either side. We will be folding all these rectangular strips from one end up to the opposite end.
- Remove all pencil marks made while tracing out the pattern on a wooden board.
- Hot glue the rectangular strips to tissue paper with a gap between each tile and wood board
- Insert 3-D foam cubes between tiles and wood board so that when we place the tiles on top of each other, there is no gap or space for heat to escape from the light bulb – which in turn increases the life span of the light bulb
- Now, cut the reed stems into the desired length, put some glue on them, and stick them to tissue paper with a gap between each tile so that later we can insulate it by inserting small 3-D foam cubes between tiles and wood board.
- Stick the tissue tiles one after another, starting from the periphery towards the center, being careful about its smooth alignment by keeping aside an even number of tiles as you did at first while cutting out the tissue, then start wrapping them from the outside edges inwardly, aligning all tiles till you end up with a single layer of tissue paper while leaving sufficient amount of paper sticks out of the board on sides.
- Finally, place the tiles on top of each other towards the center to make a cylinder-like structure. Place the decorative lampshade over it, then insert light bulbs into the rectangular strips – just like you would do inside a regular paper lampshade.
Three important Points While Making Reed and Tissue Lamps:–
- The reeds need to be 15 cm longer than the remaining length of paper, i.e., if your tissue paper is cut at 135-cm length, you will need to cut the reed at 150 cm or more so that after wrapping around all but the last tile (which we left blank with no tissues), there will still be enough space to stick the last reed.
- The tissue paper should be thick enough to give a cushion effect and not flimsy so that the tiles don’t get distorted while placing them on top of each other.
- While sticking the tissues, do not make big holes in them as it will let heat leak
Precautions While Performing How to Make Reed and Paper Tissue Lamp
- Before starting, one should have a relaxed atmosphere and give up the tension to do this work. Because if you are making this intense environment, you will be unable to make it properly.
- After choosing the reed which is used for working, wash them all well with water. Then bend them according to your wish and shape and dry completely on a clean cloth by pressing them from inside so that no water remains inside them (if possible, keep them under sunlight) otherwise after putting oil on these, they will burn due to presence of water in it.If there is a place, you can take help of iron stand or anything else suitable instead of pressure just put your hands close to each other without any gap.
- If you want to make a small lamp, you don’t need to buy reeds because, in the market, the reed supply shops have various sizes of ready-made paper lamps.
- In this work, stickiness and quality of glue play an important role. That’s why try your best to get good quality and fully dry wood glue(best quality).
How to Make a Tissue Paper Sculpture
Items You Will Need: – Scissors – Glue – Colorful Tissue paper in varying colors.
Step 1:
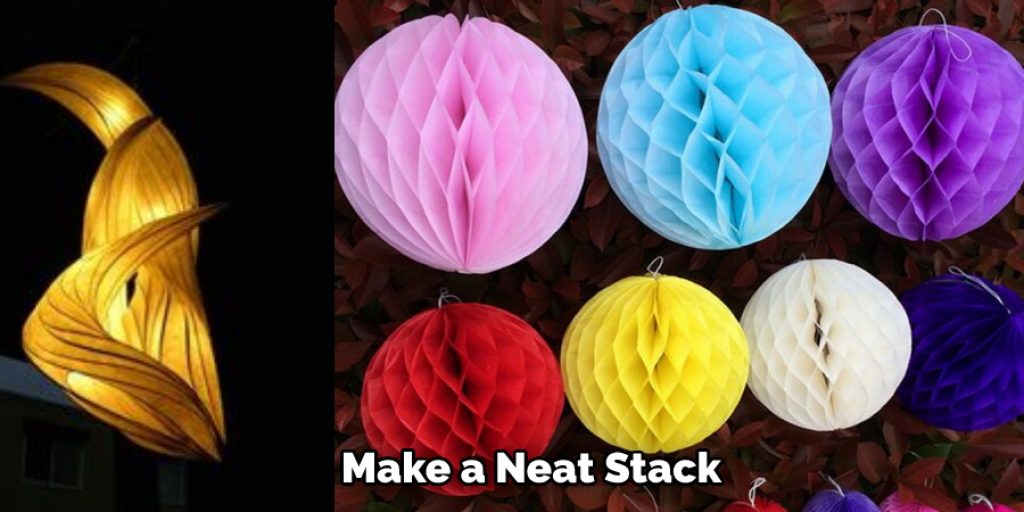
Make a neat stack of tissue paper squares, about five at the base and 8 to 10 on top (this depends on the thickness of your work). Cut off the corners so that it looks like an octagon when you’ve done all four sides.
Step 2:
Gently fold three pieces of tissue paper down from one corner at equal intervals of about 3 inches. Fold a piece of tissue paper over them, and repeat folding three more pieces of tissue paper. Your folds should be smooth but not overlapping too much (you don’t want it to look messy). Repeat with another section if necessary to make sure the segments are even.
Step 3:
Slowly, gently lift the folds you’ve made until you have an octagon (this is why it’s important to make your folds nice and neat). Try not to dip too deep or give too much pressure as the paper may tear easily.
Instead, start from one side and gently pull up at 45 degrees so that the tissue paper comes away from each other and the ground. Repeat this same motion with a new piece of tissue paper so that they both fold upwards evenly without tearing either of them.
Step 4:
Keep doing this until you have all eight sides folded upwards, then repeat for any middle sections so that everything looks smooth and neat. You can add layers if necessary. Just be careful not to overdo it.
Step 5:
Dip a new section of folded tissue paper into the glue and stick it to the base so that they’re stuck together (be careful not to burn yourself). Tissue paper is very delicate, so try not to pull on any strands, or else you’ll tear them- this might happen anyway if you’ve added too many layers. Try again with more glue, but only do about three layers depending on how thick you want your sculpture to be.
Step 6:
Make as many sections (of glued tissue paper) as needed for your lamp design. You can make it uneven or symmetrical, whatever shape you prefer! Just change colors when needed and dip into glue when stacking up another layer of tissue paper. Use different variations in color so that your lamp will look more interesting!
Step 7:
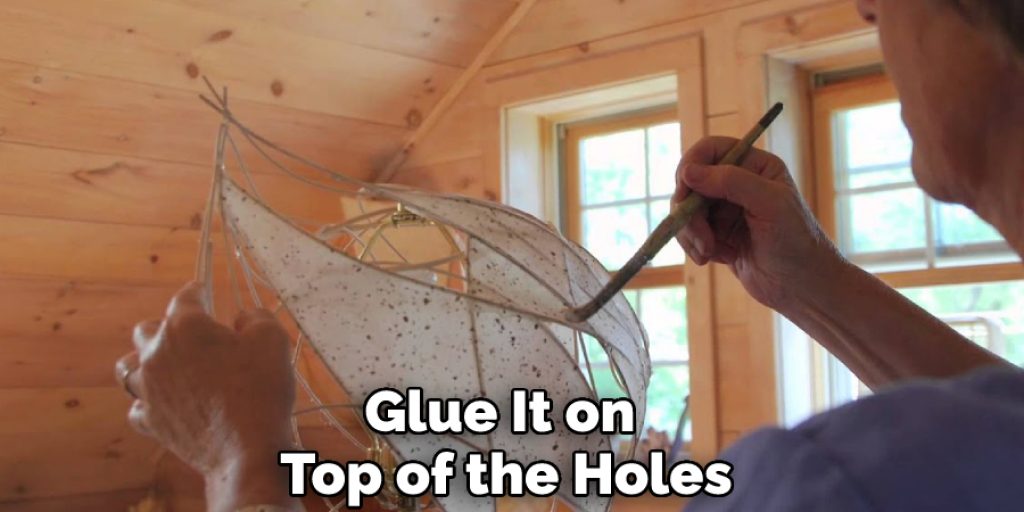
Make 2 to 3 holes at the top with a needle, then cut out a fabric or colored paper into a circle shape and glue it on top of the holes. You can make designs if you won’t- just be careful not to rip any tissues away from each other.
Next, put some thread through the holes and tie them up at the bottom, joining all sections together. This way, you only have one string to light rather than several smaller ones, which won’t be as sturdy. Lastly, hang your lamp wherever you like!
Conclusion
I hope this article has helped learn how to make reed and paper tissue lamps. Thank you and have a nice day!


