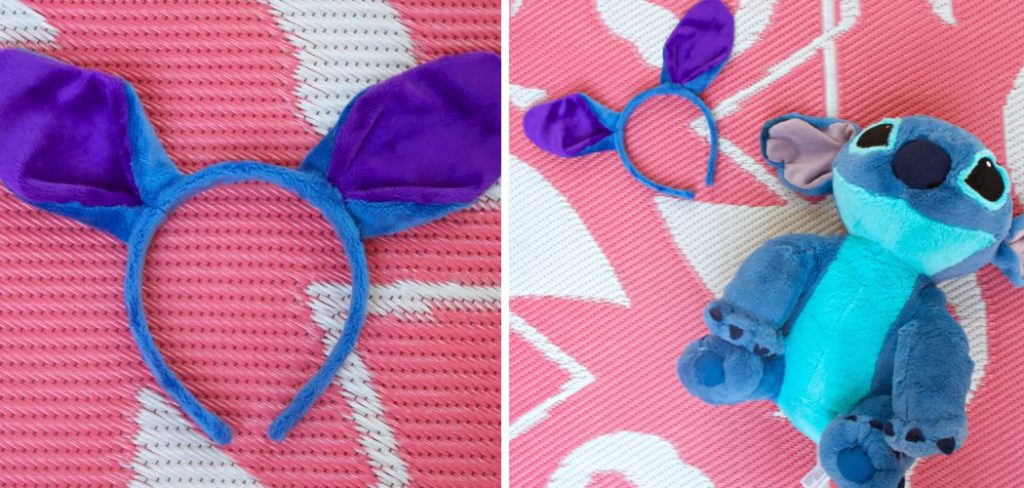
How to Make Stitch Ears
Learning to make stitch ears is a must if you are an avid crafter. Stitch ears are typically added onto stuffed animals or other plush items and can add a unique dimension of charm and character to your creations. Though the process may seem daunting initially, making stitch ears can be surprisingly easy with the right tools and techniques.
The primary advantage of making stitch ears is the ease and simplicity of the process. This technique does not require any special stitching skills, nor does it need special equipment. It can be completed quickly with basic sewing supplies and simple hand-sewing techniques. Furthermore, this method allows you to customize your finished product to fit individual preferences. In this blog post, You will learn how to make stitch ears.
Materials You Will Need
- Felt in whatever color you would like (I used black)
- Polyester Stuffing
- Needle and Thread
- Scissors
- Marker
- Glue Gun
- Template (or something to trace your design onto the felt)
- Ribbon or elastic for attaching the ears to a headband
Step-by-Step Processes for How to Make Stitch Ears
Step 1: Inspect Your Fabric
Before beginning the project, ensure that the fabric you use for your stitch ears is suitable. Ensure it is free of any rips or tears and that it will be strong enough to hold up when handled.
Step 2: Cut Out The Fabric
To begin making stitch ears, take a piece of fabric about 6-8 inches wide and fold it in half. Use scissors to cut the fabric along the edges, creating two pieces of fabric that are identical in size. Take one of the pieces and place it on top of the other piece with the right sides together. Sew around all four sides using a needle and thread, leaving one side open for stuffing.
Step 3: Turn The Fabric Inside Out
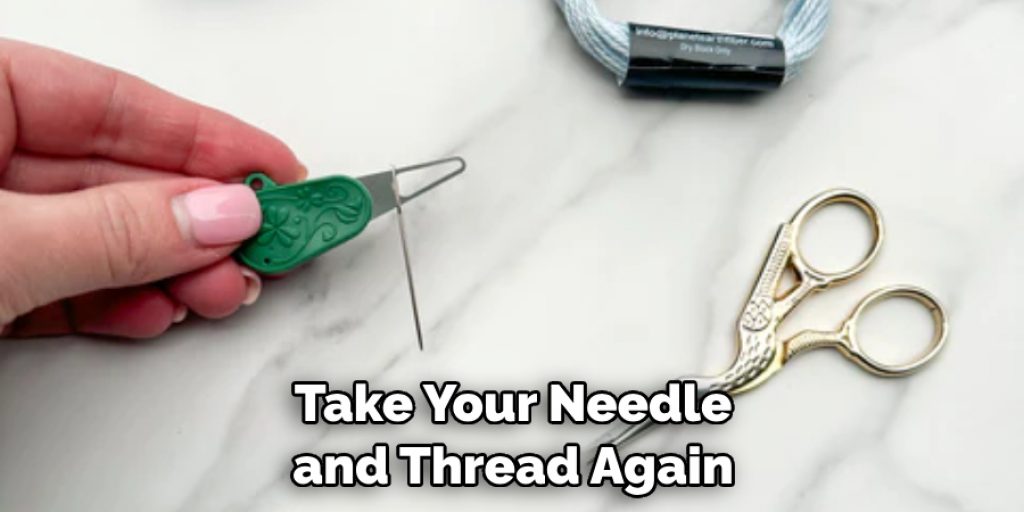
After sewing the fabric together, turn it inside out so that the right sides of the fabric are facing outward. This will create a cavity where you can stuff the ears with polyester fiberfill or any other soft stuffing material. Take your needle and thread again and stitch up the open end of the ears. This will help secure the stuffing inside and give your project a nice finished look.
Step 4: Put On The Ears
Take some string, ribbon, or elastic and tie it around your head in a comfortable way so that the stitches will stay on your head securely. Once the ears are in place, push them down against your head to ensure they are firmly attached and secure.
Step 5: Add Accessories If Desired
You can add various accessories, such as buttons, fabric paint, or ribbon, to give your stitch ears an extra special look. Finally, you can sit back and enjoy your stitch ears, knowing you created something special with your two hands. Be sure to tag us in any photos of your creation so we can see how amazing it looks. We love seeing what our customers are creating with their stitch ears.
Following these steps, you can quickly create your pair of stitch ears.
Tips for How to Make Stitch Ears
- Ensure your workspace is clean and organized. Ensure you have all the supplies you need and that everything on the table may be safe to use while creating your stitch ears.
- Choose a fabric or material for your ears that is non-toxic and safe to work with, such as cotton or felt. Avoid using materials that are flammable or hazardous in any way.
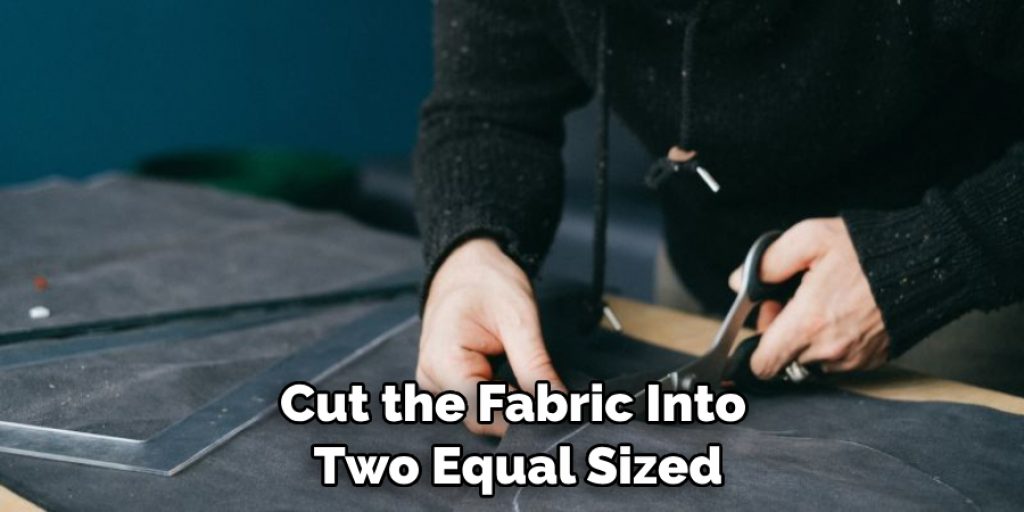
- Cut the fabric into two equal-sized pieces and then shape them into ear shapes. Make sure you use sharp scissors to avoid causing yourself any injury.
- Sew the edges of the ear shapes together using a strong thread, such as embroidery thread. Be careful not to pull the thread too tightly as you sew, or it could cause the fabric to tear.
- Use stuffing to fill the ears and then sew them closed. Ensure you do not overfill the ears, as this can make them look lumpy and uneven.
- Attach buttons, gems, or other decorations to the ears if desired. Take care to make sure the decorations are securely attached and do not pose a choking hazard.
- Check all seams and stitches before wearing your ears to ensure they are secure and safe. If any stitches appear loose, re-sew them before you wear the ears in public.
Following these tips can help ensure that your stitch ears are safe and secure for you to wear. With a bit of patience and creativity, you can create your stylish stitch ears with ease.
How Long Does It Take to Make Stitch Ears?
Making Stitch Ears can be time-consuming, depending on how detailed and elaborate you want them to be. Generally speaking, it takes about two hours for an experienced crafter to complete the project from start to finish. However, it may take longer if you are new to crafting or don’t have all the necessary tools and supplies. The most time-consuming part of making Stitch Ears is the cutting and sewing.
You’ll have to carefully measure, cut, and sew each piece before you can assemble them. Additionally, if you add any embellishments, such as buttons or beads, it will take longer to complete the project. With patience and practice, you can make beautiful stitch ears that will be a delight for years.
What Type of Fabric is Best Suited for Making Stitch Ears?
When making stitch ears, choosing the right type of fabric is important. The most popular fabrics for this project are felt and fleece. Felt is a great choice because it is stiff enough to hold its shape when cut and soft enough to be comfortable against the skin. Fleece is also an excellent choice as it’s lightly stretchy and easy to work with. Both materials are also relatively cheap and widely available in many colors, so finding the perfect fabric for your project is easy.
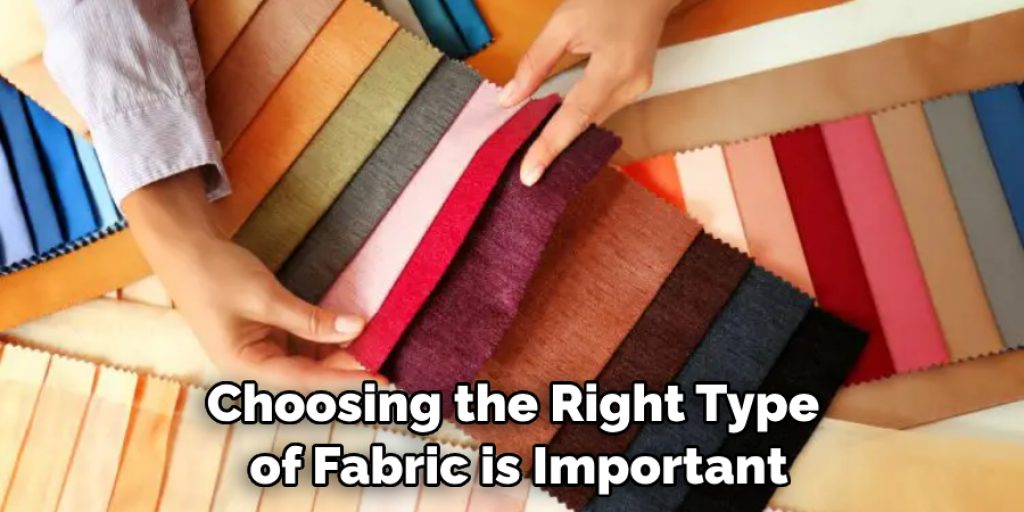
Another great option is minky fabric. Minky is a type of plush fabric that is incredibly soft and snuggly. It’s perfect for making stitch ears because it has a nice firmness and a great deal of stretch, which helps to give the ears an even shape. Whatever fabric you choose, make sure it’s machine-washable and dryer-safe so your stitch ears can easily be cleaned. With all these options, you will surely find the perfect fabric for making stitch ears.
Are There Any Mistakes You Should Avoid When Making Stitch Ears?
It is important to be careful when making stitch ears. Even though the process is fairly simple, there are some mistakes you should avoid if you want your finished product to look great. First and foremost, ensure all your stitches are even in size. If one stitch is bigger or smaller than another, it can throw off the entire look of the ear. Also, keep the stitches in one consistent direction as you work. This will make it easier to sew them together and give your ear a more polished look.
Next, avoid using too much stuffing when making your ears. Too much stuffing can cause your ears to appear lumpy and uneven. You want enough stuffing to make your ears slightly plump but not enough to look like a sponge. Finally, make sure your ears are evenly shaped and sized. You should use the same pattern for both ears to look as symmetrical as possible. If you don’t have a pattern, try measuring what you think would be an even shape and size before starting to sew.
What is the Best Way to Make Sure Your Stitch Ears Look Professional?
When creating your version of Stitch ears, doing the job right for a professional-looking result is important. Here are some tips to ensure that your homemade creation looks its best:
- Find quality materials. Start with good felt in the colors you need. You’ll also need thread and stuffing to ensure everything stays in place.
- Cut your felt pieces carefully and precisely using sharp scissors, so the edges will be even when you sew them together.
- Once all your felt pieces are cut, use a sewing needle and thread to stitch them together in the form of your ears from top to bottom.
- Stuff your Stitch-shaped ears with stuffing, keeping the shape as you fill them.
- Pin them together at the edges to stay in place while you sew.
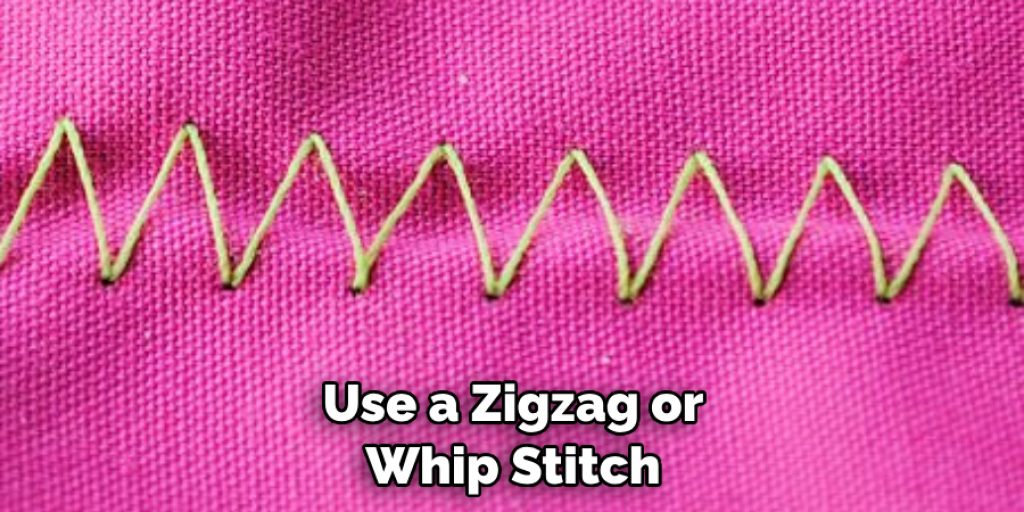
- Use a zigzag or whip stitch, and go over each part twice for added security.
- Finally, cut off any excess thread but leave enough to tie a bow at the top of your ears so they will stay in place when you put them on.
With careful attention and quality materials, following these steps will help ensure your homemade Stitch Ears look professional.
Conclusion
In conclusion, making stitch ears is a great way to add character and personality to your costume, cosplay, or DIY projects. With just a few supplies and patience, you can create realistic-looking stitch ears quickly. Start by sketching out the design for your desired shape and size of the ears, then cut them out from felt (or other fabric). Use batting, stuffing, and foam to make the shape of the ear 3-dimensional. Finally, sew the ears to your costume or project using a needle and thread. Reading this post has helped you learn how to make stitch ears. Make sure the safety precautions are carried out in the order listed.
Nancy Behan
Nancy is an embroidery artist, fashion blogger and a full time editor at DIY quickly. Nancy edits the fashion section on DIY quickly, focusing on the embroidery and cross stitch articles, alongside with fabric and other costume design elements. She graduated from the University of Michigan with a Bachelor of Arts in Art History. She loves to work on her own projects, read books and watch romantic movies in her spare time.