
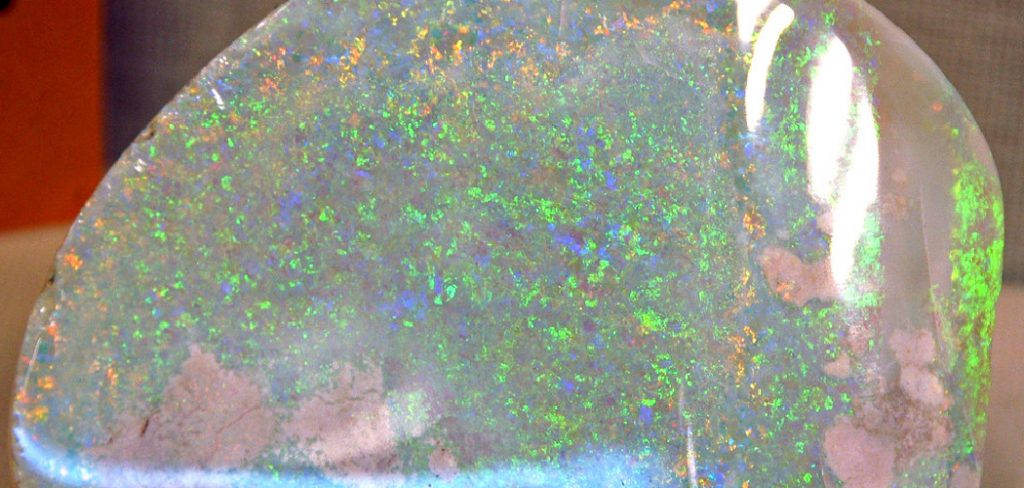
How to Make Synthetic Opals
Opals are one of the most beautiful creations that are naturally found. But recent studies have invented many processes that help manufacture synthetic opals, the outlook, and the features if these opals are much similar to the original ones. For this reason, today, we will discuss an easy technique on how to make synthetic opals. This will be much helpful for beginners because it will allow them to learn new techniques. The process we are discussing here incorporates simplified steps; these are stated below.
Procedure
You can make synthetic opals at home without using many machines or chemicals, but you will need some essential elements. These elements include a mold for making the opals.
Molds are necessary for making synthetic opals because without them, you would have nowhere to pour the mixture and let it dry. latex molds are easy to come by and are perfect for this purpose. Plus, they’re easy to clean once the opals have solidified.
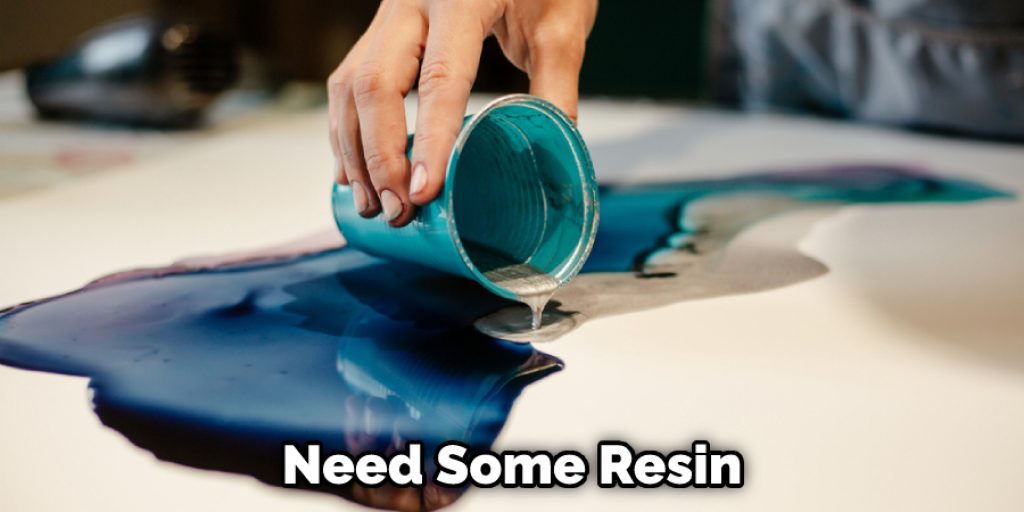
Then you will need some resin. Our entire process is making resin-based opals. You can use more than one wax for this process. You have to mix both of them, and then you have to add all the other ingredients. We highly suggest you use epoxy resins and art coat resins. Then you will need some resin mix powders. These are much common in paint shops, and you can also get them from ceramic shops. Resins mix powders are crucial for making the mix thinner and cloudy. Then you will need some glitter. There is a provision of using multicolored glitter in this process.
The color of the glitter is dependent on the design sense of the maker. But too much glitter will degrade the quality of resin, and the stability of the opal will be diminished. So use cellophane papers for design purposes instead. Next, you will need some hand gloves and a safety mask because all these elements are chemically enriched, and direct contact with your skin can be harmful. Finally, you will need a cup to mix the ingredients, a stirrer, and a pair of scissors for cutting the cellophane.
First, you need to gather all the materials you will need including a cup or mug, a plastic stirrer, and two types of resin. Next, you need to wash the cup and stirrer thoroughly to make sure there is no dirt or other particles that could interfere with the mixture. Once the cup is clean, you can start mixing the resin according to the instructions. After the resin is mixed, you can start the primary process.
Before you start, you need to put on your safety gear. This includes a face mask, gloves and goggles. Once you’re all set, you can open the resin jar. Be careful not to spill any resin as you open it. Once the jar is open, start pouring the epoxy resin into the cup. The most important thing when mixing the resins is to make sure you’re using the right measurements. For this, it’s best to use a measuring cup.
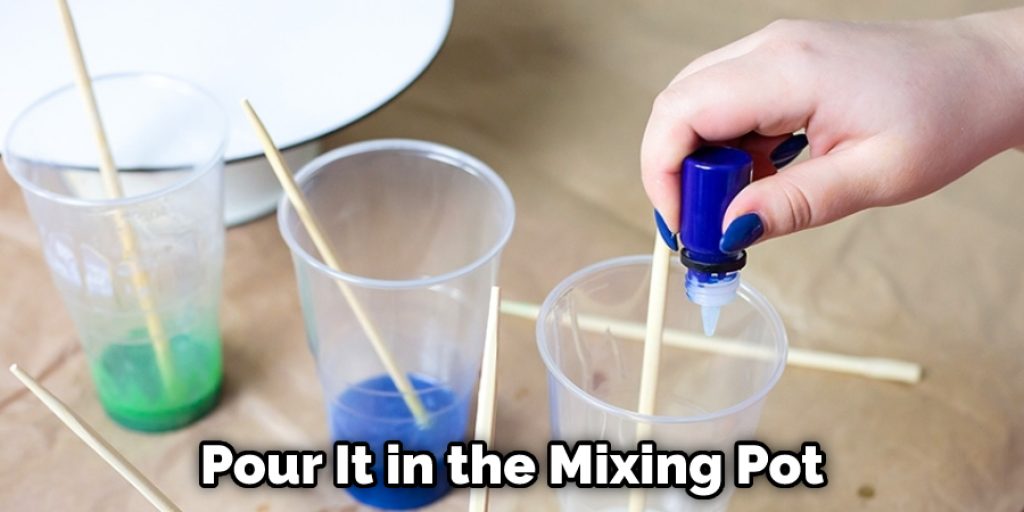
Now you have to take some epoxy resin in the measuring cup and then pour it in the mixing pot. You have to open the earth coating resin in the same manner and pour a similar amount in the measuring cup as of the epoxy resin and then add it to the mixing pot. You must be careful about the ratio of the two polishes. It is suggested by the professionals that you always use equal parts of resins for this process. Once the waxes are poured in the mixing pot, you have to start stirring it. This the most challenging part of the process because it will take a long time to initiate the mixture and get the desired solution.
Now you have to keep stirring until you see all the bubbles in the solution is disappeared, and the concentration of the solution will decrease. The solution’s concentration will be much high at the introductory level, and then you have to continuously stir it and bring it down to a dilute solution, which will look like water. Once you have the solution adequately mixed, you have to add the other ingredients in the mixture. These ingredients should be added in a definite amount, and the stirring should be continued. At first, you have to add the glitters in the mixture.
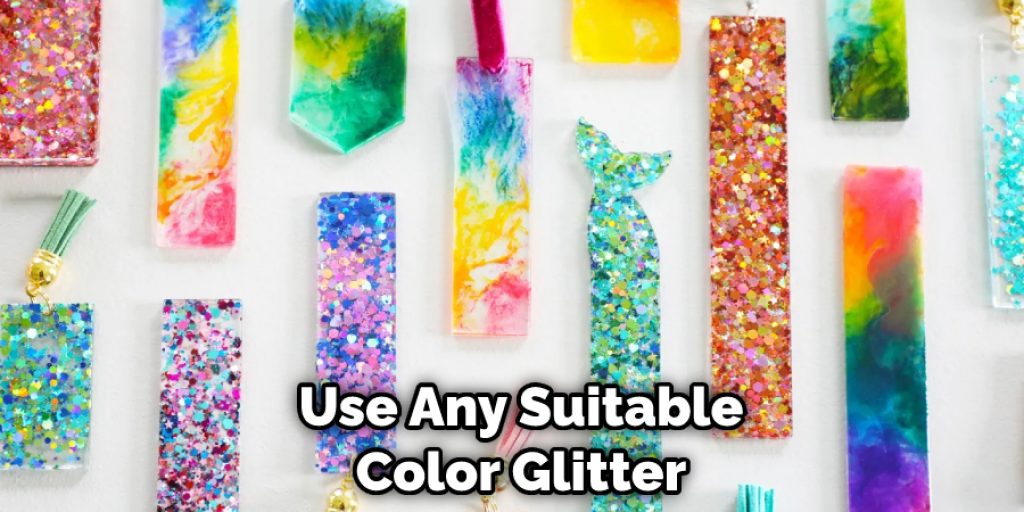
You can use any suitable color glitter you want for this process, but the amount should be controlled. You have to keep a minimal level of glitter in the solution. This is much important because the opal should not be entirely covered with glitter. This reduces the aesthetic value of the opal, and the realistic nature of the products is diminished. So you have to use a little bit of glitter and then keep stirring it. When you are using more than one glitter color, you must pour equal parts and a minimum amount. After the glitters are poured, you have to continue stirring the mixture until it is mixed.
The next step in this process is adding the resin mixing powder to the solution. The mixing powders are pigmented, and it is responsible for providing color to the opals. You can use varieties of wax mixing powders for the solution, but you must add them in equal parts. It would help if you always remembered making synthetic opals because the ingredients you will use should still be added in a controlled amount. Once you have added the resin mix powder, you have to keep stirring the solution, and the concentration of the solution should be lessened.
After a few minutes of constant stirring, the mixture will be prepared for putting into the mold. But before pouring the mixture in the mold, you have to clean the mold properly. The molds should be free of dust, and then you have to take the cellophane paper and cut it into small pieces. You have to put the pieces of cellophane paper in the mold and then let them settle at the bottom of the mold. You can use your hand for settling them, and then you have to pour the mix in the mold, you have to fill half of the mold with the mixture and let it settle.
Once the first layer is settled, you have to start adding some more cellophane in the mold and then add the rest solution. Now you will observe some bubbles on the surface of the resin. For eradicating the bubbles, you have to use a mild fire gun and apply it around the solution. It would help if you did not let the mold come in contact with the heat. After the bubbles have vanished you have to let the mold dryad n then take out the opals.
Conclusion
There you have it, our completed tutorial on how to make a vest of a paper bag. With these simple steps and equipment, you can make your vest to show off to your friends the next day or make it for your child or siblings to have some fun with their friends. Either way, this simplified paper vest will save your worry of finding or purchasing a real vest. This vest is more comfortable with making and will come up with the most satisfying look.
You May Also Read – How to Make Eos Soap
Elizabeth Davis
Elizabeth is a creative writer and digital editor based in the United States. She has a passion for the arts and crafts, which she developed from a young age. Elizabeth has always loved experimenting with new mediums and sharing her work with others. When she started blogging, she knew that DIYquickly would be the perfect platform to share her tutorials and tips. She's been writing for the blog from the beginning, and her readers love her helpful advice and easy-to-follow instructions. When she's not writing or editing, Elizabeth enjoys spending time with her family and friends.


