How to Make Vintage Beaded Christmas Ornaments
Introduction
Christmas is always the time of the year that people enjoy the most. The snow outside the house and the Christmas tree inside the place make a playful ambiance. This is the best vacation for everyone throughout the year. For this reason, today, we will teach you some techniques of how to make vintage beaded Christmas ornaments. These ornaments will be much suitable for putting on the Christmas tree.

Procedure
There are many Christmas ornaments that you can make in your home using standard tools. These ornaments can adorn your Christmas tree, creating a joyful ambiance in your house. We have shortlisted some easy techniques which will make your ornament-making easier. These methods will be much helpful for beginners. These methods are simplified below.
Method One: Christmas Ball Ornament
Step OneAt first, we need to gather some elements that we need for this process to perform appropriately. You will need some Styrofoam balls. This will act as your central part of the ornament. Then you will need some beads, you can use chain beads of different colors, or you can easily use single beads. We suggest you keep both the dots for the betterment of the ornament. Next, you will need a glue gun that will be used for attaching the beads. You will also need a ribbon and crystal beads to decorate the ornament. Lastly, you will need scissors to cut the ribbons.
- Step Two
After collecting all the necessary materials, we will start working. You need to take the Styrofoam ball and then cut a piece of ribbon. The ribbon should not be too large; instead, you need to cut the ribbon so that you can easily hang the ball. After cutting the ribbon, you need to attach the ribbon to the ball. You can use a glue gun for this. You can firmly tie the ribbon at one point of the Styrofoam ball.
- Step Three
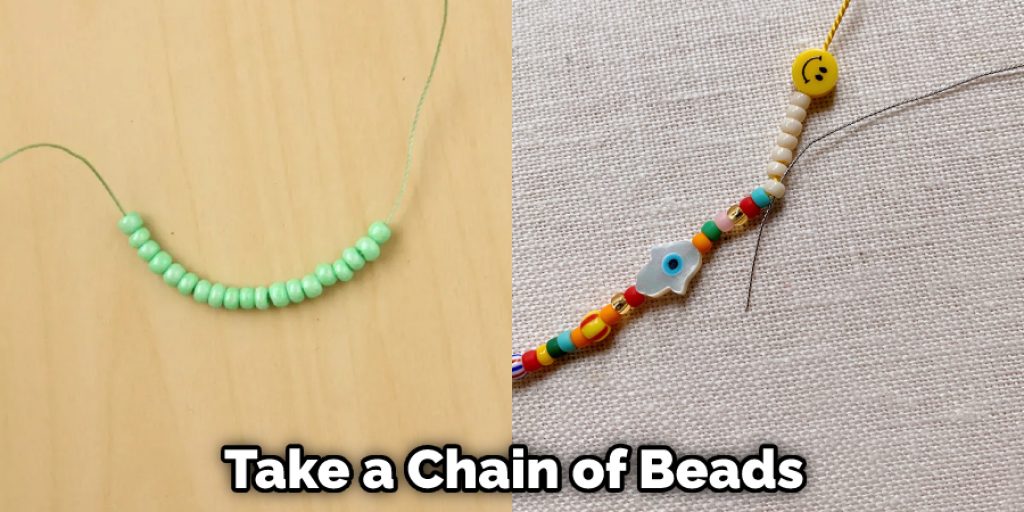
After the ribbon is attached, you can go for the beads attachment. You have to start with the chain beads. Take a chain of beads and then connect them with the ball. You have to start from the point of attachment of the ribbon and then bring it all around the ball. You can use the glue gun to attach these beads. Next, you have to take another chain beads of the same color and connect it from the ball’s other side. In this manner, the total ball will be divided into four parts.

- Step Four
Next, you can take chain beads of another color and, in the same manner, attach them to the ball. Make sure to attach proper glue to each of the beads. This is much necessary because when the ball is hung, each bead’s weight will act against the bond, so each bead must be glued appropriately to save the detachment. After you have attached more tow rows of bead chains on the ball, there will be eight ball parts.
- Step Five
Next, you have to take the single beads and then attach them to the chain beads gap using the glue gun. You can fill the total ball with various designed beads in this manner. Make sure to buy the beads which glow in color. This will provide extra aesthetic value to the ornament. At last, you have to take the jingle bell and then attach it at the opposite end of the ribbon with a glue gun. Thus you will have a stylish Styrofoam ball ornament prepared.
Method Two: Safety Pin Jingles
- Step One
In this method, you will require some small beads. You will need all separate beads. There is no need for any chain beads for this task. Then you will need some safety pins. You can also have some jingle sand and some rings to hang. Then you will need some strings. Choosing the string strings that can be quickly passed through the beads is better. You will need some pliers, and you will also require a nose for pulling strings. It is better to obtain multicolored beads for the process.
- Step Two

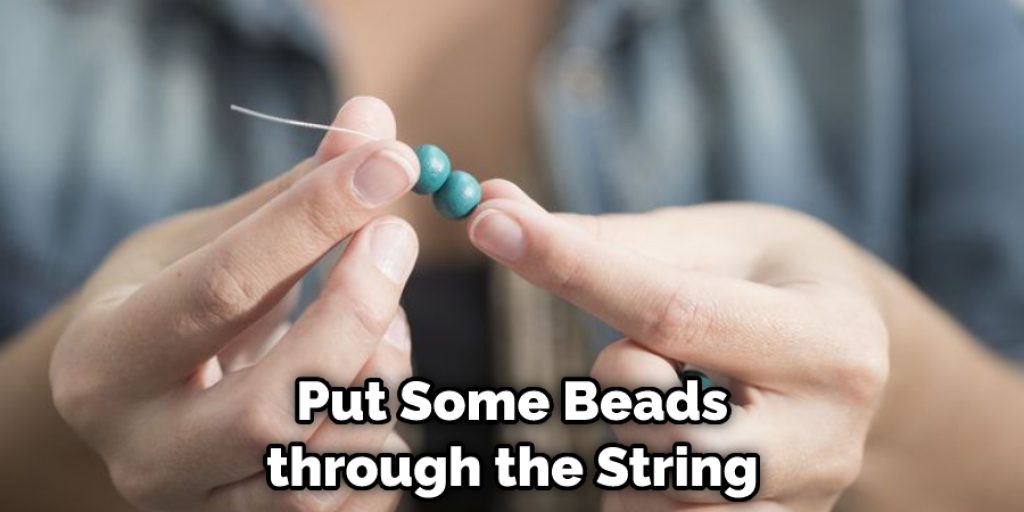
Now you must take the string and put some beads through the string. This should be done carefully, and the string must go through the beads. Next, you have to make a knot on the dots so that the string remains appropriately attached. There is no fall of the beads. Now you have to hold the two sides of the line and then place a ring inside it. The strings should be pulled in such a manner that the beads gates are attached in the middle of the composition.
- Step Three
Now you have to take a safety pin and start putting the colorful beads inside the safety pin. You can use a single color bead on the safety pins, or you can use mixed colors. This depends on the design sense and will of the maker. Then you have to take a plier and pull the string through the safety pins’ beads. In this manner, you can easily juxtapose the safety pins. And by removing the thread, the safety pins will become firmly attached.
- Step Four
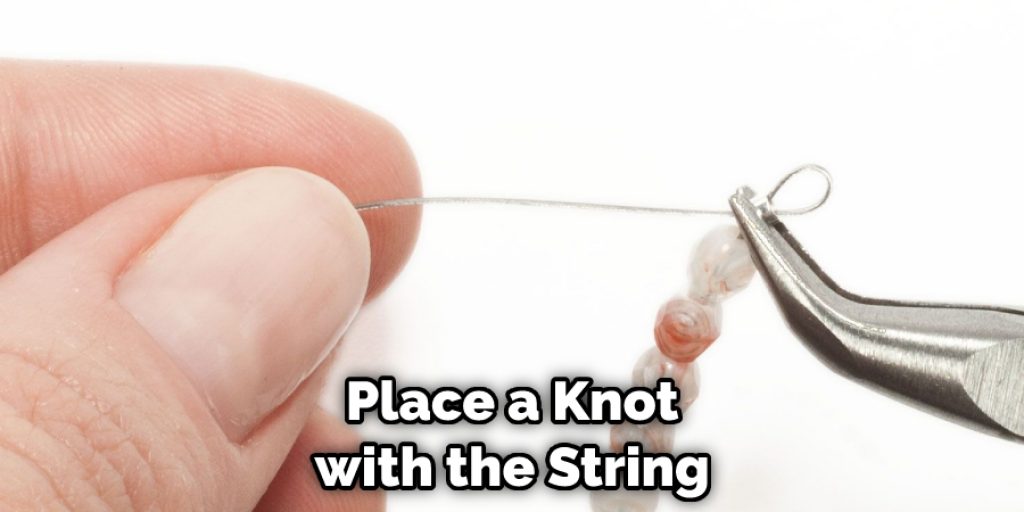
After the safety pins are attached, you can place a knot with the string, and now you have to take a jingle bell and put it through the string. The string must be passed through the rings at the bottom of the safety pins. You can quickly put some beads, put the jingle bell, and then add the same number of dots again. This will make the combination even; thus, you will have a proper safety pin jingle bell ornament for your Christmas tree decoration.

Final Thoughts
In conclusion, the process we exhibited here will help make pure vintage beaded ornaments. These will be much beneficial for the people who are willing to learn DIY techniques, and their skills will also get developed. The processes will bring a new decorative look to your Christmas celebration. Thank you for your precious time. Have a nice day.
You may read also…
1. How to Waterproof Christmas Lights Connections
2. How to Line a Christmas Stocking
3. How to Make a Christmas Tree Skirt From a Round Tablecloth


