How to Make Wall Decals With Cricut
Wall decals are a great way to give your walls an upgrade or a fun change. They can be used for decorative purposes in any room of the house, and they are easy to install. With Cricut, you can make custom designs that will look professional and sharp on your wall. Making wall decals with Cricut is a great way to add some personalization and style to your decor.
The main advantage of using a Cricut machine to make wall decals is that it can be used to create precise and intricate designs. The Cricut machine’s ability to cut small, detailed shapes makes it perfect for creating unique wall decals for your home or business.
Additionally, the Cricut cutting machines work with special vinyl roll material, which is specifically designed to be used for wall decals. You can find step-by-step instructions on how to make wall decals with cricut in this blog article.
Step-by-step Instructions for How to Make Wall Decals With Cricut
Step 1: Inspect Your Cricut Machine
To get started, make sure that your Cricut machine is properly set up and functioning correctly. Check the power cable, blade assembly, mat size, and any other machine parts to ensure it is working correctly.
Step 2: Choose a Design
You can import an existing design or create one from scratch on your computer. For wall decals, make sure the design is a vector graphic. This allows you to resize and adjust the look without losing any of its clarity or precision. Once you have your design ready, open it in the Cricut Design Space software. Use the editing tools to refine the design and prepare it for cutting if necessary.
Step 3: Select a Material
Before you can start cutting, you will need to select the appropriate material for your wall decal. Choose a thin vinyl that is specifically designed for wall decals or any other suitable substrate. Place the material on your Cricut machine’s cutting mat and secure it in place. Make sure that the blade is properly aligned with the material before you start cutting.
Step 4: Cut Out the Design
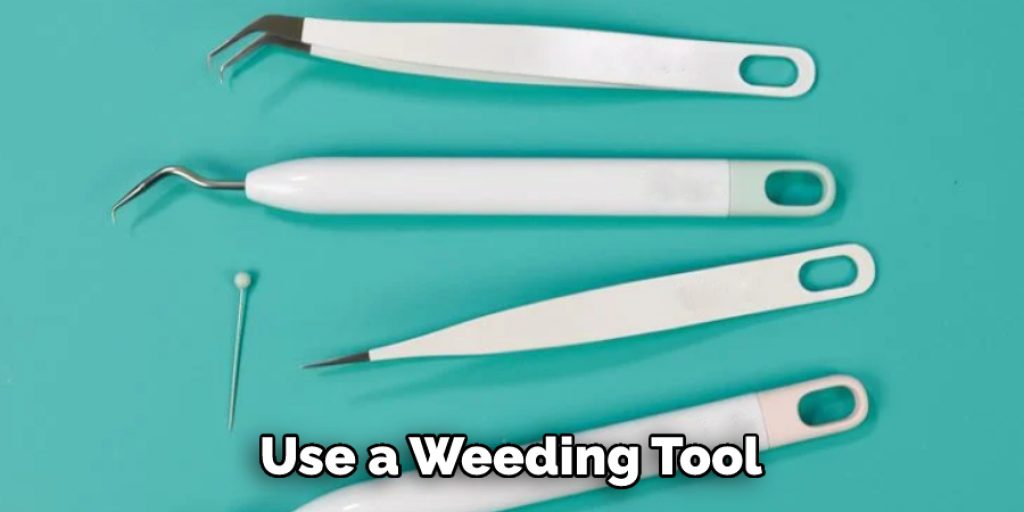
Select the “Cut” option on your Cricut machine to start cutting out your design. Depending on the complexity of the design, this may take anywhere from a few minutes to an hour. Once the cutting is finished, remove the material from the mat and use a weeding tool to remove any extra vinyl that you do not need for your wall decal.
Step 5: Transfer the Wall Decal to its Surface
Take a transfer tape and lay it over your wall decal. Rub over the decal with a scraper or credit card to ensure that it sticks securely to the tape. Then, carefully remove the backing paper and stick the design onto your chosen surface. Using a squeegee or hard object, rub it firmly over your wall decal in order to ensure it sticks securely.
Step 6: Peel Off the Transfer Tape
Carefully peel off the transfer tape once your design is firmly affixed to your chosen surface. Your finished wall decal is now ready for display. Making wall decals with a Cricut machine is a fun and easy way to add unique designs to your home or office. With just a few simple steps, you can create stunning wall art that will last for years to come.
Safety Tips for How to Make Wall Decals With Cricut
- Always wear protective eye gear when cutting the vinyl material on Cricut machines, as the blades can be sharp, and splinters of material can come off during the cutting process.
- When placing the vinyl material onto surfaces, use a soft cloth or towel to ensure no air bubbles are trapped beneath it.
- Apply a low heat setting when using the Cricut machine to cut the vinyl material, as high temperatures can cause the material to warp and distort.
- Before applying transfer tape over the vinyl decal, make sure that it is completely dry so that there are no bubbles or bumps on the decal’s surface.
- If you are using a wall decal outdoors, make sure to use a vinyl material that is UV resistant and waterproof so that it will not deteriorate from exposure to sunlight or water.
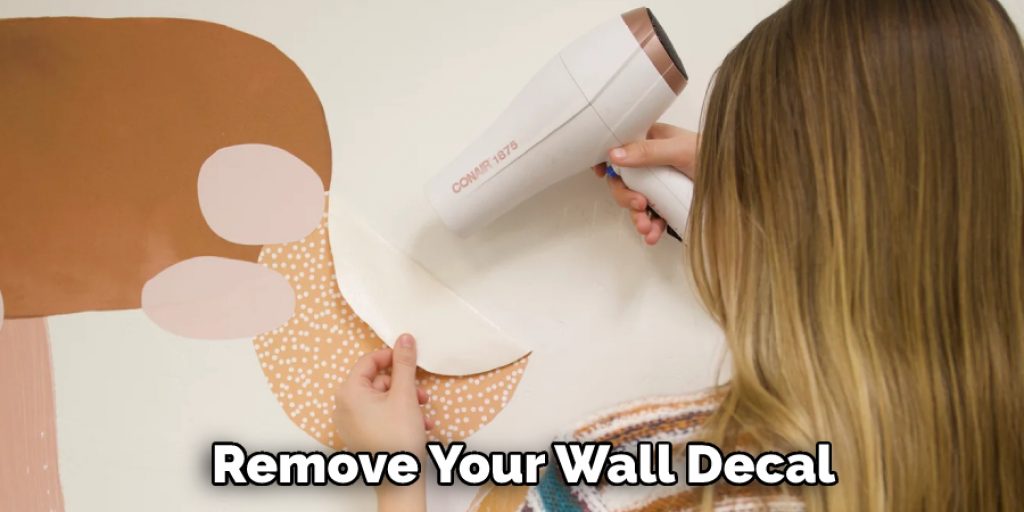
- When removing the wall decals, be sure to do them slowly and carefully so that they do not tear apart or pull away from the surface.
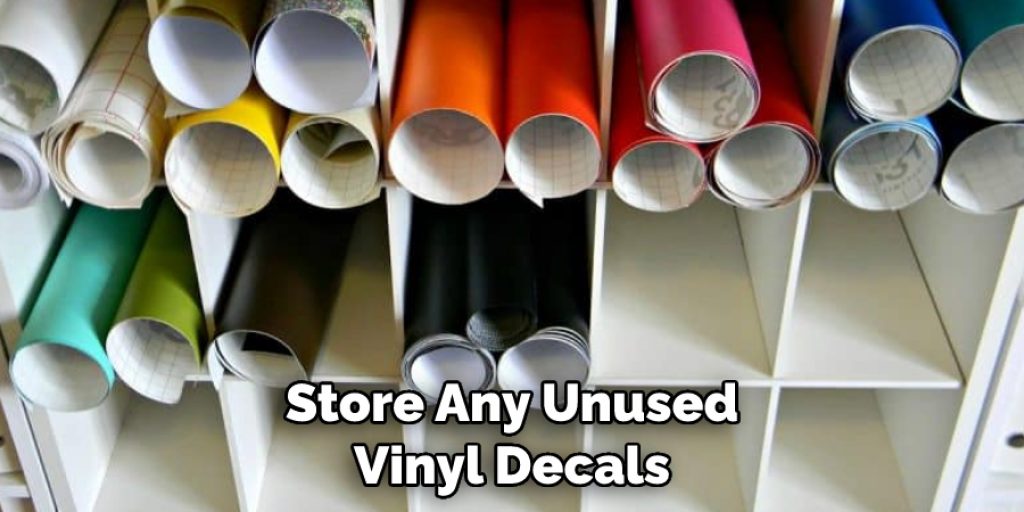
- Store any unused vinyl decals in a cool, dry place away from direct sunlight and moisture so that they do not become brittle or warped over time.
By following these safety tips for making wall decals with Cricut, you can ensure that your projects are safe and successful every time. With the right tools and materials, you can create beautiful wall decals that will last for years to come.
How Do You Prepare Your Surface Before Applying the Wall Decal?
The surface to which you are applying your wall decal is just as important as the decal itself. Before applying, ensure the wall or other surface is clean and free of dirt, dust, oil, wax, and debris. If the wall has recently been painted, wait a month before attempting to apply the decal so that the paint has time to cure.
Additionally, use a mild detergent or all-purpose cleaner and warm water to clean the wall before applying your decal. Make sure that the surface is completely dry before proceeding with the application.
In addition, you will need to prepare the area for the decal by using painter’s tape or any other low-tack tape to trace a light outline of where the decal will go. This will help you ensure that the design is centered as you stick it on and that all edges are straight.
If you do not want painter’s tape, you can use a pencil or marker to lightly draw your desired shape before peeling and applying the wall decal. Once you have finished preparing your surface, you can apply your wall decal with Cricut.
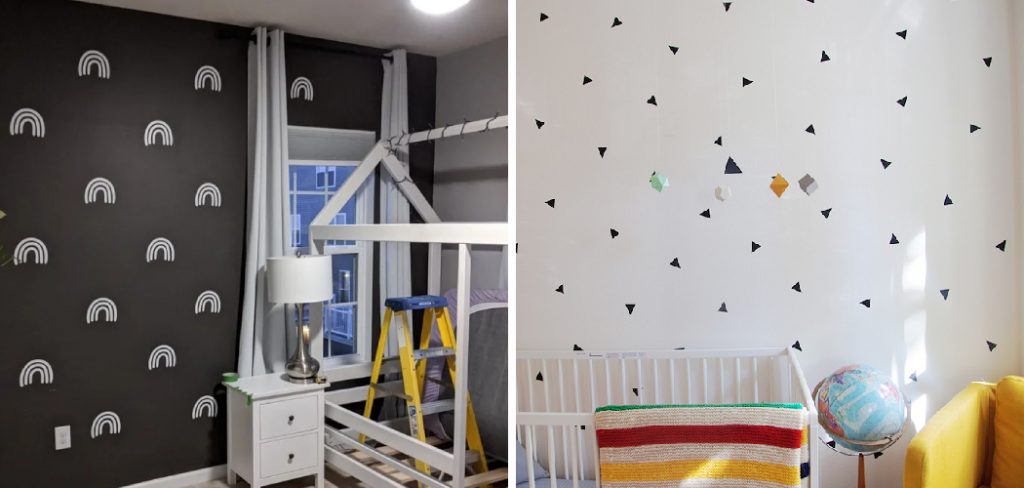
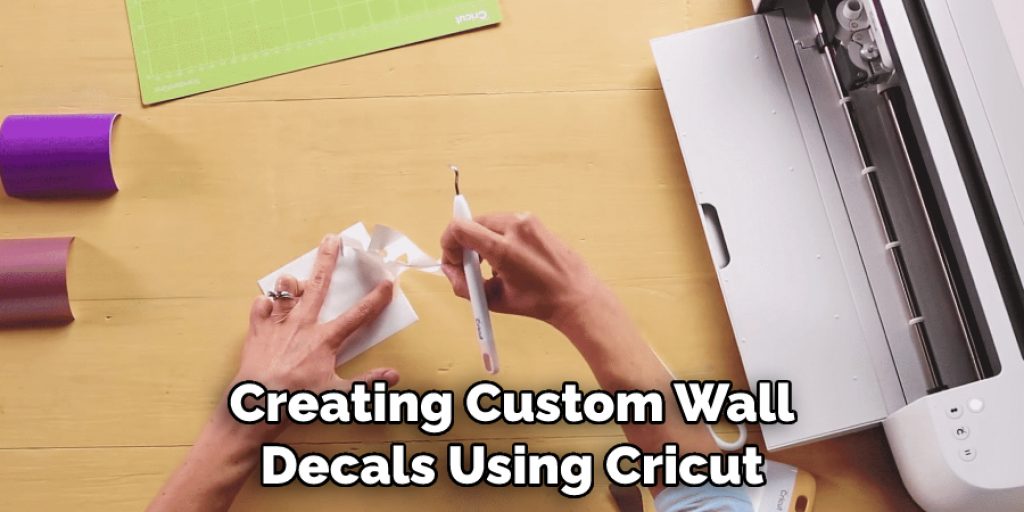
What Are Some Creative Ideas for Making Custom Wall Decals With Cricut?
Making custom wall decals with Cricut is a fun and creative way to spruce up any decor. Whether you’re looking for something unique to add to your home or apartment or just want to give a room a new look, there are countless possibilities when it comes to creating custom wall decals using Cricut. One of the most popular ideas for making custom wall decals with Cricut is to create personalized quotes and phrases.
You can choose a favorite quote or phrase that speaks to you, then use Cricut’s cutting tools to write it out in vinyl on a wall decal. This type of project is relatively easy and can be done in just a few steps. Another popular idea for making wall decals with Cricut is to create an artistic collage of shapes and patterns.
You can use Cricut’s cutting tools to cut out various shapes, such as circles, stars, hearts, or any other design you can think of. Then arrange the shapes on a wall decal to create a beautiful piece of art.
How Do You Store and Care for Your Wall Decal After It is Made?
By taking proper care when storing and handling your Cricut-created wall decal, you can ensure that it lasts many years. First, make sure to always store the decal in a cool, dry place away from direct sunlight or extreme temperature changes. If applicable, keep it stored between two sheets of wax paper or a plastic sleeve.
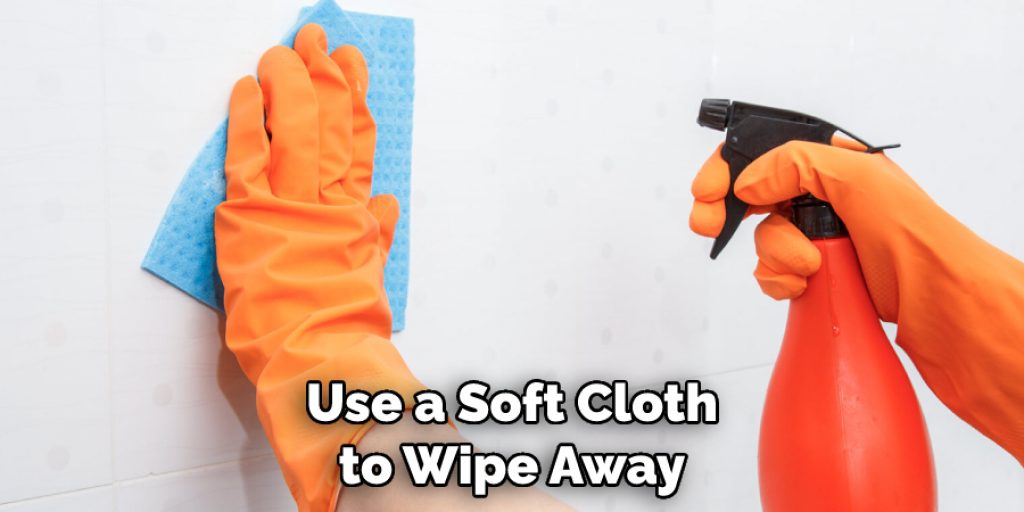
When you are ready to apply the decal, ensure that the surface you’re applying it to is clean and dry. Use a soft cloth to wipe away any dirt or dust before application. Make sure not to push too hard while wiping off the wall surface, as this could damage your decal. After you’ve successfully applied your wall decal, be gentle when removing it later. Use a soft cloth to peel away the edges of the decal delicately.
What is the Best Way to Clean and Maintain Your Wall Decal After It’s Applied?
Once your wall decal is in place, proper care and maintenance of it will help ensure its longevity. The key to keeping your wall decal vibrant and looking new for years is cleaning and maintaining it properly. Here are some tips on how to clean and maintain a wall decal created with Cricut:
- Use a Clean, Soft Cloth: Never use abrasive or rough materials for cleaning your wall decal. Instead, use a clean, soft cloth or microfiber cloth to gently and safely wipe away dirt and dust particles.
- Avoid Harsh Chemicals: Many household cleaners contain harsh chemicals that can cause discoloration or other damage to your wall decal. To be safe, avoid using them and stick with only water and a mild detergent if necessary.
- Don’t Use High Heat: High heat can cause the adhesive used to stick the wall decal to the wall to soften or lose its grip. If your wall decal is in direct sunlight or close to a heat source, consider moving it to a cooler location.
- Replace Damaged Parts: If any part of your wall decal becomes damaged, replace it as soon as possible. This will help keep the entire wall decal looking new and prevent further damage from occurring.

By following these tips, you can help ensure that your wall decal created with Cricut will remain vibrant and look new for years to come.
How Long Will Your Wall Decal Stay in Place Once It is Applied?
The longevity of your wall decal will depend on the surface that it has been applied to and how frequently it is exposed to direct sunlight. Wall decals are generally constructed with high-grade materials, so they can be expected to remain in place for many years if properly installed. If your wall decal is exposed to direct sunlight and high temperatures, it may start to degrade over time.
To ensure that your wall decal will last as long as possible, make sure to avoid exposing it directly to direct sunlight and extreme temperatures. Additionally, suppose you are installing the wall decal on a highly textured surface such as brick or stucco. In that case, it is important to use a primer and sealer so that the adhesive can adhere properly.
With proper installation and care, your wall decal should remain in place for many years to come. Finally, if you ever wish to remove your wall decal, it is generally very easy to do with just a few simple steps.
Conclusion
The main disadvantage of making wall decals with Cricut is cost. It can be expensive to purchase a Cricut machine and the associated materials needed for creating wall decals, such as vinyl, transfer paper, and protective mats. Additionally, it takes time to learn how to use the design software that comes with the machine and to become proficient in creating wall decals.
In conclusion, learning how to make wall decals with a Cricut cutting machine is a great way to add some personalized flair to your home. With the help of this guide, you can now confidently design and create beautiful wall decals using your Cricut machine. From creating stencils for painting or vinyl for intricate designs, you have the ability to customize your space like never before.
I hope reading this post has helped you learn how to make wall decals with cricut. Make sure the safety precautions are carried out in the order listed.