How to Turn Coloring Pages Into Wall Art
If you’re looking for a unique way to decorate your walls, consider turning coloring pages into wall art. It’s a simple and affordable project that can be completed in just a few hours. Plus, it’s a great way to showcase your child’s artwork. In this article, we’ll show you how to turn coloring pages into wall art. Here are the steps you need to take to turn Coloring Pages Into Wall Art. Keep reading to learn more.
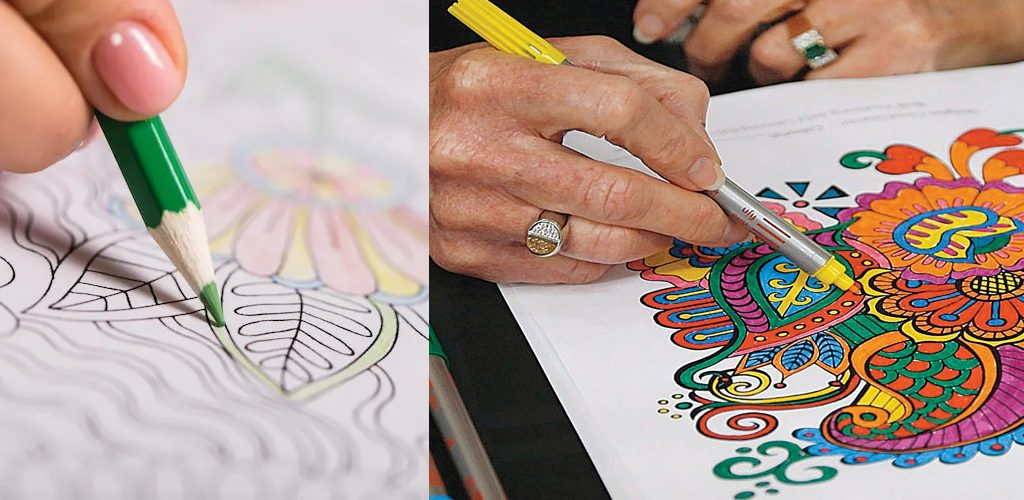
A coloring page is a perfect way to add a personal touch to your home décor. You can use them to create a unique piece of art for your home. There are many ways to turn coloring pages into wall art. You can frame them, hang them on the wall, or even create a collage. Many people think that coloring pages are just for kids. But, they can be used to create beautiful works of art. So, if you’re not sure about turning coloring pages into wall art, don’t worry. We’ve got you covered.
A Detailed Guide on How to Turn Coloring Pages Into Wall Art
Method 1. Frame Your Work
What You’ll Need:
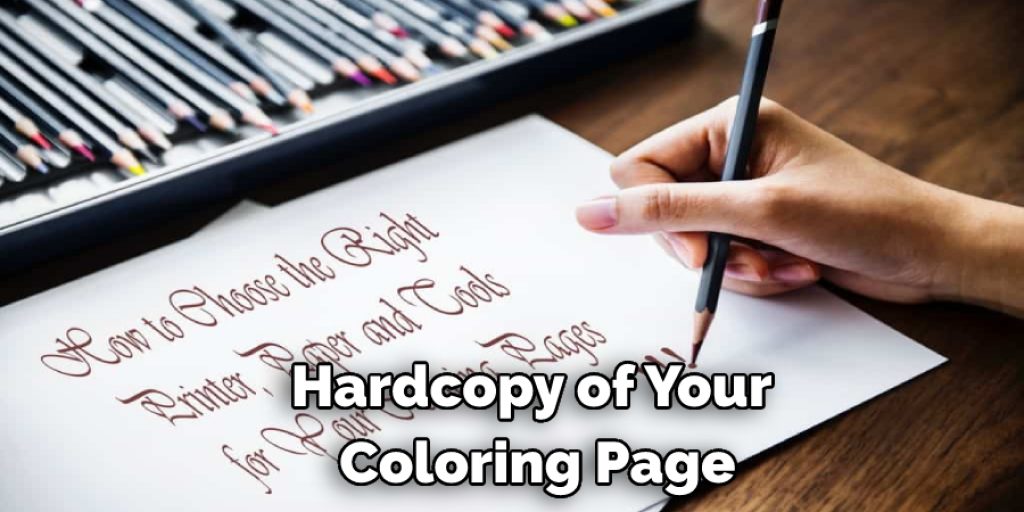
- Hardcopy of your coloring page
- Frame
- Acid-free mat (optional)
- Tape or other adhesive
- Scissors
Step 1: Choose a Coloring Page
First, you’ll need to select a coloring page. When looking for the right coloring page, it’s essential to consider the following:
- The level of detail in the image. If you’re a beginner colorist, you may want to choose a more straightforward image. Conversely, if you’re an experienced colorist, you may want to choose a more detailed image.
- The size of the image. Make sure to select a coloring page that will fit in your frame.
Step 2: Cut Out the Image
Once you’ve selected a coloring page, use scissors to cut out the image. If you’re using a detailed image, it may be helpful to use a ruler to make straight cuts.
Step 3: Choose a Frame
Next, select a frame for your artwork. Again, consider the size of the image when choosing a frame. You’ll also want to decide whether you want a traditional frame or a more modern floating frame.
Step 4: Adhere the Image to the Frame
Now it’s time to attach your image to the frame. You can do this by using tape or another adhesive. If you’re using tape, make sure to use acid-free tape so that it doesn’t damage your coloring page. Once the image is secure, you can add an acid-free mat, if desired.
Step 5: Hang Your Artwork
Finally, hang your artwork on a wall or other surface. Enjoy your handiwork!
Method 2. Transform Into a Greeting Card
What You’ll Need:
- Greeting card
- Ruler or a straight edge
- Pencil
- Fine point marker
- Scissors
- Tape or adhesive
- Coloring pages
Step 1: Determine the Size
To begin, you will need to find a greeting card that is the same size as the coloring page. Once you have found the perfect card, use a ruler or a straight edge to trace around the outside. This will give you a line to follow when cutting out your coloring page.
Step 2: Cut Out the Coloring Page
Once you have traced around the greeting card, carefully cut out the inside of the tracing. Make sure to cut along the lines as closely as possible.
Step 3: Tape or Glue the Coloring Page to the Greeting Card
Now it’s time to attach your coloring page to the front of the greeting card. You can do this by either taping or gluing the page in place. Be sure to smooth out any wrinkles or bubbles that may form.
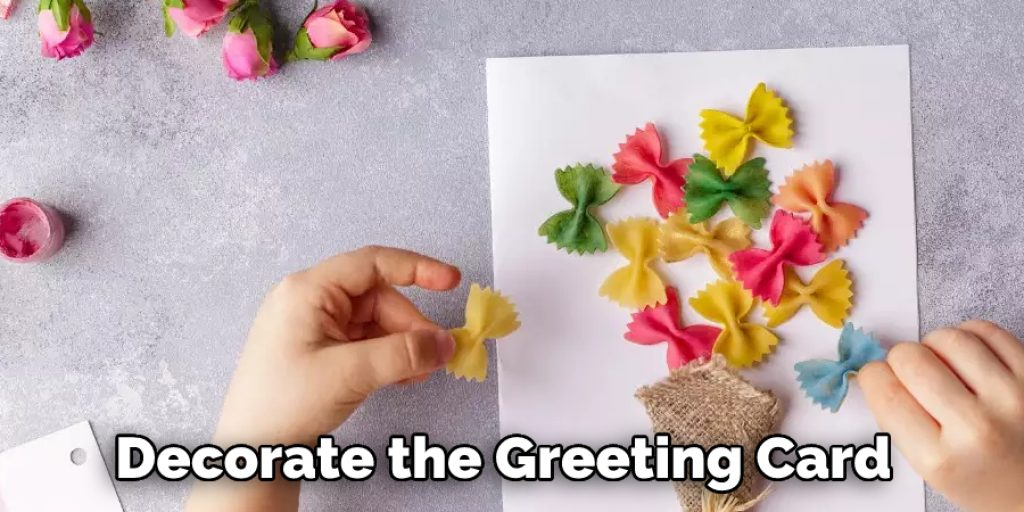
Step 4: Decorate the Greeting Card
Now that your coloring page is attached to the greeting card, it’s time to add finishing touches. First, use a fine point marker to write a message on the inside of the card. Then, decorate the envelope with stickers or drawings. Your coloring page greeting card is now complete!
Method 3: Turn Coloring Pages Into Wallpaper
What You’ll Need:
- Mod Podge
- Sponge brush
- A printer
- Scissors
- Pencil
- Ruler or a straight edge
- Clear contact paper (optional)
Step 1: Prepare the Coloring Page
Start by finding a coloring page that you want to use. You can find free coloring pages online or design your own. Then, please print it out on regular printer paper once you’ve found the perfect coloring page.
Step 2: Cut Out the Coloring Page
Use scissors to carefully cut out the image from the rest of the paper. If there are small details in the image, you may want to cut them out more precisely with an X-ACTO knife.
Step 3: Mod Podge the Image Onto the Wall
Apply a layer of Mod Podge to the back of the image using a sponge brush. Be sure to cover the entire back of the image to stick to the wall evenly.
Step 4: Hang the Image on the Wall
Carefully place the image on the wall in the desired location. Use a pencil and a straight edge to mark where you want to hang the image. If you’re worried about the image slipping, you can apply a layer of clear contact paper to the back before Step 3.
Step 5: Add Another Layer of Mod Podge
Once the image is in place, add another layer of Mod Podge over top of it. This will help to seal it and protect it from damage. Allow the Mod Podge to dry completely before moving on to the next step.
Step 6: Color In the Image
Now it’s time to color in the image! Again, you can use any coloring medium, including colored pencils, markers, or even paint. So get creative and have fun with it!
Step 7: Add a Frame (Optional)
You can add a frame around the image using wood trim or picture framing wire if you want. This is entirely optional, but it can help to give the image a more finished look. Your coloring page wall art is now complete! So hang it up and enjoy your handiwork.
Method 4: Build a Dry-erase Board
If you want to be able to reuse your coloring pages, consider mounting them on a dry-erase board. You can buy pre-made boards or make your own by framing a piece of Plexiglas or glass. Once your pages are mounted, you can use dry-erase markers to color them in and then erase the ink when you’re done. This is a great way to create temporary art that you can change up as often.

What You’ll Need:
- Coloring pages
- Dry-erase markers
- Plexiglas or glass
- Frame (optional)
Step 1: Choose Your Pages
Choose the coloring pages you want to use. You can find tons of free pages online or buy a coloring book specifically for this project.
Step 2: Print or Mount Your Pages
If you’re using printed coloring pages, skip to Step 3. If you want to be able to reuse your pages, mount them on a piece of Plexiglas or glass. You can use double-sided tape or temporary adhesive spray to keep them in place.
Step 3: Frame Your Pages (Optional)
If you’re not mounting your pages, you may want to frame them to keep them from getting damaged. Step 4: Hang Your Board
Hang your board on the wall using picture hangers, Command strips, or other hanging hardware.
Step 5: Color Away!
Use dry-erase markers to color your pages. When you’re done, erase the ink and start again.
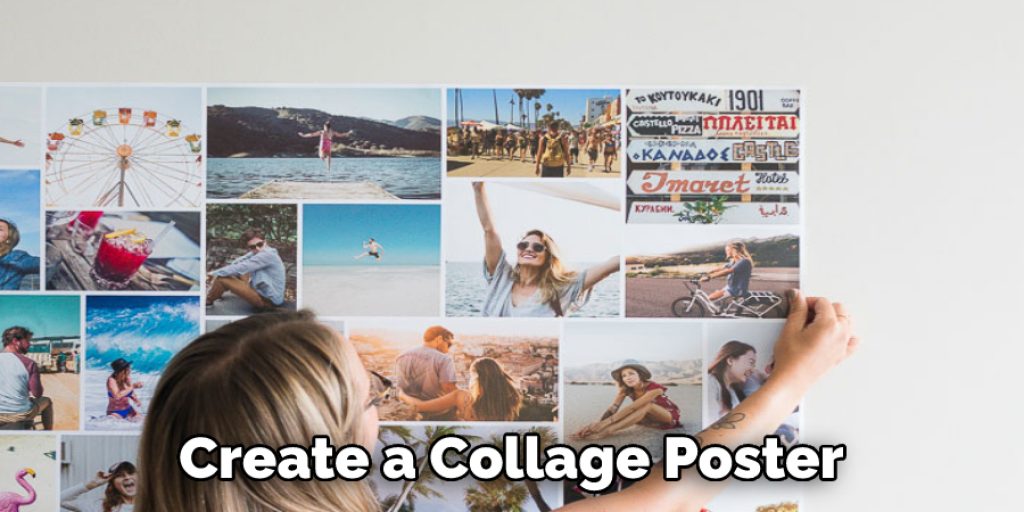
Method 5. Create a Collage Poster
You can also create a stunningly intricate collage poster from coloring pages. This is a great way to achieve a unique and personal piece of art.
What You’ll Need:
- Several coloring pages
- A large piece of poster board or cardboard
- Scissors
- Glue
- Tape
- Markers or crayons (optional)
Step 1: Before You Start
Choose a theme for your collage. This will help you to narrow down the coloring pages you use and give your poster some focus. For example, you could create a nature-themed collage or a collage featuring animals.
Step 2: Cut Out the Images
Carefully cut out the images you want to use from the coloring pages. Try to choose a variety of different images in different sizes and shapes.
Step 3: Arrange the Images on the Poster Board
Once you have all of the images cut out, start arranging them on the poster board. Play around with different arrangements until you find one you like.
Step 4: Glue or Tape the Images in Place
Once you have decided on an arrangement, glue or tape the images in place.
Step 5: Add Finishing Touches (Optional)
You can add some finishing touches to your collage poster if you want. For example, you could add a title or caption using markers or crayons. You could also use colored pencils or markers to add details to the images.
Step 6: Hang Up Your Poster
Your collage poster is now complete! Hang it up somewhere where you can enjoy it.
With this method, you can create a beautiful and unique piece of wall art using nothing more than coloring pages and some basic craft supplies. This project is perfect for anyone who loves to color, and it’s a great way to recycle old coloring pages.
Conclusion:
Coloring pages are the perfect way to add a pop of color and personality to any room. And if you want to take your coloring page art up a notch, we’ve got some easy tips. By following these simple methods on how to turn coloring pages into wall art, you can turn your favorite coloring pages into beautiful pieces of wall art that will brighten up any space in your home. So what are you waiting for? Get started today!
You can check it out to Frame Unstretched Canvas Art
Elizabeth Davis
Elizabeth is a creative writer and digital editor based in the United States. She has a passion for the arts and crafts, which she developed from a young age. Elizabeth has always loved experimenting with new mediums and sharing her work with others. When she started blogging, she knew that DIYquickly would be the perfect platform to share her tutorials and tips. She's been writing for the blog from the beginning, and her readers love her helpful advice and easy-to-follow instructions. When she's not writing or editing, Elizabeth enjoys spending time with her family and friends.