How to Make Wall Decor with Cardboard
Creating wall decor with cardboard is a budget-friendly and eco-friendly way to add personality and style to your home. With a little creativity and some basic crafting supplies, you can transform ordinary cardboard into unique and eye-catching wall art that reflects your personal taste and decor aesthetic.
Whether you’re a seasoned crafter or a DIY novice, making wall decor with cardboard is a fun and rewarding project that allows you to unleash your creativity and express yourself through art. In this guide, we’ll explore various techniques and ideas for how to make wall decor with cardboard, from simple and minimalist designs to more intricate and detailed creations. Get ready to roll up your sleeves and embark on a crafting adventure that will beautify your walls and showcase your artistic flair.
Benefits of Upcycling Cardboard for Decor
Upcycling cardboard into decor not only showcases creativity but also offers several advantages both environmentally and economically. Firstly, it contributes to waste reduction. Cardboard, a commonly discarded item, when repurposed for wall decor, decreases the amount of waste sent to landfills. This act of reusing materials supports sustainability efforts and promotes a more eco-friendly approach to decorating.
Economically, upcycling cardboard is exceedingly cost-effective. Instead of purchasing new decor items, utilizing existing cardboard materials can significantly reduce expenses, making it an ideal solution for budget-conscious individuals. Additionally, upcycling cardboard for decor instills a sense of accomplishment and uniqueness.
Each piece of wall art becomes a testament to personal creativity and individual style, offering a bespoke touch to home interiors that can’t be found in store-bought items. Lastly, engaging in upcycling projects like making cardboard decor can be a therapeutic activity, offering a creative outlet that reduces stress and enhances mental well-being.
Essential Materials Needed for Cardboard Wall Decor
To begin your cardboard wall decor project, gathering the right materials is crucial for a successful outcome. Here’s a basic list of essentials you will need:
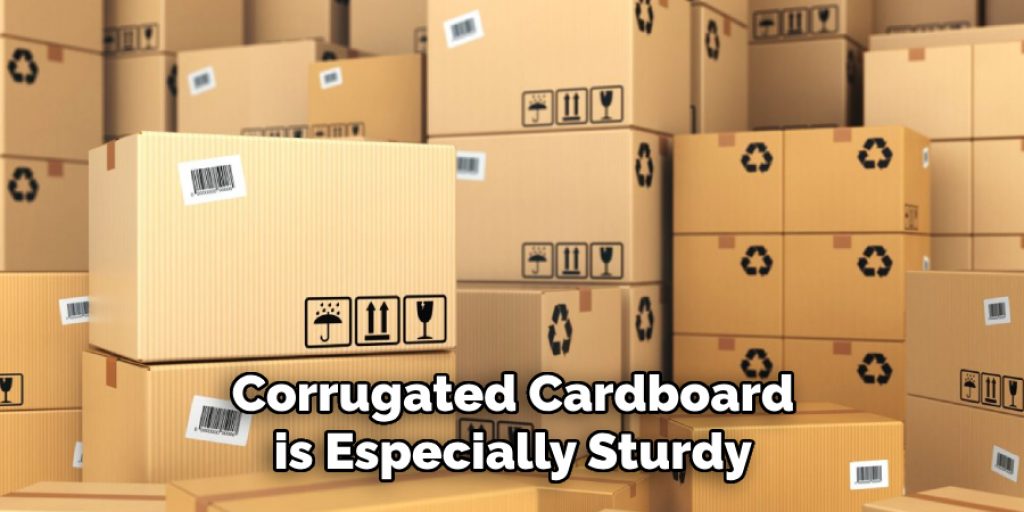
- Cardboard: Collect various sizes and thicknesses, depending on your project’s requirements. Corrugated cardboard is especially sturdy for larger pieces.
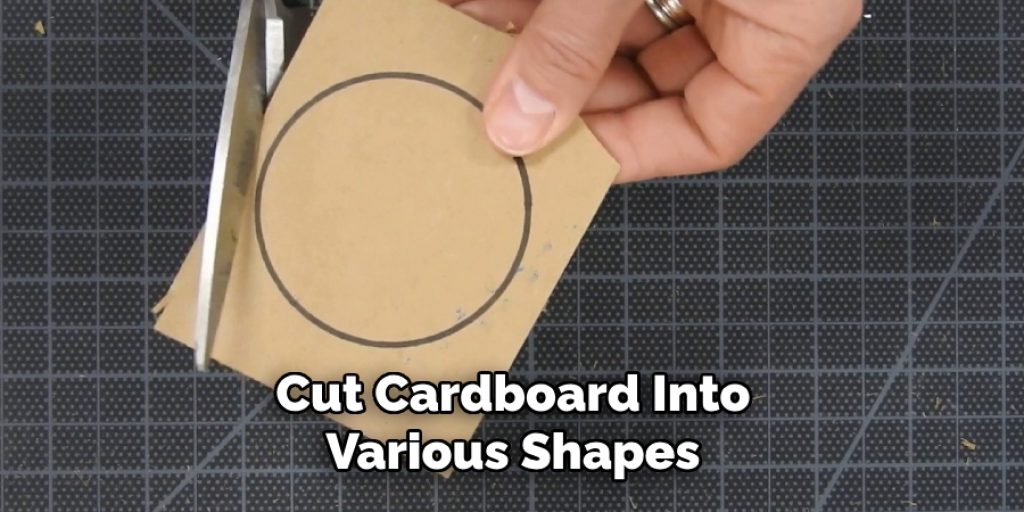
- Cutting Tools: A sharp craft knife or scissors are vital for cutting shapes and designs accurately.
- Ruler and Cutting Mat: Essential for measuring and making precise cuts and protecting your work surface.
- Glue and Tape: A strong adhesive, such as PVA glue or hot glue, and double-sided tape will be needed to assemble and secure your decor components.
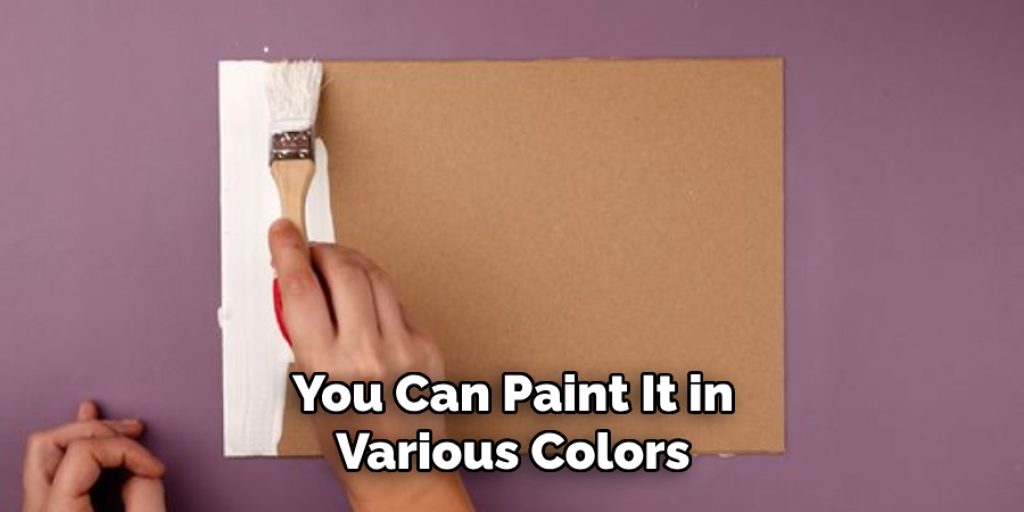
- Paint and Brushes: Acrylic paint is versatile and comes in a wide range of colors for decorating your cardboard. Brushes of various sizes will help in adding details.
- Markers and Pens: For drawing designs or adding intricate details to your cardboard decor.
- Decorative Elements: Consider using items like glitter, fabric scraps, beads, or recycled materials to embellish your creations and add texture.
- Hanging Supplies: Depending on the size and weight of your artwork, you may need string, ribbon, or mounting tape to display your decor on the wall.
With these materials at hand, you’re well-prepared to start crafting unique and sustainable wall decor that will add warmth and character to any room.
Where to Source Cardboard Supplies
Finding cardboard for your wall decor projects can be both easy and cost-effective, as cardboard is a plentiful resource. Begin by searching your own home; you might find suitable pieces from shoe boxes, electronic packaging, or online shopping deliveries.
For a wider variety of sizes and thicknesses, consider reaching out to local businesses such as retail stores, supermarkets, and appliance shops, which often have an abundance of cardboard boxes they’re willing to part with for free. Another great source is community groups on social media or classified advertisement websites where people list items for free or for sale.
Libraries, schools, and offices can also be potential goldmines for high-quality cardboard, as they frequently receive supplies in large cardboard boxes. Remember, when sourcing cardboard, opt for clean, sturdy pieces without significant damage or moisture, to ensure your wall decor is durable and visually appealing.
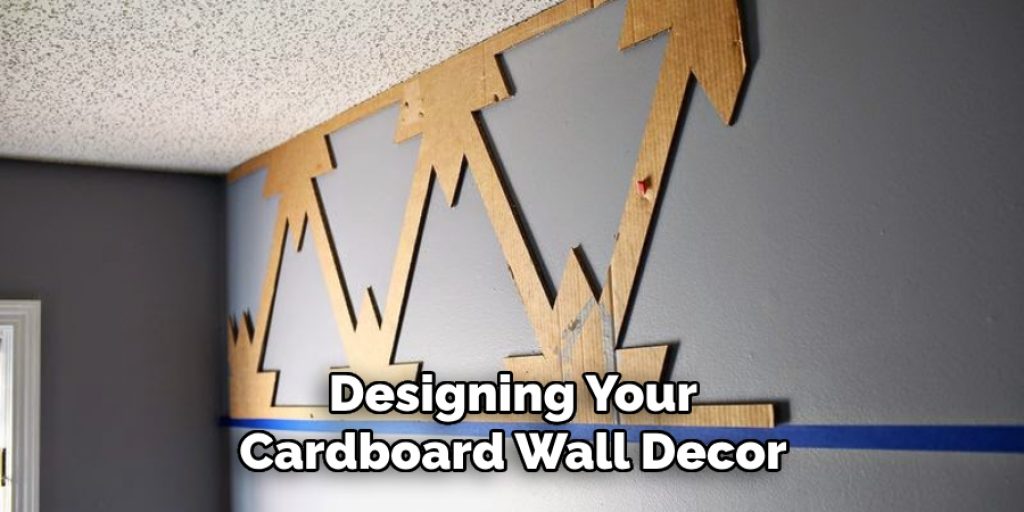
Exploring Design Ideas and Inspiration
When it comes to designing your cardboard wall decor, the possibilities are virtually limitless. To spark your creativity, consider drawing inspiration from current interior design trends, nature, geometric patterns, or even personal interests and experiences. Here are some design ideas to get you started:
- Geometric Shapes: Combine simple shapes like circles, triangles, and squares to create abstract art pieces or mimic the look of modern art.
- Nature-Inspired: Think about creating silhouettes of trees, flowers, or animals for a natural, organic feel. Layering pieces of cardboard can add depth and dimension to these designs.
- Quotations and Typography: Use your favorite quotes or inspirational words to create personalized typography art. You can paint letters directly on cardboard or cut out letters and layer them for a 3D effect.
- Mosaic and Collage: Cut your cardboard into smaller pieces and assemble them into a mosaic pattern or collage. This can be an excellent way to use up scraps from other projects.
- Seasonal and Holiday Themes: Create decorations for specific holidays or seasons, such as snowflakes for winter or pumpkins for fall, which can add a festive touch to your space.
Different Types of Wall Decor You Can Create with Cardboard
Cardboard, a versatile and readily available material, opens up a world of possibilities for creating distinctive wall decor. Here are several types of wall art and decorations you can craft:
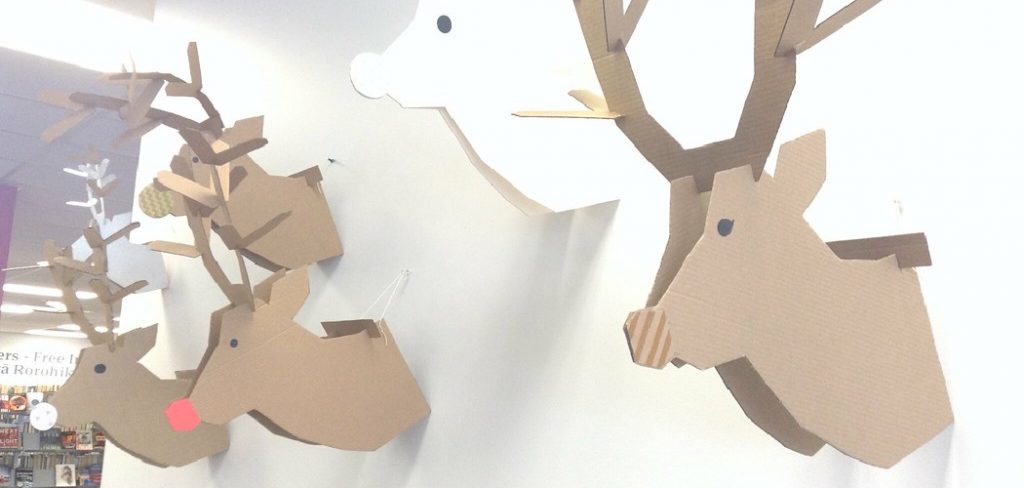
- 3D Wall Art: By layering pieces of cardboard, you can craft stunning three-dimensional creations that pop off the wall, offering both shadow and texture that flat art simply can’t match. Consider making geometric patterns or abstract sculptures that play with light and shadow.
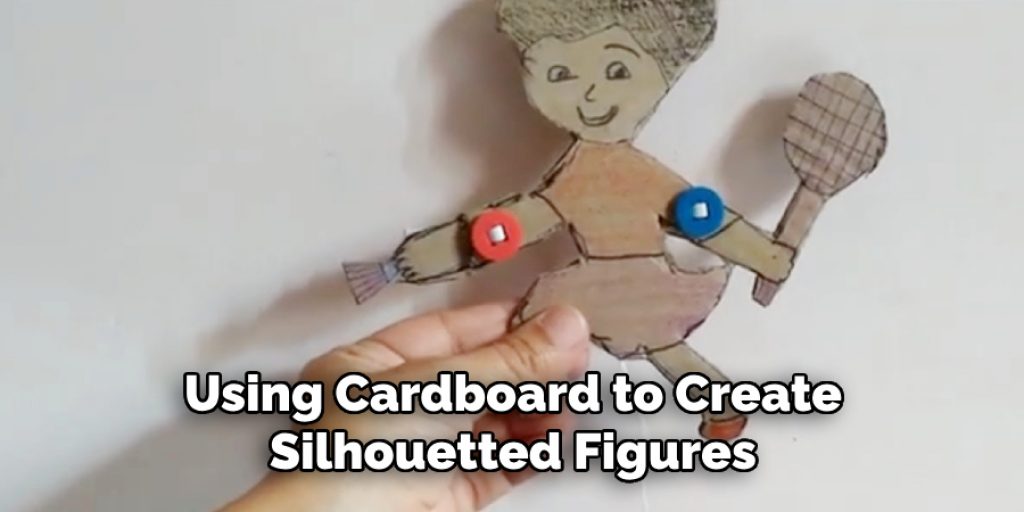
- Silhouette Art: Using cardboard to create silhouetted figures or landscapes is a simplistic yet impactful way to decorate. These can range from intricate city skylines to serene nature scenes, providing a dramatic contrast against a painted or plain background.
- Canvas-Style Pieces: Treat pieces of cardboard like canvas. Paint, draw, or decoupage them to create traditional-looking artwork that belies its humble origins. This approach allows for a wide range of artistic expression, from portraits to landscapes.
- Functional Decor: Beyond aesthetic appeal, cardboard can be used to create functional wall decor. Think bulletin boards, jewelry organizers, or even small wall-mounted shelves. With the right design and reinforcement, cardboard can be both beautiful and practical.
- Textured Panels: Create textured wall panels by manipulating cardboard in various ways – crumpling, twisting, weaving, or layering. These panels can serve as a unique backdrop for rooms, adding depth and interest to an otherwise flat wall.
- Kids’ Art Projects: Engage children in crafting their wall decor using cardboard. This can include cutouts of their favorite animals, stars, and other whimsical shapes. It’s a fun way to personalize their space and encourage creativity.
Finding Inspiration from Creative Sources
In the realm of DIY and craft, drawing inspiration from a variety of sources can transform your projects from the ordinary to the extraordinary. When looking for fresh ideas for your cardboard wall decor, consider the following sources of inspiration:
- Art and Design Books: A visit to your local library or bookstore can reveal a treasure trove of art and design books filled with images, artist profiles, and historical design movements. These resources can spark new ideas and techniques you can adapt using cardboard.
- Nature Walks: The natural world is an endless source of inspiration. Patterns, textures, and structures found in nature can be mimicked or abstracted in your cardboard creations. From the intricate veins of a leaf to the rugged bark of a tree, nature offers a wealth of ideas waiting to be translated into art.
- Travel Experiences: Places you’ve visited or dream of exploring can inform your design choices. Architectural elements, cultural motifs, and landscapes from around the world can be reimagined into your cardboard wall decor projects.
- Photography: Photography, be it your own work or that of professionals, captures moments and perspectives that can inspire. Use photographs as direct subject matter or as a jumping-off point for abstract designs.
- Vintage and Thrift Stores: These stores often house a variety of textures, patterns, and items from different eras that can inspire unique wall decor. Antique maps, old books, and vintage textiles can lead to innovative art projects.
- Music and Literature: Sometimes inspiration comes not from what you see, but what you hear or read. The emotions evoked by music and literature can translate into powerful visual art. Allow your favorite songs or stories to guide the mood and narrative of your creations.
10 Methods How to Make Wall Decor with Cardboard
1. Cardboard Cut-Out Art:
Start by drawing or printing out your desired design onto cardboard. Then, using a sharp utility knife or scissors, carefully cut along the outlines of the design to create a cardboard cut-out. You can make abstract shapes, letters, or even intricate patterns. Once cut, you can leave the cardboard as is for a minimalist look, or you can paint it in various colors or patterns to match your decor style. Hang the cardboard cut-out art directly on the wall using adhesive strips or hooks for a striking focal point.
2. Cardboard Mosaic:
Cut cardboard into small, uniform pieces, such as squares or triangles, using scissors or a paper cutter. Then, arrange the cardboard pieces into a mosaic pattern on a larger piece of cardboard or a canvas board. Use glue to adhere the cardboard pieces to the base, overlapping them slightly to create texture and dimension. Once the glue is dry, paint the entire mosaic in your desired color scheme or leave it as is for a more rustic look. Hang the cardboard mosaic on the wall using picture-hanging hardware or adhesive hooks.
3. Rolled Cardboard Wall Art:
Cut cardboard into long strips of equal width using a utility knife or scissors. Then, roll each strip tightly to create cylindrical shapes, securing the ends with glue. Arrange the rolled cardboard pieces into a pattern or design on a cardboard or canvas base, gluing them in place as you go. You can create geometric patterns, floral designs, or abstract compositions. Once the glue is dry, paint the rolled cardboard wall art in your chosen colors or leave it natural for a minimalist look. Hang the finished piece on the wall using picture-hanging hardware.
4. Cardboard Stencil Art:
Create stencils by cutting intricate designs or patterns into cardboard using a utility knife or craft blade. Then, place the stencil on a blank canvas or cardboard base and use a sponge or brush to apply paint over the stencil openings. Peel away the stencil carefully to reveal the painted design underneath. You can create repeat patterns or a single focal point design. Experiment with different colors and stencil shapes to achieve the desired effect. Once dry, hang the cardboard stencil art on the wall using adhesive strips or hooks.
5. Cardboard Sculptures:
Cut cardboard into various shapes and sizes using scissors or a utility knife. Then, use glue or tape to stack and layer the cardboard pieces to create three-dimensional sculptures. You can make abstract shapes, animals, flowers, or any other design that inspires you. Once the sculpture is complete, paint it in your chosen colors or cover it with decorative paper or fabric. Allow the paint or glue to dry completely before displaying the cardboard sculpture on the wall using picture-hanging hardware or adhesive hooks.
6. Cardboard String Art:
Start by drawing your desired design onto a piece of cardboard, such as a heart, star, or geometric shape. Then, use a hammer and nails to outline the design by hammering nails along the drawn lines, leaving a small gap between each nail.
Next, tie one end of colored string or embroidery floss to one of the nails and begin wrapping the string around the nails, crisscrossing the string to fill in the design. Continue wrapping until the entire design is filled. Once complete, tie off the string and trim any excess. Hang the cardboard string art on the wall using picture-hanging hardware.
7. Cardboard Collage:
Gather various cardboard scraps, such as corrugated cardboard, cereal boxes, or cardboard tubes. Cut the cardboard into different shapes and sizes using scissors or a utility knife. Then, arrange the cardboard pieces onto a canvas or cardboard base to create a collage. You can layer the cardboard pieces, overlap them, or arrange them in a random pattern.
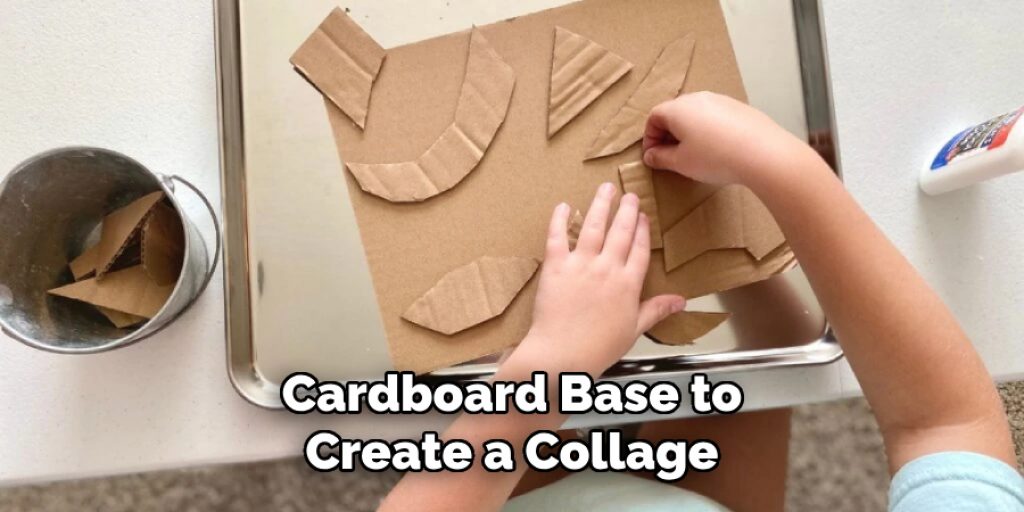
Once you’re happy with the arrangement, glue the cardboard pieces in place. For added texture and visual interest, paint over the collage with acrylic paint or cover it with decorative paper or fabric. Hang the finished cardboard collage on the wall using picture-hanging hardware.
8. Cardboard Quilling Art:
Quilling involves rolling thin strips of paper into coils and arranging them into intricate designs. To create cardboard quilling art, cut cardboard into thin strips using a utility knife or scissors. Then, roll each strip tightly using a quilling tool or toothpick to create coils.
Shape the coils into various designs, such as flowers, leaves, or abstract shapes, and glue them onto a cardboard or canvas base. Experiment with different colors and shapes to create visually stunning compositions. Once dry, hang the cardboard quilling art on the wall using adhesive strips or hooks.
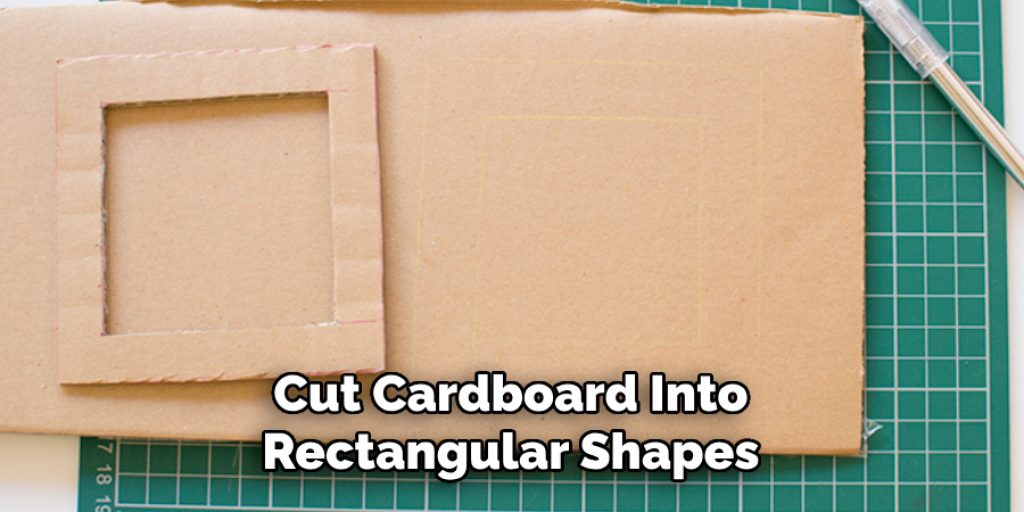
9. Cardboard Photo Frames:
Cut cardboard into rectangular shapes to create photo frames. Use a utility knife or scissors to cut out the center of each rectangle to create a window for displaying photos. Decorate the cardboard frames with paint, markers, or decorative paper to match your decor style. Once dry, insert photos into the frames and secure them in place with tape or glue. You can create a single large frame or a collage of smaller frames to display multiple photos. Hang the cardboard photo frames on the wall using adhesive strips or hooks.
10. Cardboard Wall Clock:
Cut a large circle out of cardboard to serve as the base of the clock. Then, use smaller pieces of cardboard to create the numbers and hands of the clock. Paint or decorate the cardboard pieces in your chosen colors and designs. Once dry, assemble the clock by attaching the numbers and hands to the base using glue or adhesive dots. Install a clock mechanism in the center of the base according to the manufacturer’s instructions. Hang the finished cardboard wall clock on the wall using picture-hanging hardware.
Conclusion
In conclusion, transforming cardboard into wall decor offers a budget-friendly and environmentally-conscious way to express your creativity and personalize your space. This guide has equipped you with the inspiration and know-how to turn humble cardboard into stunning pieces of art that adorn your walls with style and flair.
By gathering materials, exploring design ideas, and following step-by-step instructions, you can create unique and eye-catching decor that reflects your personality and enhances your home’s ambiance. Whether you opt for intricate paper-cut designs, textured wall hangings, or abstract sculptures, the possibilities for cardboard wall decor are endless. Thanks for reading, and we hope this has given you some inspiration on how to make wall decor with cardboard!
Angela Ervin
Angela is the executive editor of DIY quickly. She began her career as an interior designer before applying her strategic and creative passion to lifestyle and home. She has close to 15 years of experience in creative writing and online content strategy for housekeeping, home decorations as well as other niche efforts. She loves her job and has the privilege of working with an extraordinary team. She lives with her husband, two sons, and daughter in Petersburg. When she's not busy working she spent time with her family.