How to Organize Baking Pans
Organizing baking pans can be a tedious task, but it is essential to keep your kitchen efficient. Having an organized baking pan collection ensures that you can always find the pan you need when you need it and helps prevent damage or misuse of the equipment. With the right techniques, organizing baking pans can be done quickly and easily, allowing you to return to baking.
Organizing baking pans can help make cooking and baking easier, faster, and less stressful. It can also help save time and money. Organizing baking pans gives you easy access to the right pan for the job instead of rummaging around for it or buying a new one each time. An organized setup also makes it easier to identify when something is missing or needs replacing. In this blog post, You will learn in detail how to organize baking pans.
Step-by-Step Processes for How to Organize Baking Pans
Step 1: Inspect the Pans
Inspect all the baking pans you have to determine which ones are still in good condition and can be used, and which ones need to be discarded or replaced. To properly organize your baking pans, gather supplies that will help keep them organized such as a label maker, storage containers, and shelf dividers if needed.
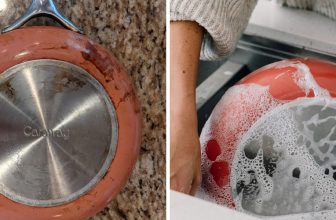
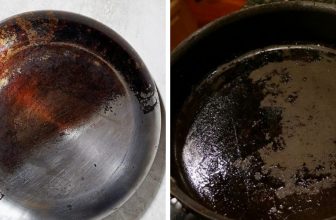
Step 2: Clean the Pans:
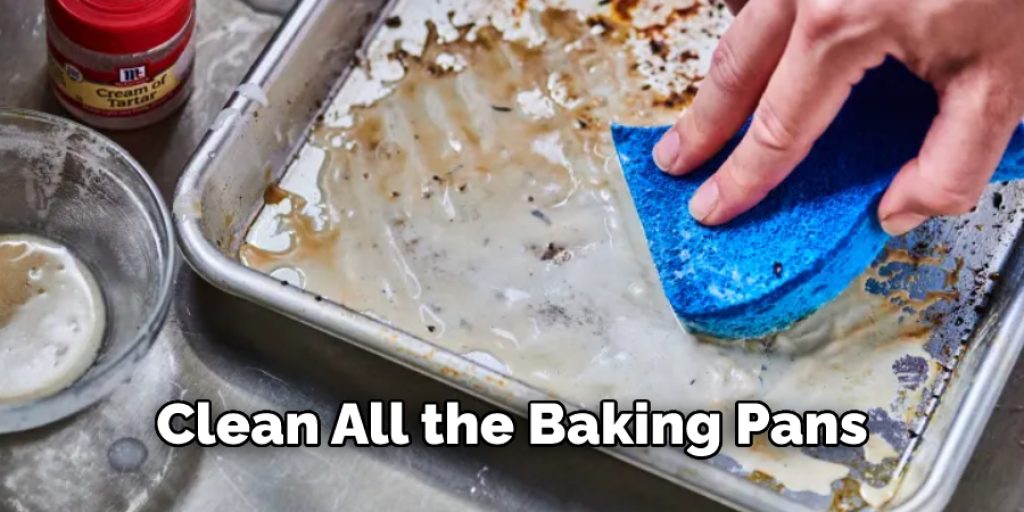
Clean all the baking pans that are in good condition and can be used. Use gentle soap, warm water, and a soft cloth or brush to remove any dirt or debris from the pans. Make sure to rinse them well after cleaning so no soap residue is left on them.
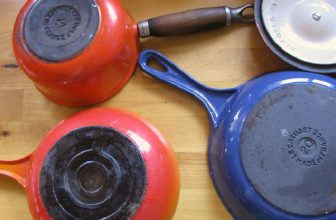
Step 3: Group the Pans
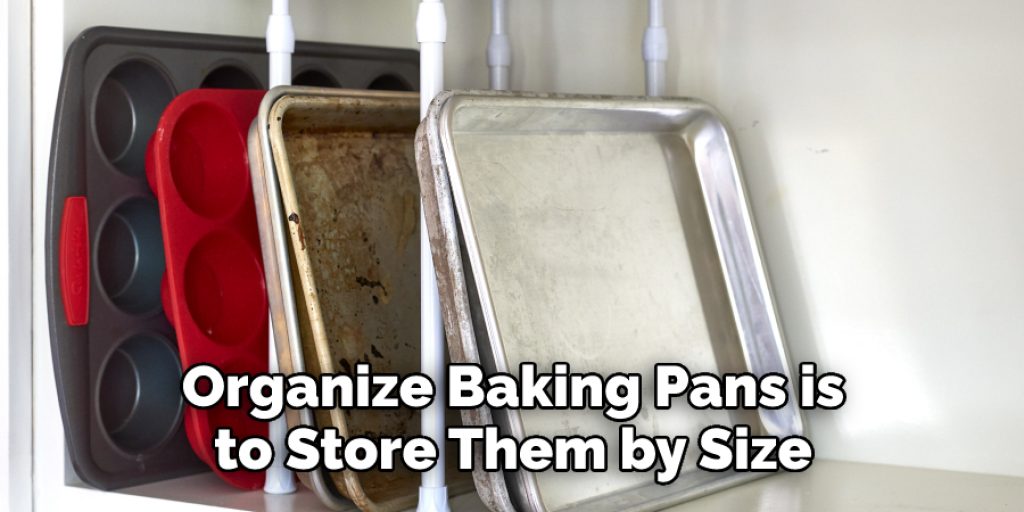
Group the baking pans into categories. Categorize them by type, such as round pan, cake pan, muffin tin, cookie sheet, etc. You can also categorize them according to size or materials such as metal, glass, or silicone. This will make it easier for you to locate the pan you need quickly.
Step 4: Label the Pans
Label each baking pan, either with a sticker or a piece of masking tape and a permanent marker. This will help you easily identify which pan is which when you are looking for it in your cupboard or on the shelf. You can also use a label maker to make the labels look neater and more professional.
Step 5: Arrange the Pans into Storage Containers or Shelves
Arrange the pans in storage containers or on shelves depending on where you plan to store them. If you have a lot of baking pans, it can be helpful to use dividers in your storage container or shelf to separate the pans for easier access.
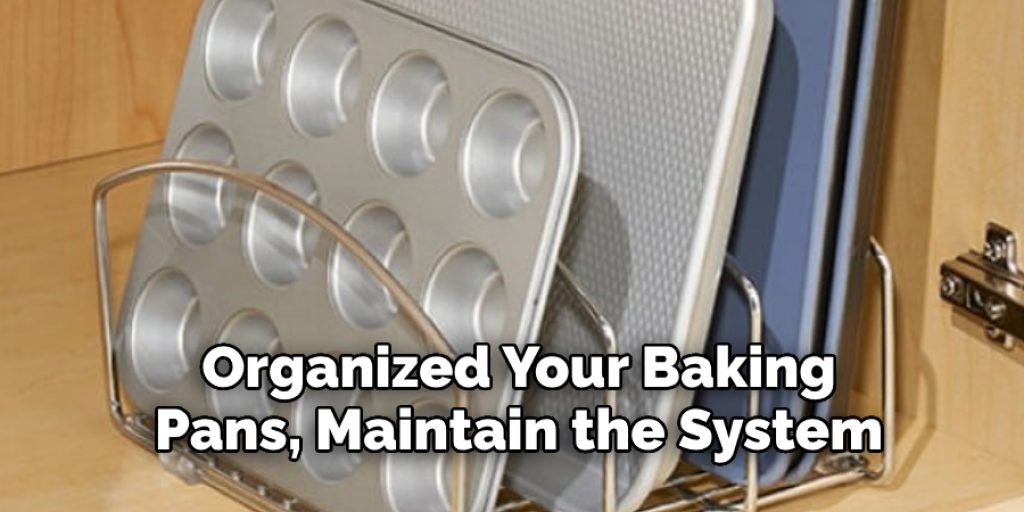
Step 6: Maintain Your Storage System
Once you have organized your baking pans, maintain the system by regularly cleaning and inspecting them. Make sure to restock any missing items as needed so your system is always up-to-date and easy to use. With a little effort and maintenance, you can keep your baking pans organized and ready whenever you need them.
By following these steps, you can easily organize your baking pans and keep them organized for years to come. Having an organized system will make it easier for you to access the pans quickly and efficiently.
Safety Tips/ Precautions for How to Organize Baking Pans
- Always inspect your baking pans before storing them to ensure there aren’t any cracks or dents that could create a safety hazard.
- Ensure all the pans you store are completely dry before putting them away; wet pans can lead to mold growth and rusting, which can be dangerous.
- Consider the size of the storage space you have available before purchasing baking pans; choose ones that will fit snugly into your designated area.
- Store similar-sized and shaped pans together, and label each container or drawer so you can easily find what you’re looking for.
- Use dividers to separate different types of baking pans from each other; this will help prevent damage and make it easier to find what you need.
- Store baking pans in an area away from heat sources such as stoves, ovens, and radiators; extreme temperatures can cause the pans to warp or crack.
- Don’t stack baking pans on top of each other; this can cause the pans to scratch or dent, and make it difficult to access them.
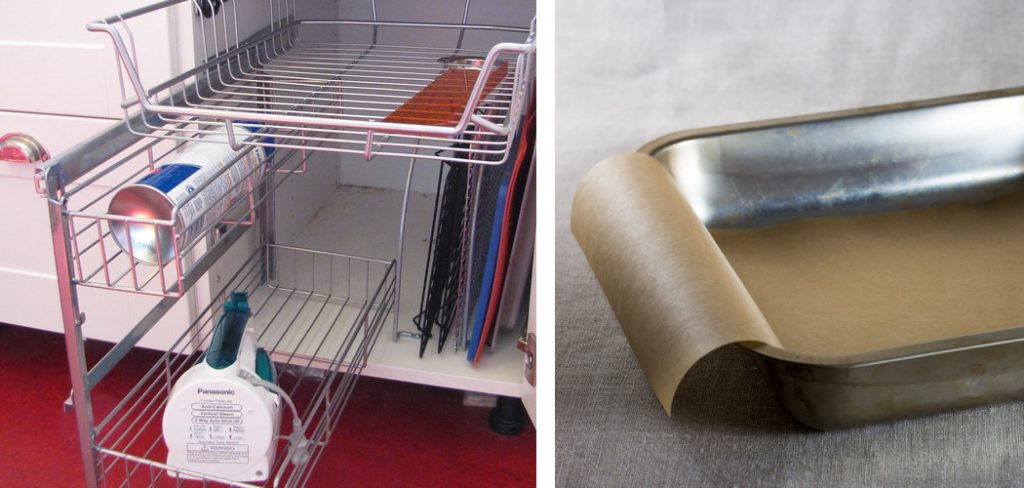
- Invest in a baking pan rack if you have limited storage space; these racks are designed to provide easy access and keep your pans organized.
Following these safety tips will help ensure you keep your baking pans in top condition.
How Often Should You Clean and Organize Your Baking Pans?
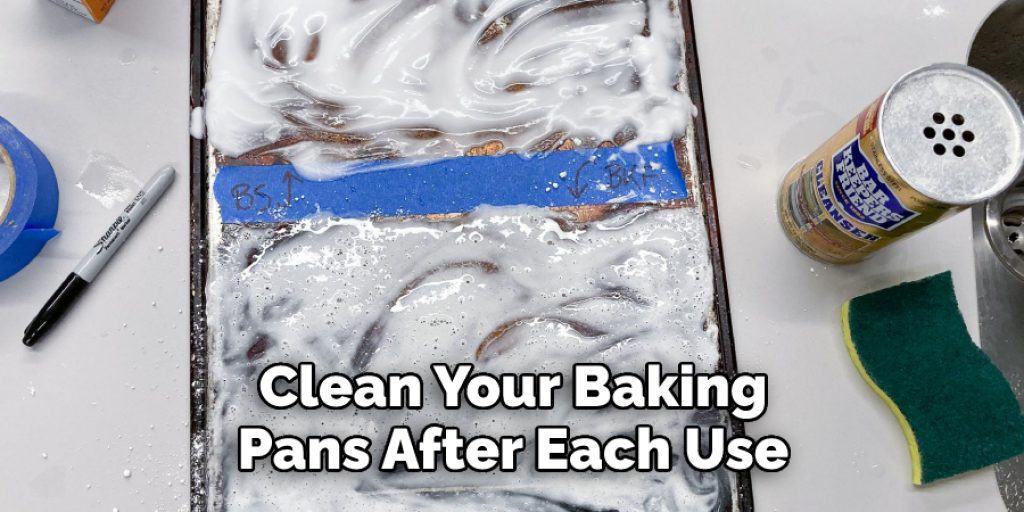
- Clean your baking pans after each use to prevent the buildup of food residue and grease, making them difficult to clean later.
- Inspect your baking pans for any signs of wear or damage before storing them away; replace the pan immediately if you find any cracks or dents.
- Wipe down all of your baking pans with a damp cloth to remove any grease or food residue; use warm soapy water if needed.
- Dry the baking pans completely before putting them away, preventing rust and mold growth.
- If you use kitchen drawers or cabinets, organize the baking pans by size and shape; use dividers or containers to make it easier to find what you need.
- Place larger baking pans on the bottom of the drawer and stack similar-sized ones on top; don’t place too many pans in one drawer, as this can cause them to become warped or damaged.
- If you have limited space, invest in a baking pan rack; these racks are designed to provide easy access and keep your pans organized.
- Finally, clean and organize your baking pans at least once a month to ensure they stay in top condition.
Following these steps regularly ensures that your baking pans remain safe, clean, and easy to access.
How Can You Make Sure That Your Baking Pans Are Stored Safely and Securely?
- Gather all the baking pans that need to be organized and separate them into categories such as size and type (muffin tins, cake pans, cookie sheets, etc.).
- Measure the space you have available for storage and determine how many of each type of pan you can fit in the area.
- Place the pans in designated areas, such as cabinets or drawers, and label each area with a name or number system, so you know where to find what.
- Put dividers between pans to keep them separated if needed.
- Line shelves with shelf paper to protect the baking pans from scratches and dents while still keeping them visible.
- Hang pans on a pot rack or wall-mounted hooks to free up drawer and cabinet space.
- Stack baking pans with larger ones underneath and smaller ones on top, using dividers as necessary to keep them from sliding around.
- Cover the baking pans when storing them for an extended period of time to keep dust, debris, and pests out.
- Clean the baking pans regularly, so they are ready to use when needed.
- Discard or donate any pans you no longer need or use to maximize storage space for those you use.
By following these steps, your baking pans will be organized and stored safely and securely. This will help ensure that your baking pans are always in top condition for when you need them most.
How Can You Prevent Cross Contamination or Mix-ups With Baking Pans That Are Used for Different Purposes?
Organizing your baking pans is essential to preventing cross-contamination or mix-ups. There are several ways you can do this. The simplest and easiest way is to label each pan with the type of food that it will be used for, such as “cookies,” “cakes,” and so forth. This will help you to quickly identify the right pan for the job.
Another way to organize baking pans is to store them by size or shape. You can designate a particular shelf, cupboard, or drawer for all of your round cake and muffin tins, rectangular pans for brownies and bars, etc. This makes it easy to find the right pan when you need it.
You can also color code your pans or use different colored labels to distinguish between what each pan is used for. This may help to prevent accidents and mix-ups in a busy kitchen. Finally, ensure that your baking pans are properly cleaned after each use. This will help to reduce the risk of contamination or cross-contamination. Cleaning your pans regularly will also help to keep them in good condition and prolong their lives.
Conclusion
One of the main disadvantages of organizing baking pans is that it can be time-consuming. It takes effort to sort and label the different sizes and types of baking pans, as well as to ensure that they are stored in an efficient manner. Additionally, if you have a lot of baking pans, it can take up a significant amount of space in the kitchen. If you do not store the baking pans properly, they can become scratched or damaged over time.
Organizing baking pans is essential to maintain an efficient and organized kitchen. With the help of various storage solutions and organizational tips, you can keep your baking pans neat and tidy and ensure they’re always ready when you need them.
By being mindful of the different types of materials used for baking pans, as well as where best to store them, you can make sure that your baking pans are always in great condition and easy to find. I hope this article has been beneficial in learning how to organize baking pans. Make Sure the precautionary
Angela Ervin
Angela is the executive editor of DIY quickly. She began her career as an interior designer before applying her strategic and creative passion to lifestyle and home. She has close to 15 years of experience in creative writing and online content strategy for housekeeping, home decorations as well as other niche efforts. She loves her job and has the privilege of working with an extraordinary team. She lives with her husband, two sons, and daughter in Petersburg. When she's not busy working she spent time with her family.