
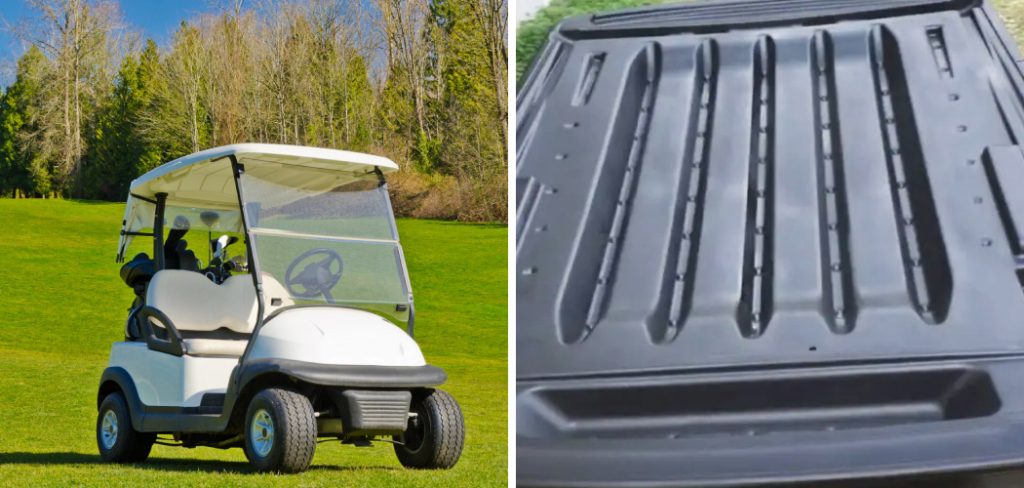
How to Paint a Golf Cart Roof
Are you looking to give your golf cart a stylish new look, and maybe even add some resale value? An easy way to do this is by painting the roof of your golf cart. Painting may seem intimidating at first, but with a few simple supplies, a little creativity, and our helpful tips, you can transform your golf cart into something that will turn heads on the green.
You’ll be surprised at how much satisfaction there is in taking on this project yourself – not only will it improve its appearance, but it also provides a great sense of pride! Read on for helpful advice about how to paint a golf cart roof like a professional.
Tools and Materials You Will Need to Paint a Golf Cart Roof
- Drop cloths or tarps for the surrounding area.
- Sandpaper (fine and medium grit).
- Cleaner/degreaser.
- Primer.
- Paint (preferably automotive paint).
- Automotive masking tape.
- Paintbrushes, rollers, and spray guns.
Step-by-Step Guidelines on How to Paint a Golf Cart Roof
Step 1: Start by Placing Drop Cloths or Tarps on the Surrounding Area
Before starting to paint, be sure to cover your work area with drop cloths or tarps. This will keep your surrounding area clean and free from any messes that might occur during the painting process. This will also protect any nearby cars, furniture, and other items from being painted.
Step 2: Clean the Surface of the Roof
The next step is to clean the surface of the golf cart roof. Start by using a degreaser/cleaner to remove any dirt or debris that may be present on the surface. Once it has been cleaned, use sandpaper to lightly scuff the surface. This step is important for helping the primer and paint adhere better.
Step 3: Apply Primer
Now you’re ready to apply a thin coat of primer. This should be done using either a brush or roller, depending on your preference. Make sure that you cover all surfaces of the roof evenly and thoroughly. Once the primer has been applied, allow it to dry completely. While you’re waiting for the primer to dry, this is a great time to take a break and grab some refreshments!

Step 4: Paint the Surface
Now it’s finally time to paint your golf cart roof. Using either a brush, roller or spray gun (if you have access to one), apply 2-3 thin coats of automotive paint. If you do decide to use a spray gun, remember to put on the appropriate safety gear and take necessary precautions. Allow each coat of paint to dry in between applications, before applying the next coat.
Step 5: Finishing Touches
Once your last coat of paint has had enough time to properly dry, it’s time to add the finishing touches. Use automotive masking tape to cover any areas that you don’t wish to paint, such as the windows. Afterward, carefully remove the tape and check if any further touch-ups are needed.
Now your golf cart roof is ready for its grand unveiling – congratulations on completing this task! We hope these tips on how to paint a golf cart roof have been useful and that you’re happy with the results. Be sure to share your masterpiece with us online – we can’t wait to see it!
Additional Tips and Tricks to Paint a Golf Cart Roof
- Make sure that you have all of your materials ready before beginning. This includes having plenty of drop cloths to protect the surrounding areas, as well as having enough paint for the whole project.
- Sand the surface of the roof before you begin painting. This will ensure that your paint adheres to the surface and won’t chip or flake off later on.
- Use a primer before applying any paint, as this will increase adhesion and give your final paint job a more professional finish.
- Always use several thin layers of paint instead of one thick layer. This will help to ensure that your paint job looks smooth and even.
- For added protection against the elements, apply an acrylic or polyurethane sealant over the final coat of paint.
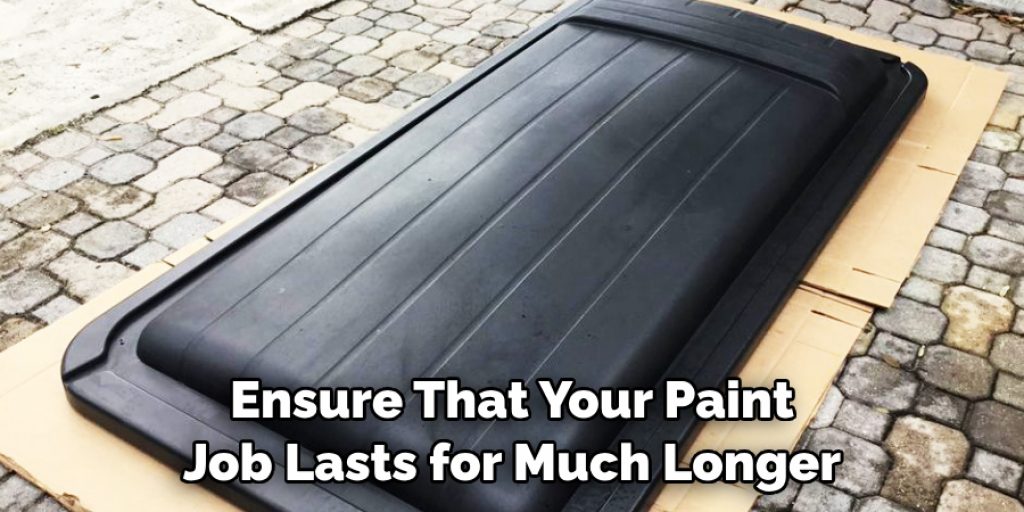
- Allow ample time for your golf cart roof paint to dry before using it again or taking it out on the road. This will ensure that your paint job lasts for much longer.
Following these tips and tricks will ensure that your golf cart roof looks great for many years to come. With a bit of patience and attention to detail, you’ll have the best-looking golf cart in town! Good luck!
Things You Should Consider to Paint a Golf Cart Roof
- Choose a paint that is designed to be used on golf cart roofs – Check the labels for maximum UV protection and use acrylic paint with a satin finish. Remember to also pick up some sandpaper and primer so your project will last longer.
- Clean the roof – Make sure you do a thorough job of cleaning the roof before painting it. Use a soft cloth and an appropriate cleaner to remove any dirt, mold, or mildew that may be present on the roof.
- Sand the surface – To make sure you get an even finish when painting your golf cart roof, sand down any uneven spots before painting. If you have time, use a wire brush to really get into all of those hard-to-reach places.
- Prime the surface – Priming your golf cart roof is essential for a good finish and lasting protection from the elements. Make sure you use a primer designed for outdoor use and that it matches the paint you are using.
- Paint the roof – Now comes the fun part! Make sure to apply multiple light coats of paint to ensure even coverage and no drips or runs. Give the paint plenty of time to dry between coats.
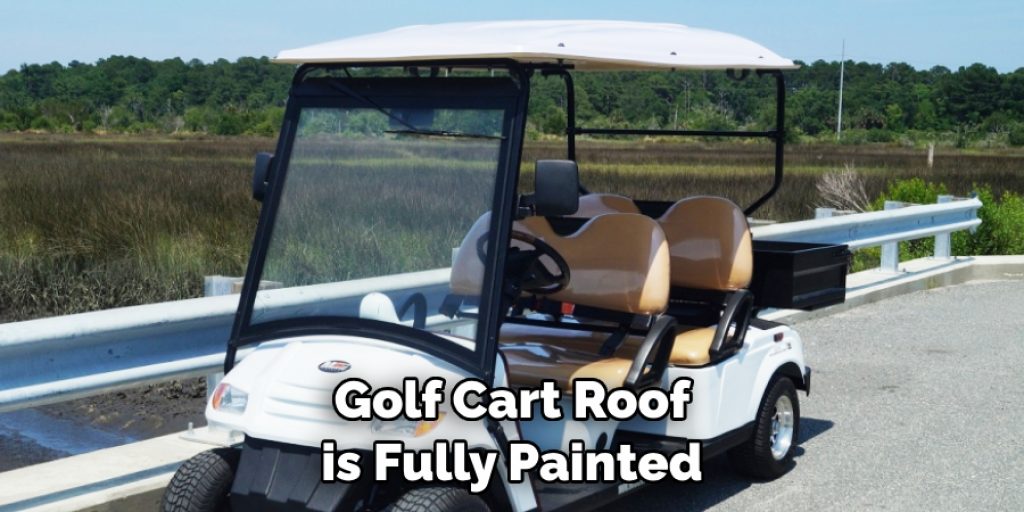
- Finish up – Once your golf cart roof is fully painted, you should apply a clear coat to protect it from the elements. This will give you extra protection against UV rays and other wear and tear that can happen over time.
Following these considerations will ensure that you get a great-looking and long-lasting finish on your golf cart roof. With the right materials and some time, you can have your golf cart looking great in no time! Happy painting!
Frequently Asked Questions
How Long Should I Allow the Paint to Dry?
It’s important to follow the instructions on your paint can for drying times. Generally speaking, you’ll need to wait at least 24 hours before applying a second coat of paint or clear coat. However, it’s best to allow the paint to dry for at least 48 hours before moving on to the next step.
How Can I Prevent Paint Damage?
The key to preventing paint damage is keeping your golf cart roof clean. Regularly washing and waxing will help protect the finish from UV rays, dirt, and moisture. Additionally, you should keep the roof covered when not in use to protect it from the elements. Finally, be sure to use cleaners specifically designed for automotive paint.
Are There Any Tips for Applying Paint to a Golf Cart Roof?
When painting a golf cart roof, it’s important to remember that several thin coats are better than one thick coat. This will help ensure an even finish and prevent runs or drips. Additionally, be sure to use long, sweeping strokes when spraying the paint on the roof. Applying the paint in a back-and-forth motion can result in an uneven finish. Finally, be sure to wear protective gear such as goggles and gloves when painting the roof.
Can I Remove Rust Spots on My Golf Cart Roof?
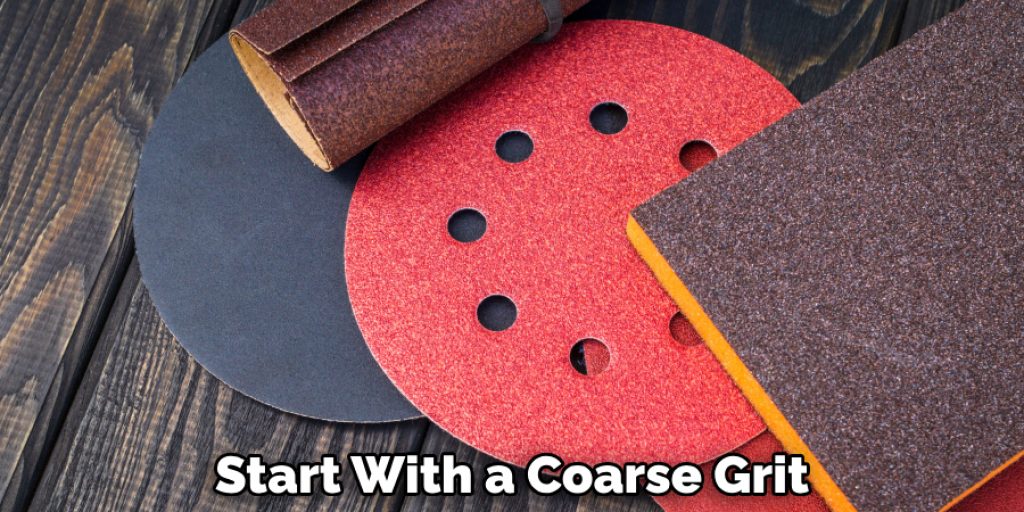
Yes, rust spots can usually be removed with sandpaper or chemical cleaners. When using sandpaper, start with a coarse grit before moving to a finer one. If using a chemical rust remover, be sure to follow the instructions on the product label. After removing the rust you may need to use polyester putty or body filler for minor imperfections before painting the roof.
Is It Possible to Match Paint Colors?
Yes, it is usually possible to match paint colors for a golf cart roof. Most automotive stores will have the equipment and expertise to do this. They may use your vehicle’s VIN number or matching chips to ensure that the color is an exact match. Alternatively, you could also try airbrushing the paint on yourself if you feel comfortable doing so.
Conclusion
Overall, painting a golf cart roof is no easy job. It takes skill, patience, and the right materials for a successful painting job. There are several important steps to take during the process in order to create an outstanding finish.
First, make sure that the surface is completely clean and free of dirt or dust. Second, sand down any scratches or areas of rust until they’re smooth and even. Third, apply a coat of primer and let it dry thoroughly before spraying on your chosen paint color. Finally, seal the paint job with a coat of clear coat or wax sealant to protect it from UV rays and other environmental damage.
With these tips in mind, anyone looking to spruce up their golf cart roof should have no problem achieving an amazing result! If you’re ready to give it a shot, be sure to purchase high-quality supplies and follow all safety instructions. Now you know how to paint a golf cart roof – good luck!
Angela Ervin
Angela is the executive editor of DIY quickly. She began her career as an interior designer before applying her strategic and creative passion to lifestyle and home. She has close to 15 years of experience in creative writing and online content strategy for housekeeping, home decorations as well as other niche efforts. She loves her job and has the privilege of working with an extraordinary team. She lives with her husband, two sons, and daughter in Petersburg. When she's not busy working she spent time with her family.


