
How to Paint a Motorcycle Engine
Are you looking to give your motorcycle a fresh look? Painting the engine can be an easy way to change up the style and aesthetics of your ride. Plus, it’s a fun and creative DIY project that doesn’t require too many specialized tools—just some basics like a wire brush and sandpaper for cleaning, plus paint and a clear coat for the finishing touches.
Whether your engine is aluminum or steel, the process for painting it is quite similar. Here’s a step-by-step guide to help you get started.
In this post, we’ll walk you through all the steps to help you understand how to paint a motorcycle engine safely and effectively. Get ready! Let’s start our journey into revamping your care with beautiful colors from spray cans!
What Will You Need?
Before you start painting your motorcycle engine, here’s a list of the items you will need:
- Wire brush
- Sandpaper (assorted grits)
- Masking tape and paper
- Primer
- Paint (spray cans or airbrush)
- Clear coat (if using spray paint)
- Paint remover
- Clean rags
Depending on the current condition of your engine, you may also need to pick up additional supplies like rustproof primer, filler, and other items.
8 Easy Steps on How to Paint a Motorcycle Engine
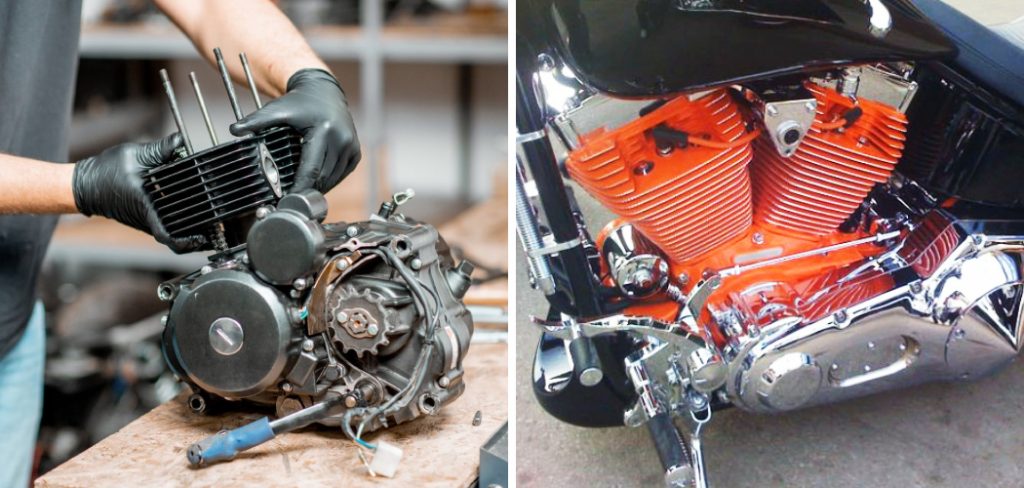
Step 1: Cleaning the Engine
The first step in painting your motorcycle engine is to clean it thoroughly. This process is critical to remove any dirt, grime, and oil that could prevent the paint from adhering properly. For this, start by using a wire brush to scrub off any loose debris and then clean the surface with a rag. If there’s stubborn grime or oil, consider using a degreaser after it’s clean, the engine uses your assorted grit sandpapers, progressing from rough to smooth.
Step 2: Masking Off Areas
Once your motorcycle engine is clean, the next step is to mask any areas you don’t want to paint. This could include bolts, gaskets, plugs, or any other parts that should remain paint-free. Use masking tape and paper to cover these areas carefully. This step requires precision to ensure that only the desired engine parts will receive paint. Remember also to mask off the motorcycle, if necessary, to prevent overspray.
Step 3: Applying the Primer
Priming the engine is an essential step that prepares the surface for the paint, improving adhesion and ensuring long-lasting results. First, shake your spray can of primer thoroughly for a few minutes. Once ready, apply the primer to the engine in a light, even strokes, maintaining a distance of about 10-12 inches.
This helps prevent building up too much material in one spot, which could cause running or sagging. Allow the primer to dry completely according to the manufacturer’s instructions, usually for at least a few hours.
Step 4: Painting the Engine
After the primer has dried completely, you can start the painting process. For this step, you must shake your chosen paint thoroughly to ensure it’s well-mixed. Just like when applying the primer, hold the spray can about 10-12 inches away from the engine and apply the paint in thin, even strokes.
Applying several light coats rather than one heavy coat to avoid runs and drips is better. After applying the first coat, let it dry according to the manufacturer’s instructions before adding the next coat.
Step 5: Applying the Clear Coat
Once the final layer of paint is thoroughly dry, it’s time to apply the clear coat. The clear coat is a transparent paint that adds gloss and depth to the finished paint job. It also provides an extra layer of protection against scratches, debris, and weathering, keeping your newly painted motorcycle engine looking good for longer.
To apply the clear coat, follow the same process as when you applied the paint: Shake the can thoroughly, then spray in thin, even coats, maintaining the same 10-12 inch distance. Allow each coat to dry completely before applying the next.
Step 6: Curing the Paint
After you have applied the clear coat, the next step is to allow the paint to cure. Curing is a process that hardens and sets the paint, ensuring it can withstand the heat and vibration of the engine.
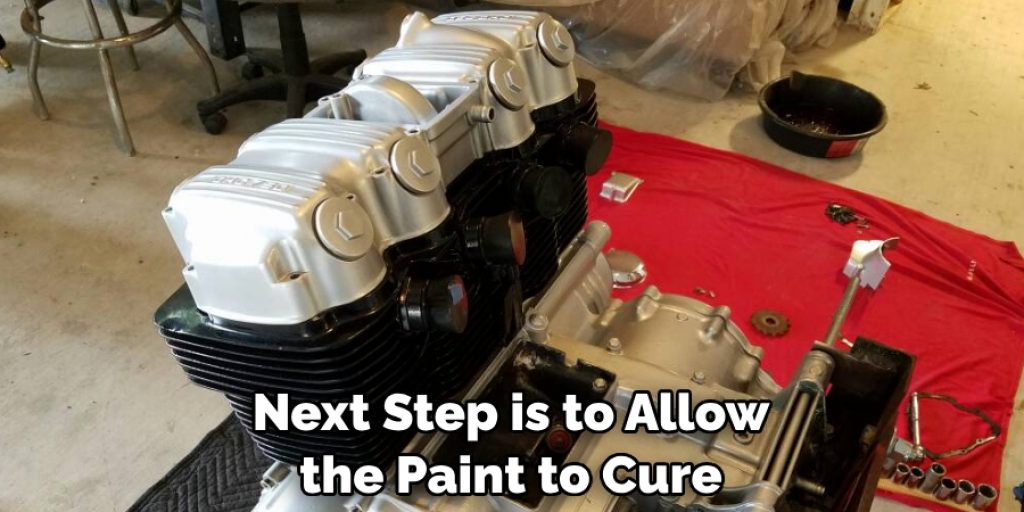
The time it takes for the paint to cure will vary depending on the type of paint you use, but typically, it can take around 5-7 days. Throughout this period, avoid exposure to extreme weather conditions, and do not start your engine. Patience is key here: rushing this step can lead to a compromised paint job that may only last for a short time.
Step 7: Unmasking the Engine
Once the paint has fully cured, you can start unmasking the engine. Carefully remove the tape and paper that protected the areas you did not want to be painted. This step should be done gently to avoid chipping or scratching the fresh paint. Inspect the engine closely to ensure all masking materials have been removed. Also, check for any overspray or irregularities in the paint.
Step 8: Reassembling and Testing
The final stages involve reassembling the motorcycle engine and then testing it. After ensuring all the components are back in their respective places and fastened securely, start your engine and let it idle for a while. Monitor the temperature and ensure the new paint is withstanding the heat well. Additionally, run a quick check to ensure no leaks or unusual noises from the engine.
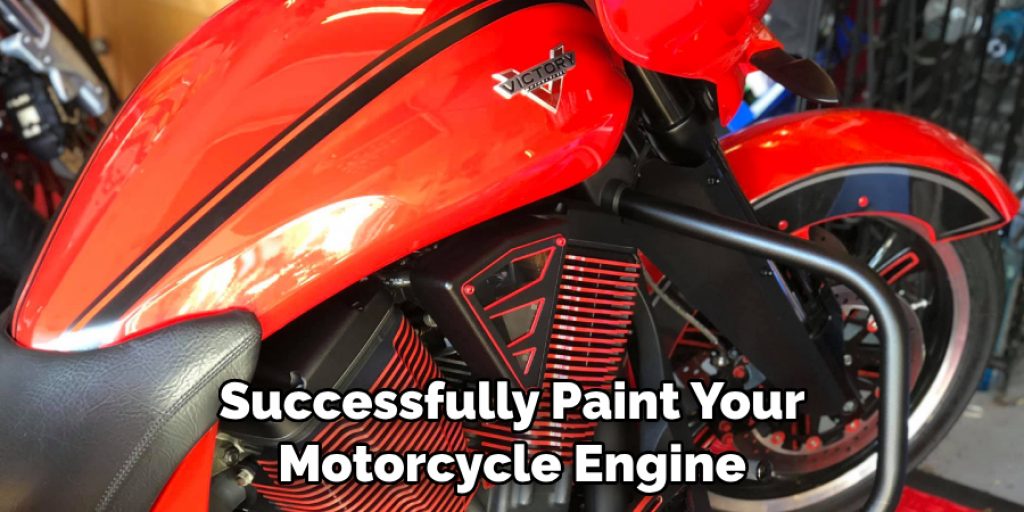
Congratulations! You have successfully painted your motorcycle engine. Remember, maintaining your engine regularly can significantly enhance its lifespan and performance.
5 Additional Tips and Tricks
- If you are using a high-temperature paint, make sure to use a primer before applying the paint. This will ensure the paint sticks and doesn’t fade or peel off quickly.
- Before painting your motorcycle engine, research what type of paint is suitable for your specific model. Some models require special paints, so it’s important to ensure you get the right kind.
- Make sure that all engine surfaces are clean and free of any dirt or grease before painting. This will help ensure a smooth, even finish.
- Use thin coats of paint when applying it to your motorcycle engine. This will help prevent runs in the paint and will also reduce drying time.
- Give it multiple coats of paint and plenty of time to dry in between each coat. This will help ensure a smooth, even finish that won’t fade or chip off easily.
With these tips, you’ll be able to easily and successfully paint your motorcycle engine and get the look that you want. It may take some time and effort, but it will be worth it in the end!
5 Things You Should Avoid
- Don’t use paint that is too thin or thick. Too thin paint will take longer to dry and can lead to runs in the finish, while too thick paint won’t cure properly and may end up with an uneven finish.
- Avoid using high-temperature paints on plastic parts. These types of paints can cause discoloration and melting of plastic parts.
- Avoid painting in direct sunlight or high temperatures, as this can cause the paint to dry too quickly and lead to uneven coverage.
- Avoid using a brush or roller shedding bristles, as it will leave streaks in your paint job.
- Painting over rust should be avoided at all costs. If you’re painting over a rusty surface, sand it down until it is spotless and rust-free before painting.
With these tips in mind, you can paint your motorcycle engine without any problems and achieve the desired look!
Do You Need Special Paint for the Engines?
Yes, you do need special paint for your engine. Regular paints won’t be able to withstand the high temperatures found in motorcycle engines, so it’s important to use a paint specifically designed for this purpose. Several types of high-temperature engine paints are available on the market, so make sure to research which one is best for your specific needs and model.
In addition, if you are painting over chrome or aluminum parts, you will need to use a paint specifically designed for those materials. Regular paints won’t adhere properly to these surfaces and can cause them to become corroded or discolored over time.
Overall, ensuring you have the right type of paint for the job is important. The right paint can help ensure your motorcycle engine looks great and lasts for years!
Conclusion
After reading this guide on how to paint a motorcycle engine, you should have the skill and knowledge to safely and successfully paint yours. There is an incredible satisfaction that comes with it knowing that you modified something fundamental to your vehicle. You may even find new ways to keep customizing your ride. Try out different designs, bright colors, or create a unique look.
Whether your goal was improved performance or aesthetics, you now have a bike that will stand out in any crowd. Congratulations on taking the time and effort to improve your motorcycle!
Hopefully, the article will greatly help you in your project. Make sure you follow all the safety precautions and use the right paint for your model. Good luck!
Louis Wein
Louis has always been fascinated by cars. He loves the way they look, the sound of the engine, and how they make him feel when he's driving. He is always keen to learn more about different mechanics of cars and how the engine contributes to other aspects of the car. As an automotive technician with over 10 years of experience, he knew how they worked and loved taking them apart to see how they went back together. He was especially interested in the mechanics of combustion engines and loved finding ways to make them more efficient. He loves to work on cars and help people keep their vehicles running smoothly. As a senior editor, he enjoys contributing to Diy quickly because it allows him to share his knowledge and expertise with others.


