How to Paint a Picnic Table
Are you looking to spruce up a picnic table? Painting is one of the easiest and most affordable ways to update any outdoor furniture. Follow this guide to learn how to paint your picnic table in just a few easy steps.
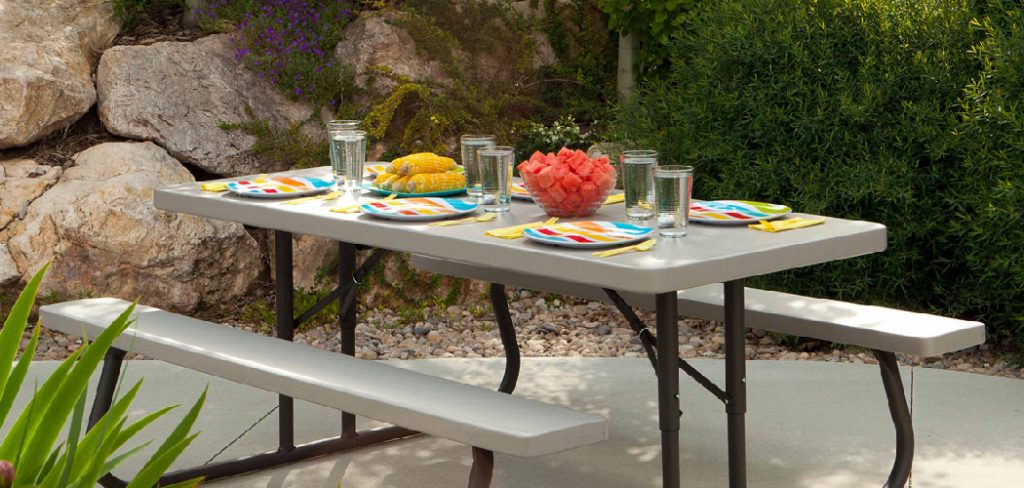
Painting a picnic table is easy to give your outdoor space a fresh, new look. Whether you’re starting with a brand-new table or giving an old one a makeover, painting it is the perfect way to add color and beauty to your backyard oasis. You can transform any picnic table into something special with just a few simple supplies and some basic steps.
In this guide, we will show you how to paint a picnic table quickly and easily so that you can enjoy its beauty for years to come. Keep reading to learn more!
What Will You Need?
Before beginning, you will need to gather a few supplies. You’ll need the following:
- Primer
- Paint
- Brushes
- Sandpaper
- Drop cloths (optional)
Once you have all of the necessary supplies, it’s time to start painting.
10 Easy Steps on How to Paint a Picnic Table
Step 1: Clean and Prep the Surface
Start by cleaning the picnic table with mild soap and water. This will remove any dirt, dust, or debris that may be on the surface. Additionally, use a scraper to remove any old paint or chipping that may be present.
Step 2: Sand Down Any Rough Areas
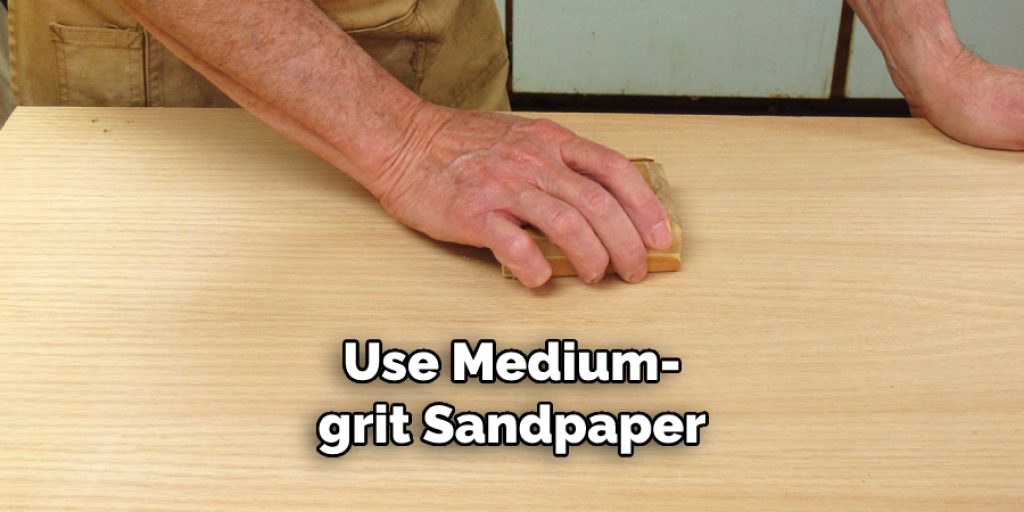
Use medium-grit sandpaper to sand down any rough areas on the table gently. This will ensure that the paint adheres better and lasts longer. If needed, you can use finer grit for the more detailed areas.
Step 3: Apply Primer
Once all of the rough areas are smoothed out, you can apply primer to the picnic table. Make sure to cover every area thoroughly and allow it to dry completely before applying paint. As a general rule of thumb, it’s best to wait at least 4 hours for the primer to dry.
Step 4: Paint!
Now you can start painting your picnic table with your choice of color. Use a brush or roller for best results, and make sure to coat each section of the table evenly. Allow each coat to dry completely before applying a second coat.
Step 5: Add the Finishing Touches
Once you’ve applied two coats of paint, use sandpaper to lightly distress the edges of your table for an aged and rustic look. You can also seal the paint with a polyurethane sealer for extra protection against weathering. This will help to extend the life of your picnic table.
Step 6: Try Different Design Techniques
Want to add some extra flair to your picnic table? Try different design techniques like stenciling or freehand painting for a unique and personalized look. Stenciling is a great way to add extra detail and personality to your table. It works by using a stencil to create shapes, patterns, or words and then filling them in with paint. On the other hand, freehand painting is an easy way to add a little extra color and texture to your piece.
Step 7: Add Fun Accessories
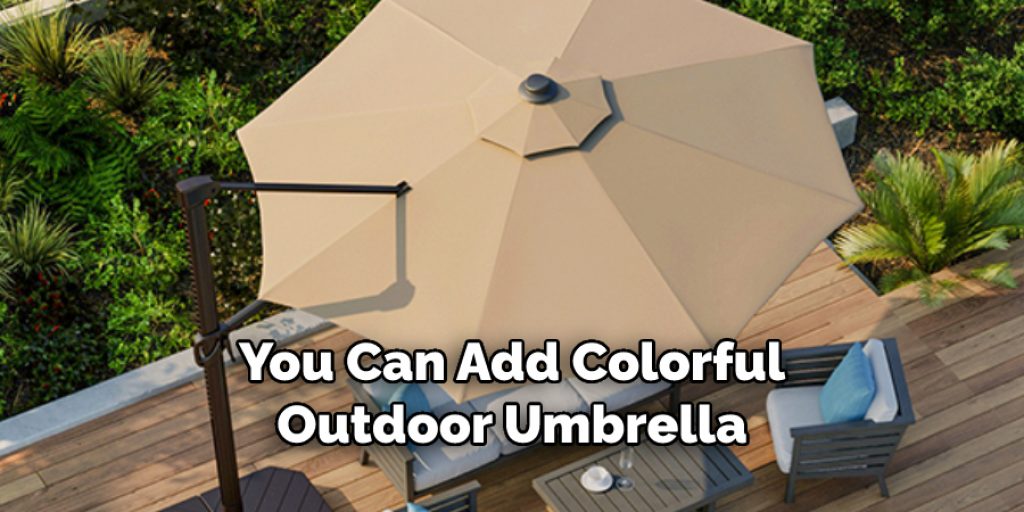
After you’ve painted and sealed the table, you can add fun accessories like a colorful outdoor umbrella or brightly-colored cushions to give it an extra pop of color. Be careful not to overcrowd the table, but adding a few simple pieces can really give your picnic table a unique and inviting look. Don’t forget to add some outdoor lighting for a warm and inviting ambiance.
Step 8: Check for Last Minute Touchups
Before you start using your picnic table, check to ensure everything looks just right. If there are any touchups needed, take care of them now. You can use fine-grit sandpaper to buff away any imperfections gently.
Step 9: Keep It Clean
To keep your picnic table looking its best, make sure to clean it regularly with a block of mild soap and water. This will help protect the paint from fading due to sun exposure or other weathering. Moreover, if you’ve used a sealant, try to wait at least a few weeks before cleaning the table.
Step 10: Enjoy!
You’re all finished – now you can enjoy your freshly painted picnic table. Invite friends and family over for a backyard barbecue or just relax and enjoy the beauty of your outdoor space. Remember, painting a picnic table is not only easy but also cost-effective. So, why not give it a try and add some color to your backyard oasis?
By following these steps, you can easily transform any picnic table into something special. With a few simple supplies and some basic know-how, you can give your outdoor space a fresh look quickly. Get started today! Happy painting!
5 Additional Tips and Tricks
1. Start With a Clean Table: Make sure to scrub the picnic table with a brush and soapy water before starting your painting project. This will ensure that the paint adheres properly to the table.
2. Buy a Quality Primer: Start With a Clean Table: When choosing a primer, opt for one of higher quality and with good coverage properties. This will help you achieve a more even finish when painting your picnic table.
3. Sand in between coats: After applying the primer and the paint, lightly sand in between coats using fine-grit sandpaper or steel wool. This will help smooth out any rough spots or brush strokes on the surface of your picnic table.
4. Use Multiple Thin Coats: Don’t try to apply all of your layers of paint in one go; instead, focus on several thin layers, which will dry faster and look better than one thick layer.
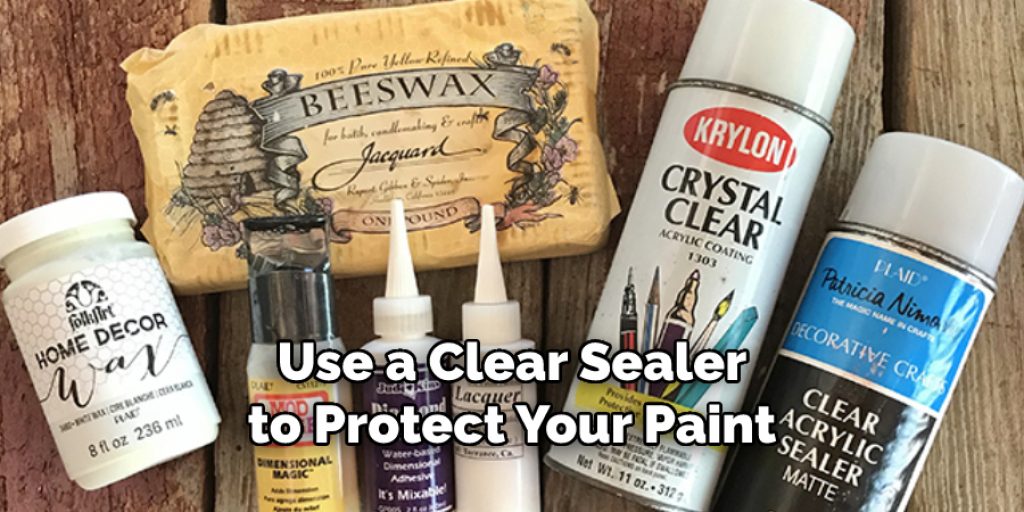
5. Seal the Table: Use a clear sealer to protect your paint from water, and wear it once your paint is completely dry. This will help your picnic table look great for longer!
Following these tips and tricks will ensure that you get professional-looking results when painting your picnic table, so take your time and enjoy the process!
5 Things You Should Avoid
1. Not Allowing Enough Time for the Paint to Dry Completely: If you don’t give the paint adequate time to dry between coats and before applying a sealer, your paint job won’t look as good.
2. Using a Low Quality Primer or Paint: The key to achieving a professional looking finish is using high-quality materials throughout the process.
3. Skipping Sanding in Between Coats: Sanding helps ensure that your picnic table has a smoother finish, so don’t forget to sand in between each coat of primer and a subsequent layer of paint.
4. Applying Too-thick Layers of Paint: Applying multiple thin layers will help you avoid any visible brush strokes or rough spots on your finished product.
5. Not Sealing the Table: Sealing your picnic table with a clear water-based sealer will protect it from wear and ensure that your work lasts for years to come.
By following these tips, you can ensure that your painting job on your picnic table looks great! After all, there’s nothing more satisfying than achieving a professional look when it comes to DIY projects.
5 Different Theme Ideas
1. Bright and Bold: Add a splash of color to your outdoor space by painting your picnic table in bright, sunny colors such as yellow, orange, and pink.
2. Natural Tones: Create a stylish, earthy look with muted greens and browns for your picnic table – perfect for a backyard get together!
3. Monochrome: Make a statement by painting your picnic table in shades of one color only – think navy blue or deep red.
4. Geometric Patterns: Give your picnic table an added touch of fun with bold geometric patterns like stripes, polka dots, or chevron designs.
5. Retro Fun: Take it back to the 60’s and 70’s by painting your picnic table in bright floral prints or psychedelic swirls reminiscent of Woodstock days!
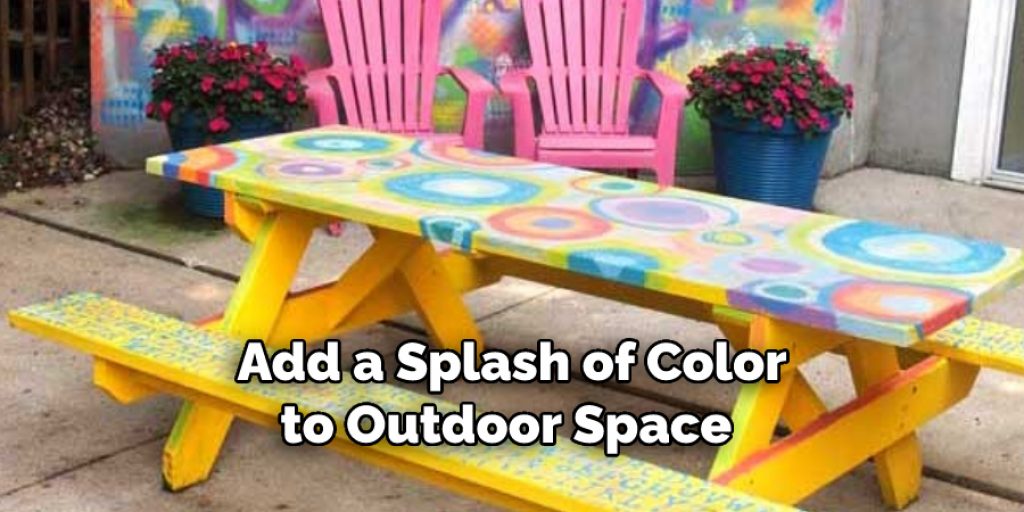
No matter which theme you choose, painting your picnic table is an easy and affordable way to add personality and flair to your outdoor area. With a few simple steps and some creative ideas, you’ll have a picnic table that looks like it just came from the store!
Conclusion
Painting your picnic table is a great way to add personality and flair to your outdoor space. With the right materials, patience, and creative ideas, you can transform an ordinary picnic table into something extraordinary!
By following these tips on how to paint a picnic table – from prepping the surface with water prior to starting your painting project, using quality primer and paint products, sanding in between coats for smoother results, applying multiple thin layers of paint instead of one thick layer, and sealing the finished product – you can achieve professional-looking results that will last for years.
Hopefully, these tips and theme ideas have inspired you to get painting your picnic table! With a few simple steps, you’ll be able to create a work of art that will be the perfect addition to your outdoor space.
So what are you waiting for? Grab those supplies and get started transforming your backyard today!

