
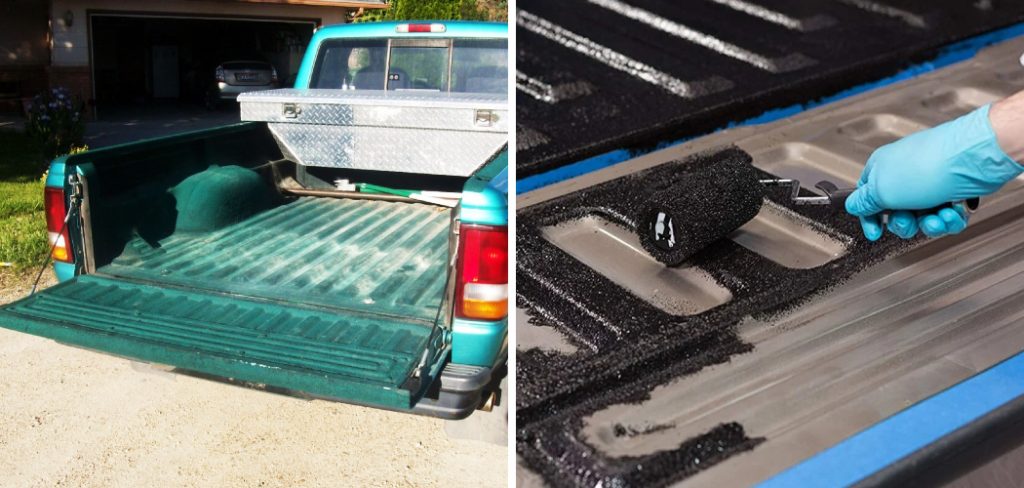
How to Paint a Truck Bed
Painting a truck bed isn’t as difficult as it might seem. With the right materials and techniques, you can easily transform your tired-looking old truck bed into a freshly painted work of art. There is nothing quite like seeing the transformation for yourself! In this blog post, we will break down all the necessary steps so that anyone can learn how to paint a truck bed with ease and confidence.
From prepping your surface to applying the protective coatings, we’ll walk you through every step of the process so you achieve flawless results. We know just how intimidating painting projects can be but rest assured – if you follow our detailed guide then soon enough, your project will look impressive! So grab those brushes and let’s get started!
Tools and Materials You Will Need to Paint a Truck Bed
- Paint (of your choice)
- Primer
- Sandpaper
- Masking Tape (to cover areas you don’t wish to paint)
- Drop cloths or plastic sheeting
- Paint brushes/rollers
- Clean rags/lint roller
- Gloves
- Safety glasses
Step-by-Step Guidelines on How to Paint a Truck Bed
Step 1: Preparing the Surface
The first and arguably most important step is to properly prepare the surface you wish to paint. Start by sanding the entire area with medium-grit sandpaper – this will help create a smoother surface for your paint job. Once you have finished sanding, use a vacuum or a damp cloth to remove all the dust and dirt. This will help ensure a clean, even finish.
Step 2: Applying Primer
Once the surface has been prepped and cleaned, you can now begin to apply primer. Make sure to carefully follow all directions on the label of your chosen primer – this will help ensure that it properly adheres to your truck bed. Depending on what type of primer you use, you may need to apply multiple coats.
Step 3: Painting the Truck Bed
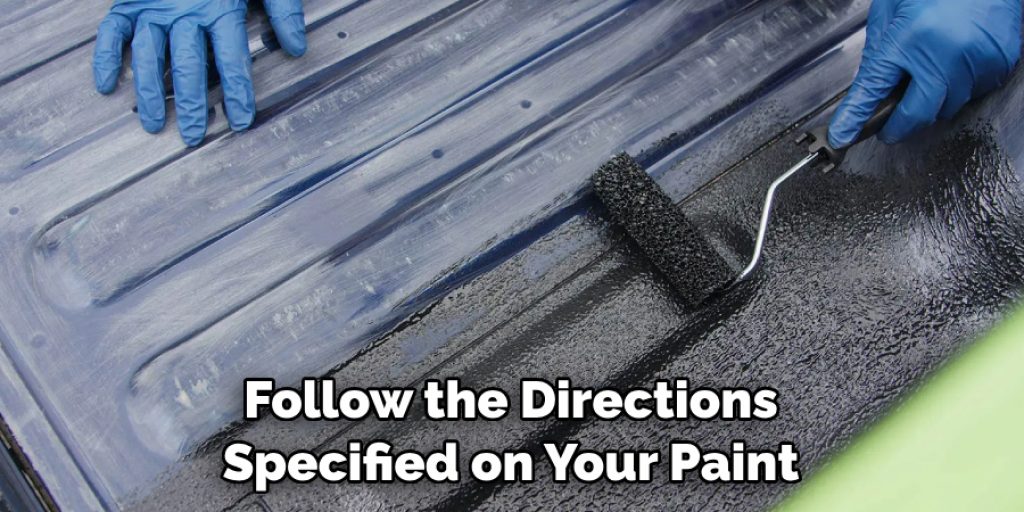
Once the primer has dried, it’s time to start painting! Begin by applying paint in long, even strokes – this will not only ensure an even and consistent finish but also help prevent any drips or runs. Be sure to follow the directions specified on your paint can and wait for each coat to dry before applying the next.
Step 4: Finishing Touches
After the final coat of paint has dried, it’s time to add any finishing touches you may want. This could include adding a clear protective coating or using masking tape to create intricate designs. Once finished, you can admire your newly painted truck bed!
Now that you know how to paint a truck bed, why not try out your newfound skills on other projects? From furniture to walls, the possibilities are endless! With these step-by-step instructions and a little bit of patience, soon enough you’ll be able to tackle any painting project with ease and confidence. So don’t wait – grab those supplies and get started!
Additional Tips and Tricks to Paint a Truck Bed
- Use a good quality paint job for a longer-lasting finish to your truck bed. Invest in high-grade paints and primers that are specifically designed for use on vehicles.
- Before painting, remove any debris and dirt from the surface of your truck bed using a wire brush or damp cloth. Make sure to let the bed dry completely before starting the painting process.
- To ensure an even coat of paint, use a good quality brush or roller and make sure to cover every corner and edge of your truck bed.
- For touch-ups or to add some extra protection, apply a sealant such as wax or a polyurethane coating after the paint has had time to dry completely.
- If you’re looking to customize your truck bed, consider adding a custom liner or protective coating in a variety of colors and textures. This will add an extra layer of protection while also giving it a unique look.
- To ensure the longevity of your paint job, make sure to keep your truck bed clean and free from dirt and debris. Regularly washing and waxing your truck bed will help to maintain the paint job’s finish for years to come.
- If you do decide to tackle a DIY painting project, make sure to wear proper protective gear such as gloves, a face mask, and safety glasses while working with hazardous materials like paint or primer.
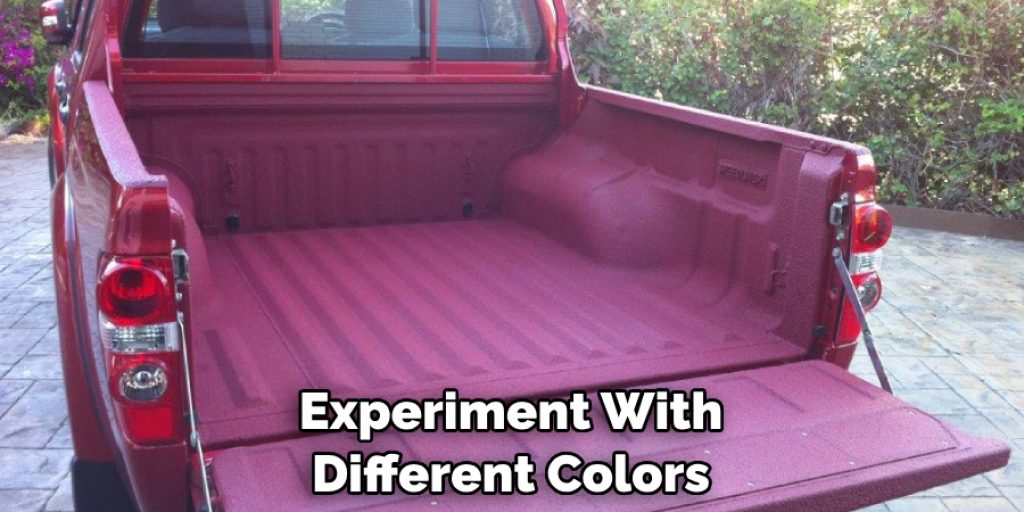
- Have fun with your truck bed project! Painting is a great way to customize the look of your truck and add some personality. Get creative and experiment with different colors, textures, and finishes to create a one-of-a-kind paint job that’s uniquely yours.
Following these tips and tricks will help you create a beautiful, durable paint job that will last for years and make your truck bed look brand new. With the right tools and techniques, you can give your truck bed a professional-looking finish in no time.
Things You Should Consider to Paint a Truck Bed
- Choose a color or finish that is going to look good with the existing paint job of your truck bed and consider the current weather conditions in order to select the most appropriate product.
- When choosing a paint, opt for one specifically designed for use on vehicles; this will help ensure an even coat of paint that lasts longer.
- Make sure to go through the proper preparation steps before painting, including cleaning and sanding down any existing paint or rust on the truck bed.
- Use high-quality paint brushes or rollers to apply a consistent coat of paint to your truck bed and make sure you cover all corners and edges completely.
- Once the paint has had time to dry, consider adding an extra layer of protection with a sealant or protective coating.
- For added customizability and durability, think about installing a liner in your truck bed. There are many colors and textures to choose from that can help enhance the look of your truck bed.
- Be sure to wear protective gear when working with paint or primer and keep your truck bed clean to extend the life of your paint job.
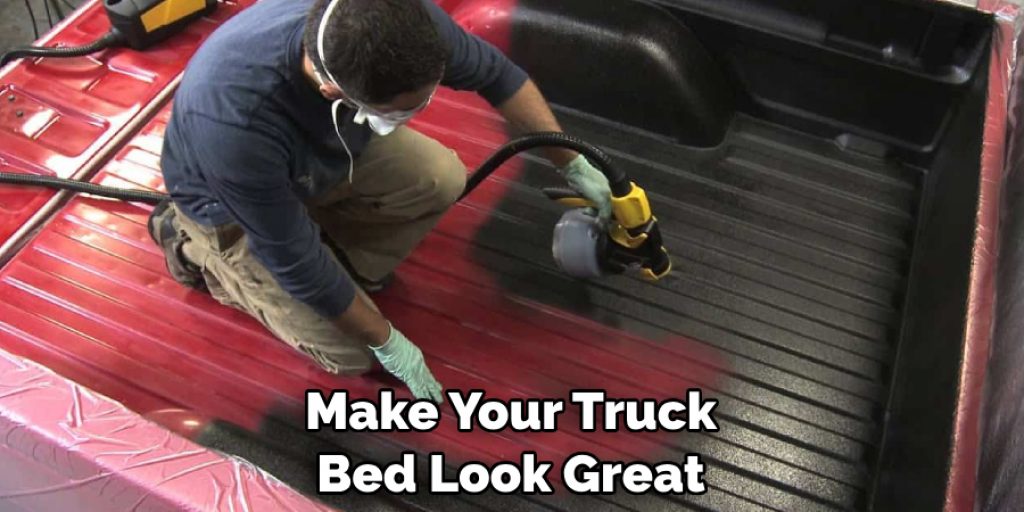
By following these considerations, you can give your truck bed a professional-looking paint job that will last for years. With the right approach and tools, you can create a custom finish that will make your truck bed look great.
Frequently Asked Questions
How Do I Prepare My Truck Bed Before Painting?
Before painting, you should remove any debris and dirt from the surface of your truck bed using a wire brush or damp cloth. You should also sand down any existing paint or rust on the surface. Let the bed dry completely before starting the painting process to ensure an even coat of paint.
Should I Use a Primer Before Painting My Truck Bed?
It is recommended to use a primer before painting your truck bed for optimal results. A primer can help protect the existing paint on the truck bed and also give the new coat of paint an even finish. Make sure to choose the right type of primer that is designed for use on vehicles.
How Many Coats of Paint Should I Apply to My Truck Bed?
It is recommended to apply two coats of paint on your truck bed. Make sure to let the first coat fully dry before applying the second coat for optimal results. If you’re looking for a more durable finish, consider adding an extra layer of protection with a sealant or protective coating.
How Can I Protect My Truck Bed After Painting?
To protect your truck bed after painting, you should consider applying a sealant such as wax or a polyurethane coating for added protection and durability. You should also regularly wash and wax the truck bed to maintain the finish of the paint job. Additionally, think about installing a liner in the truck bed for extra customization and protection.
Conclusion
Painting a truck bed can seem like a daunting task, but it doesn’t have to be. By following the tips outlined in this article and taking your time, you should have no trouble attaining great results. Whether you’re refinishing an old pickup or making customization for a show truck, having the right tools and being proactive about protection are keys to success.
The end product will be something to proudly boast about and you’ll be able to drive around with a vehicle that looks like it just rolled off the assembly line.
Finally, don’t forget to enjoy yourself while you paint that truck bed; a painting can turn into an enjoyable afternoon — one where learning new skills and being creative pays off big! So don’t wait any longer – take your time and make sure you have all the tools necessary before starting – and go ahead now and get started on how to paint a truck bed!
Louis Wein
Louis has always been fascinated by cars. He loves the way they look, the sound of the engine, and how they make him feel when he's driving. He is always keen to learn more about different mechanics of cars and how the engine contributes to other aspects of the car. As an automotive technician with over 10 years of experience, he knew how they worked and loved taking them apart to see how they went back together. He was especially interested in the mechanics of combustion engines and loved finding ways to make them more efficient. He loves to work on cars and help people keep their vehicles running smoothly. As a senior editor, he enjoys contributing to Diy quickly because it allows him to share his knowledge and expertise with others.


