
How to Paint an Outlet
Are you planning to give your home a fresh and stylish makeover? Painting an outlet is not only easy, but it is a practical way to add character and texture to any room. While many homeowners immediately turn to an electrician for this task, painting your own outlets can be the perfect DIY project!
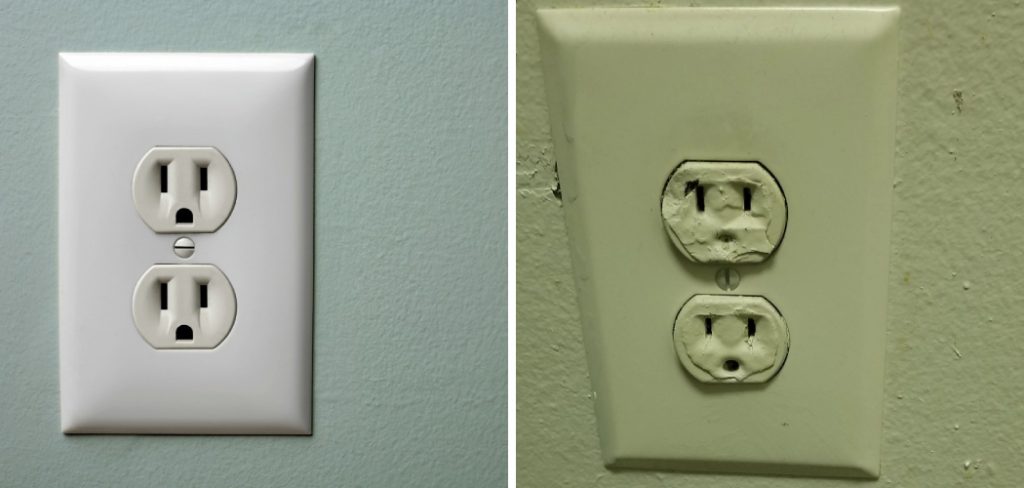
Learn all you need to know, from selecting the right paint color and type of paintbrush to getting help with electrical safety issues if necessary. Follow these simple guidelines on how to paint an outlet – in no time you’ll have chic new fixtures that will modernize each room of your house.
Tools and Materials You Will Need to Paint an Outlet
- A screwdriver
- Painter’s tape or masking tape
- Primer
- Paintbrush and/or a foam brush (depending on your paint choice)
- High-quality latex paint
- Sandpaper (optional, if your outlet has a glossy finish)
Step-by-Step Guidelines on How to Paint an Outlet
Step 1: Preparing the Outlet for Painting
The first step in painting your outlet is to turn off the power. Don’t try to paint when there are live wires! After you’ve made sure that your outlet is safe to work on, start by unscrewing it from the wall. Don’t worry if it takes extra effort to unscrew an old outlet, as they can become stuck with age.
Once the outlet is free from the wall, use a damp cloth to wipe away any dust or dirt from the surface. If needed, use sandpaper to scuff up a glossy finish – this will help create a better bond between the paint and the surface of your outlet.
Step 2: Applying the Primer
It’s important to apply a primer before you start painting – this will create an even smoother surface and give your outlet a professional-looking finish. When applying the primer, make sure that you use quick strokes and thin layers – this will help reduce any runs or drips in the final result. Once the primer is dry, your outlet will be ready for painting!
Step 3: Painting Your Outlet
When selecting paint colors for your outlets, keep in mind that you want a color that will blend well with both the wall and furniture in the room. Highly pigmented hues can quickly become overwhelming if used too liberally.

Once you’ve chosen the right paint, start by taping off the area around the outlet to avoid any messes. When painting, make sure that you use even strokes and let each layer of paint dry before applying another coat. Don’t forget to cover any switches and outlets with painter’s tape if needed! After two or three coats of paint, your outlet will be ready to use.
Step 4: Re-Mounting Your Outlet
The last step in painting an outlet is to safely re-mount it onto the wall. Make sure that the wires are connected correctly and that everything is securely screwed into place before you turn on the power again. Once you’ve double-checked your work, just switch the power back on and bask in the glory of your new DIY masterpiece!
If you follow all these steps, you’ll be able to easily give a fresh and stylish makeover to any room. Painting an outlet is not only easy but it’s also a practical way to add color and flair to your home. With this guide and a few tools, you can make the transformation from old to new in no time!
Additional Tips and Tricks to Paint an Outlet
- Make sure to use light sandpaper and lightly sand the surface evenly before beginning. This will help the paint adhere more easily.
- Prime the outlet with good quality, an oil-based primer for best results that won’t rub off onto your hands or clothing.
- When you are ready to start painting, use an acrylic latex paint specifically designed for plastic surfaces. This will help ensure a lasting finish.
- Apply the paint evenly and smoothly using a foam brush or roller, taking care to keep an even coat across the entire outlet.
- If you are painting multiple outlets, make sure to let each one dry completely before starting on the next one.
- To avoid unsightly streaks, dip the brush into the paint just enough to cover the bristles without overloading.
- After drying overnight, apply a clear sealant for added protection against fading and wear and tear.
- When finished, allow the outlet to dry completely before plugging in any electrical cords or switches. This will ensure the safety and proper functioning of your newly painted outlet.
- Finally, once you are completely done with your project, make sure to clean up any paint splatters or spills immediately. This will help keep your outlet looking its best for years to come.

Happy painting! With these tips and tricks in mind, you’ll be able to easily transform that old and outdated electrical outlet into something beautiful and stylish! Enjoy the view of your new, modern outlet, and know that every time you plug something in, it will remind you of all the hard work you put into making it perfect.
Things You Should Consider to Paint an Outlet
- Choose the right type of paint. When painting an outlet, you should only use paints specifically designed for use on electrical outlets. Using regular latex paint can cause damage to your electrical outlet and create a dangerous situation if it is not applied correctly.
- Remove the cover plate from the wall, then unscrew the screws holding the outlet in place. Be careful when removing the screws as they can be very tight.
- Make sure the outlet is clean and dry before you start painting. It’s important to wipe down the surface so that any dust or dirt particles don’t interfere with the paint job.
- Tape off around the edges using painter’s tape for a neat, professional finish. This will help prevent any mess from dripping onto the wall and creating an uneven finish.
- Apply your paint in even, light strokes to ensure you get even coverage. Wait for the paint to dry before adding a second coat, if necessary.
- After the paint has dried completely, carefully reattach the cover plate and screw it back onto the outlet.
- Test your newly painted outlet to make sure that it is still functioning properly.
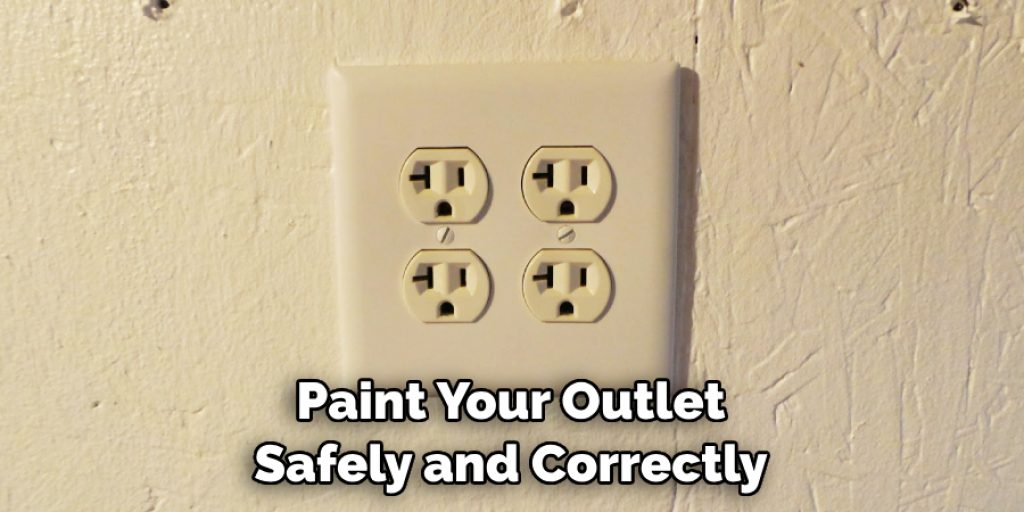
Following these considerations and steps can help ensure that you paint your outlet safely and correctly, without damaging the electrical components. It’s important to remember to use caution when painting near electricity – safety always comes first! With a little preparation and care, you can get the perfect paint job on any outlet in your home.
Frequently Asked Questions
What Kind of Paint Should I Use for My Outlet?
The best type of paint to use when painting an outlet is high-quality acrylic latex. This type of paint is durable and provides strong adhesion, ensuring your newly painted outlet won’t chip or flake off over time. It also dries relatively quickly and is available in a wide variety of colors, giving you more options to choose from.
What Preparation Should I Do Before Painting?
Before beginning the painting process, it’s important to prepare your outlet by cleaning off any dust or debris. This will ensure that the paint adheres properly and produces a smooth finish. You should also make sure to cover the outlet with painter’s tape, as this will help avoid potential messes.
How Many Coats of Paint Should I Use?
It is recommended that you use two thin coats of paint on your outlet for best results. This will provide a smooth finish and prevent any chips or flakes from developing over time. Make sure to let each coat of paint dry completely before applying the next one.
Are There Any Safety Precautions I Should Take?
Safety is always important when it comes to painting your outlet. It’s a good idea to turn off the power to your outlet before beginning the painting process, as this will protect you and prevent any potential electrical accidents. Additionally, make sure to wear gloves and a face mask when painting, as this will help keep any fumes or particles away from your skin and lungs.

Conclusion
Painting an outlet is not a complicated task if you have the necessary tools and materials, patience, and dedication to detail. Not only does it save you money in the long run from hiring a professional electrician, but it also adds to the appeal of your home decor in no time.
With these steps, you can easily and quickly paint your outlets in one afternoon with just a few simple materials. Your guests will be impressed at how great your outlets look!
Now that you know How to Paint an Outlet, why not try to create something new for yourself or your loved ones? A little bit of effort and creativity is always worth its weight in gold – luckily this particular DIY project does not take too much effort or creative energy. Good luck with your painting process, and remember – do not let fear get in your way!
Angela Ervin
Angela is the executive editor of DIY quickly. She began her career as an interior designer before applying her strategic and creative passion to lifestyle and home. She has close to 15 years of experience in creative writing and online content strategy for housekeeping, home decorations as well as other niche efforts. She loves her job and has the privilege of working with an extraordinary team. She lives with her husband, two sons, and daughter in Petersburg. When she's not busy working she spent time with her family.


