
How to Paint Behind Radiator
If you’re looking to give your room a newFreshonemanLook, there’s no better way to do that than with a fresh coat of paint. But, if that radiator in the corner of the room is getting in the way and you want it to be included as part of your decorated wall space – never fear! Painting behind radiators is easier than you might think.
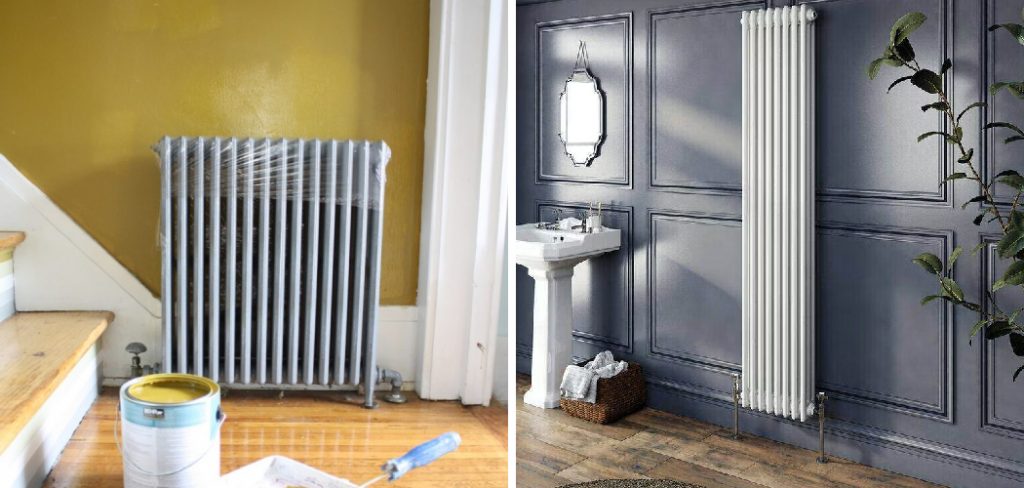
In this blog post, we’ll cover all the preparation and steps necessary how to paint behind radiators efficiently and with excellent results so you can turn any room into something special. Boasting beautiful walls full color will have guests mesmerized – Let’s get started!
Needed Materials
Given below is a list of all the items you will need to paint behind radiators:
- Painter’s Tape
- Paint Roller and Tray
- Paint Brush
- Drop Cloth/tarpaulin
- Vacuum Cleaner (Optional)
- Sandpaper (Optional)
- Primer (Optional)
- Paint the Color of Your Choice
11 Step-by-step Guidelines on How to Paint Behind Radiator
Step 1: Preparation
The first thing to do before you start painting is to get your space ready. Make sure the area around the radiator is clean and dust free. You might also need to remove any furniture or other items that might be in your way. It’s also a good idea to use painter’s tape to cover any surfaces you don’t want painted, such as nearby floors or walls. But before you do any of this make sure to turn the radiator off and let it cool.
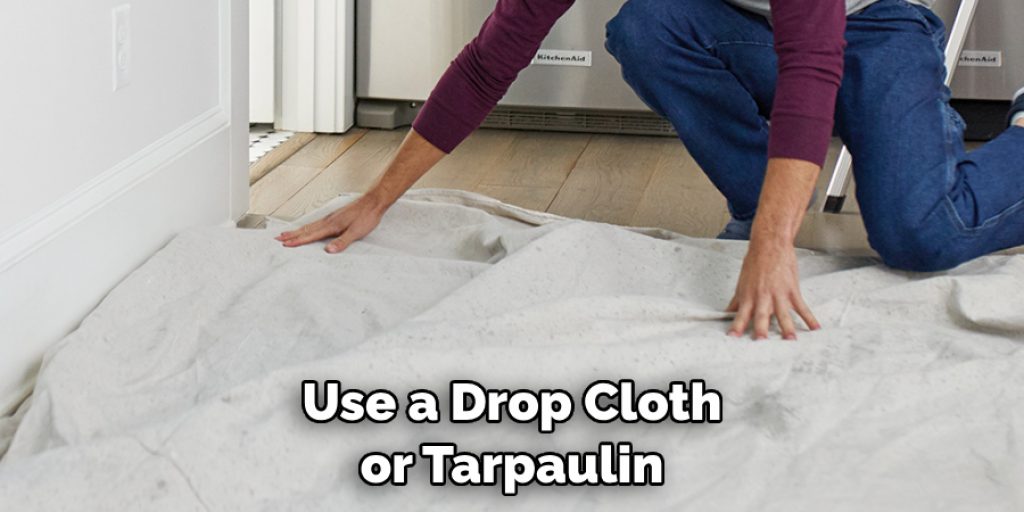
Step 2: Cover Up Your Floors
Next, use a drop cloth or tarpaulin to protect your floors and furniture from paint splatters. This is especially important if you’re painting an area near carpeting. It’s better to be safe than sorry! You can also place tape along the edges of your drop cloth to make sure it doesn’t slide around while you work. This way, you can ensure your floors remain nice and clean.
Step 3: Prepare Your Room
If you’re painting in a room with windows, make sure to open them to allow for proper ventilation. You should also cover any electrical outlets or switches that are nearby. You don’t want to get any paint on them! It is also a good idea to get plug covers in case of accidental splashes or drips. But make sure the covers are properly sealed, as you don’t want paint to get inside.
Step 4: Turn Off The Heat
Turn off the radiator and all other heat sources in the room to ensure the paint will adhere properly. This also prevents any potential accidents, as hot radiators can cause burns. If you have a gas-powered radiator, make sure to turn off the gas supply too. It’s always best to be safe rather than sorry. But make sure to check the manufacturer’s instructions first, as some radiators run off electricity and may need to be unplugged first.
Step 5: Clean the Radiator
Use a vacuum cleaner to remove any dust or dirt that is on the radiator surface. If you have access to compressed air, it can come in handy for getting into hard-to-reach places. We also recommend cleaning the backside of the radiator with soapy water and rinsing it off with a damp cloth. It’s important to make sure all surfaces are absolutely clean before you start painting.
Step 6: Prime
If your radiator is metal, use a primer before applying the paint. This will help the paint adhere better and prevent it from chipping or flaking off in the future. It’s also a good idea to use high-quality paint, as it will last longer and provide better coverage. Make sure to read the manufacturer’s instructions on how to apply the primer and paint properly.
Step 7: Tape It Up
Use painter’s tape to cover up any parts of the radiator that you don’t want to get painted. Make sure to press down the tape firmly so it stays in place. But don’t forget to remove the tape once you’re done painting! It Here is a continued version of the content in Markdown format:
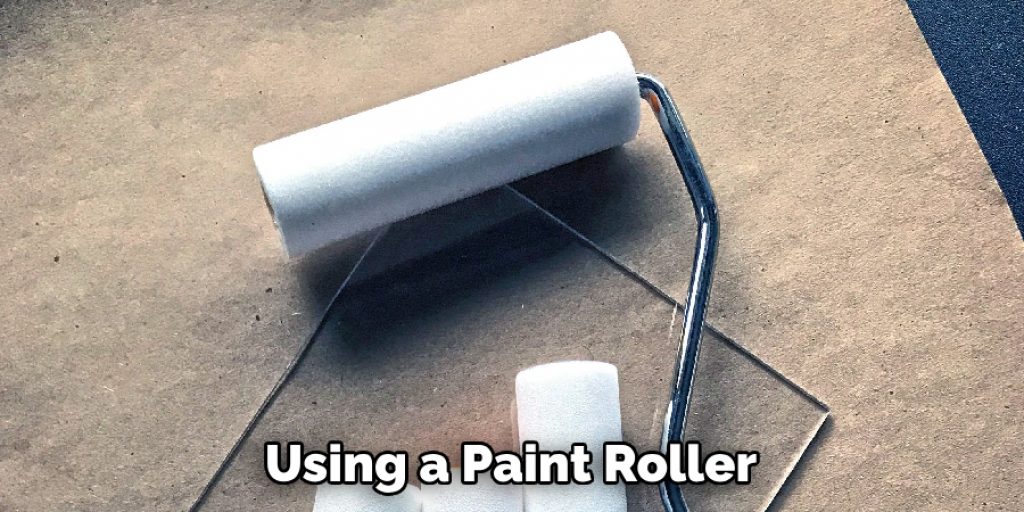
Step 8: Paint
Using a paint roller, begin applying your chosen color onto the radiator. Start at one end and work your way towards the other until everything is covered evenly. If you need to, use a paintbrush to go over any hard-to-reach places like corners. You can also use a small roller for smaller radiators. Be sure to follow the manufacturer’s instructions and allow plenty of time in between coats so that the paint is given ample opportunity to dry.
Step 9: Let It Dry
Once you’ve finished painting, let the radiator dry for at least 24 hours before turning on the heat. This will help ensure that your paint job lasts for years to come without cracking or bubbling up. It’s also a good idea to open the windows during this time for better ventilation and air circulation.
Step 10: Clean Up
Once your radiator is dry, remove the painter’s tape and drop cloth/tarpaulin. Vacuum up any dust or debris that may have been left behind. You can also use a damp cloth to wipe down the radiator for a shiny finish. But make sure to not get the radiator too wet, as this can cause damage to the paint.
Step 11: Enjoy!
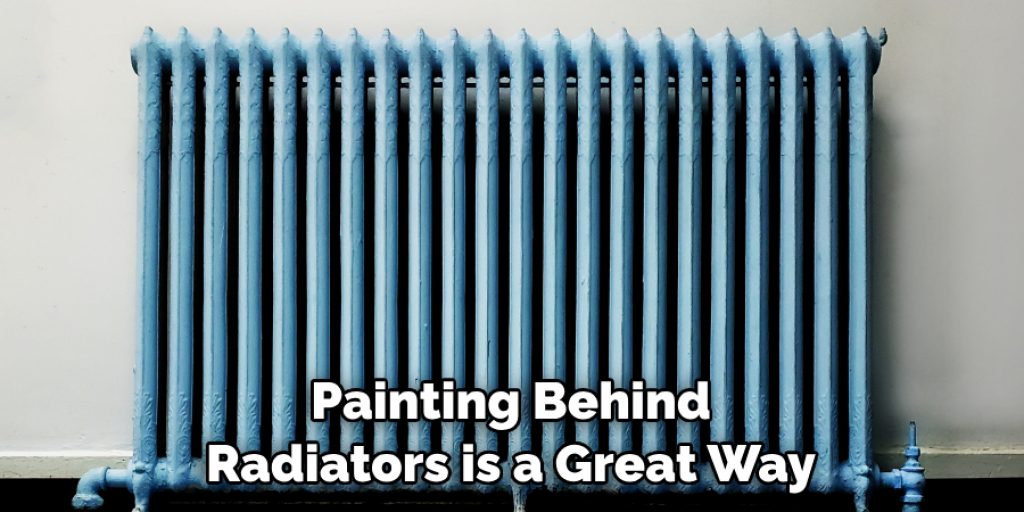
Admire your freshly painted radiator and bask in the glory of a job well done! Always remember to take pride in your work. A little bit of effort goes a long way, and it will show in the end result. So don’t be afraid to tackle any painting projects that come your way! It’s not as hard as it looks.
Painting behind radiators is a great way to transform any room. Following these steps on how to paint behind radiator and using the right materials will guarantee excellent results that you can be proud of. So why not take on this DIY project and give your space a completely new look? You won’t regret it!
Tips and Tricks
- Always use a primer when painting metal radiators.
- Take time to prep the space before you start painting; this will save you time and energy later on.
- After applying the paint, wait at least 24 hours for it to fully dry before turning on any heat sources in the room.
- Don’t forget to clean up after you’re done! This will help your paint job last longer.
- Don’t be afraid to experiment with different colors and designs; painting behind radiators is a great way to add a personal touch to any room.
Painting behind radiators can be an easy, enjoyable task when done correctly. With the right materials and some patience, you can turn any room into something special. Good luck!
Frequently Asked Questions
Q: Can I Paint Over the Radiator Paint That is Already on the Wall?
A: Yes, you can! Make sure you clean the surface first and then apply a primer before repainting. This will help ensure your new coat of paint adheres properly and looks great!
Q: How Long Does It Take to Paint Behind the Radiator?
A: The time it takes depends on the size of the radiator and how many coats of paint you are applying. Generally speaking, a standard-sized radiator can be painted in one day if you’re efficient.
Q: What Kind of Paint Should I Use?
A: Any kind of paint can be used, but you should always opt for a high-quality product that is designed to last. For metal radiators, use a primer first before applying the paint. This will help the paint stick better and resist chipping or flaking off in the future.
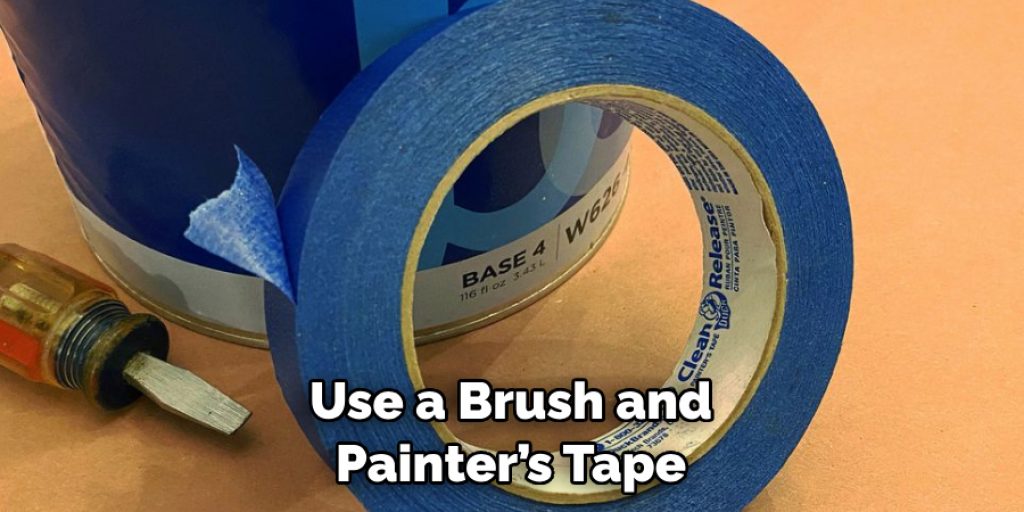
Q: What If I Don’t Have Access to the Back of the Radiator?
A: In this case, you should use a brush and painter’s tape to apply the paint. Start at one end of the radiator and work your way toward the other. Be sure to press down any painter’s tape firmly so it doesn’t come off while you’re painting.
Conclusion
Painting behind a radiator might seem like a mundane task, but if done properly, it can have a huge effect on the overall look and feel of your room. Thanks to the few simple steps provided in this blog post, you are now equipped with everything you need to achieve the perfect paint job behind your radiator.
Whether you choose to do it yourself or hire a professional, completing this task will have a positive impact on the overall well-being of your home décor. So get painting! You won’t regret it. And be sure to share your glossy results so that others too can bask in the vibrant afterglow of your beautiful new wall pattern! Best of luck! Thanks for reading this article on how to paint behind radiator.
Angela Ervin
Angela is the executive editor of DIY quickly. She began her career as an interior designer before applying her strategic and creative passion to lifestyle and home. She has close to 15 years of experience in creative writing and online content strategy for housekeeping, home decorations as well as other niche efforts. She loves her job and has the privilege of working with an extraordinary team. She lives with her husband, two sons, and daughter in Petersburg. When she's not busy working she spent time with her family.


