
How to Paint Bilco Doors
Are you looking for a way to give your Bilco doors an upgrade and add some flair to your home? Painting them is the perfect solution! It’s not as difficult as you may think – with the right tools, patience, and know-how, anyone can take on this project. In this blog post on how to paint bilco doors, we’ll show you all the steps that are necessary to transform any Bilco door from dull and unremarkable into something spectacular.
This guide will provide everything that you need to know about prepping the surface, selecting paint types and color options, applying primer/paint coats safely and correctly and avoiding mistakes throughout each step in the process – so by following our tips closely you’re sure to have stunning results in no time at all. So let’s begin!
What is Bilco Door?
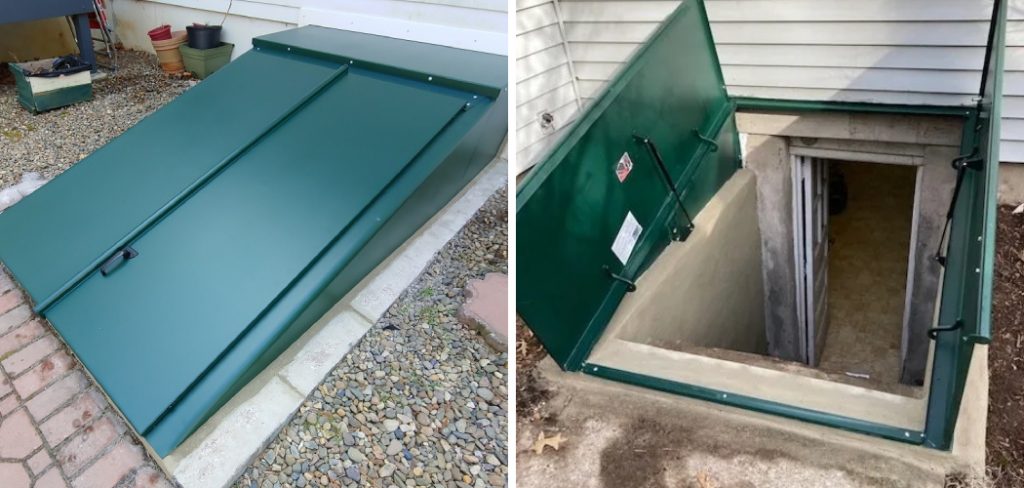
Bilco doors, also known as bulkhead cellar doors, are exterior access doors that open into the basement of a home or business. They provide ventilation and light to the basement while providing security from theft or wild animals. Bilco doors can be made out of steel, aluminum, and fiberglass and come in many sizes and styles. It is important to choose the right size and style for your home or business.
Needed Materials
Given the material of your Bilco door, select primer and paint accordingly. It is important to use a primer and paint that are designed for outdoor use, as these products will withstand harsh weather conditions better than those made for interior applications. You’ll also need:
- Paintbrushes/Rollers
- Paint Tray or Bucket
- Painters Tape
- Waterproof Sealer
- Sand Paper or Sanding Block
- Drop Cloth/Plastic Sheeting
- Rags/Paper Towels
- Ladder
11 Step-by-step Guides on How to Paint Bilco Doors
Step 1: Prepare the Surface
Begin by cleaning the surface of the Bilco door with mild detergent and water. If there are any scratches or chips in the paint, these should be sanded down and covered with a waterproofing sealer to prevent rust. It is also a good idea to apply an outdoor grade primer prior to painting.
Step 2: Tape off the Trim and Doors
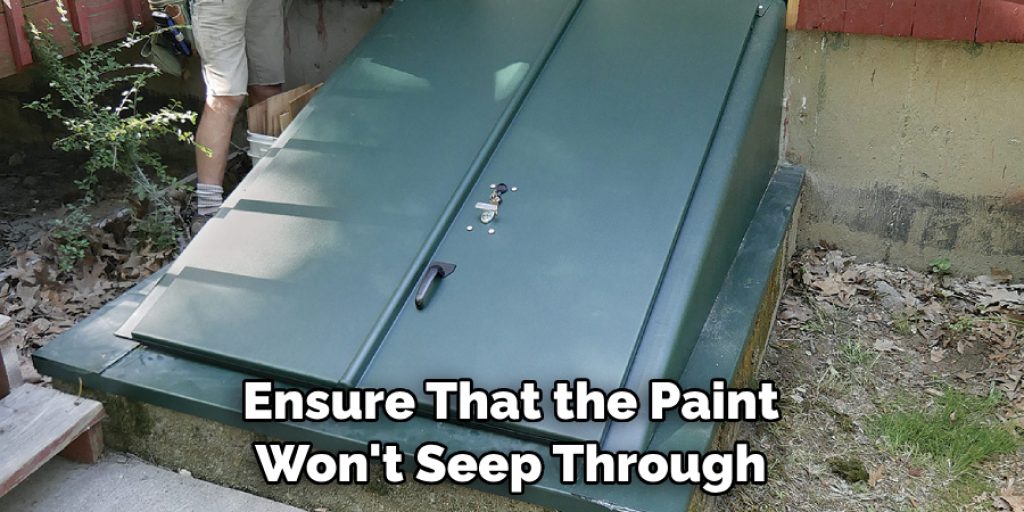
Using painter’s tape, cover any areas of the door that you do not want to be painted. This includes the trim around the edges, handles, hinges, etc. Make sure to press down firmly on the tape to ensure that the paint won’t seep through. Otherwise, you could end up with an unfinished and sloppy look.
Step 3: Apply Primer
Using a brush or roller, apply the primer coat to the Bilco door. The key here is to use even strokes and to ensure that the entire surface is covered with a thin layer of primer. Allow it to dry before proceeding to step four. It is important to follow all of the manufacturer’s instructions when applying primer.
Step 4: Sand Primer Coat
Once the primer has dried, it should be lightly sanded in order to create a smoother base for painting. This will also help to ensure that the paint adheres better and won’t chip off easily. Be sure not to sand too hard or you may damage the surface of the door. You can use a sanding block or medium grit sandpaper for this step.
Step 5: Apply Paint to Bilco Door
Once the surface is prepared, it is time to apply the paint. Begin by dipping a brush into the paint and then lightly dabbing off any excess on a rag. Start from the center and work your way outwards in an even stroke. Be sure to follow the instructions listed on the paint can for best results.
Step 6: Dry and Re-sand if Necessary
Allow the first coat of paint to dry completely before applying a second coat. If necessary, lightly sand the surface between coats, however, do not use too much sandpaper or you may damage the paint. It is also important to make sure that the top coat is completely dry before proceeding.
Step 7: Apply a Second Coat of Paint
Once the first coat is dry, you can apply a second and even third coat if necessary. Be sure to use even strokes and cover the entire surface with the paint. As before, allow each coat to dry completely before moving on to the next step. But be sure to always follow the instructions listed on the paint can.
Step 8: Remove Painter’s Tape
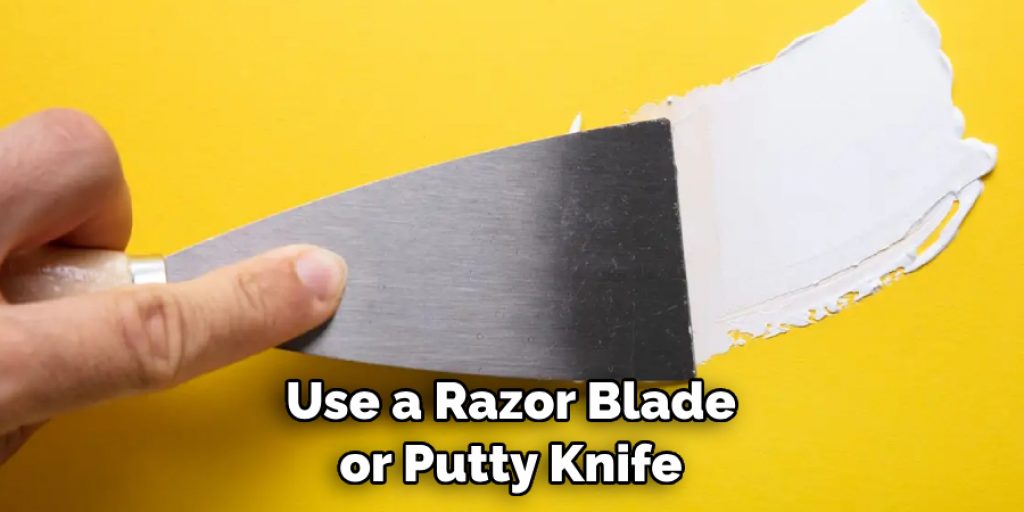
Once all of the coats of paint have been applied and dried, it is time to remove the painter’s tape from around the trim. Do this slowly and carefully so as not to damage the paint job. If necessary, you can use a razor blade or putty knife to help remove any stubborn pieces of tape.
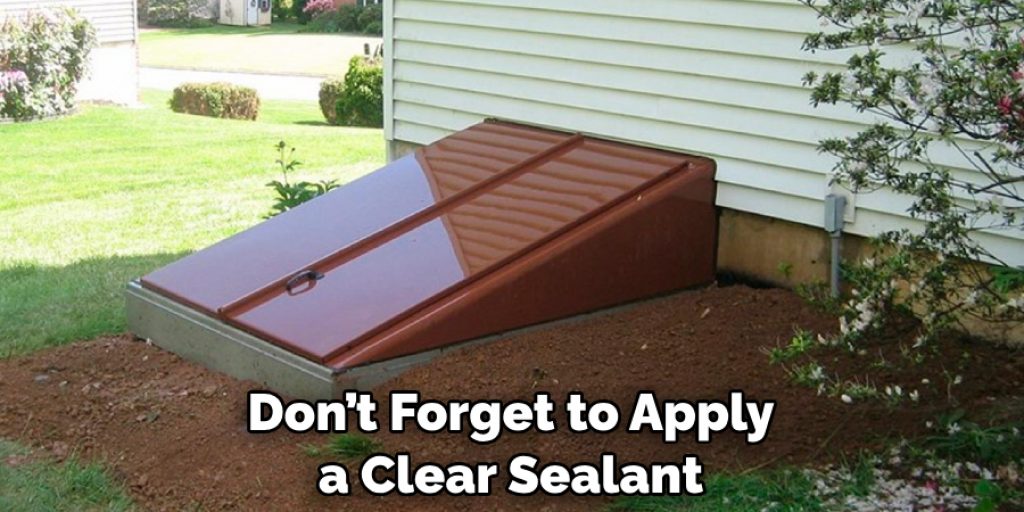
Step 9: Apply a Clear Sealant
Once the paint is completely dry, you can apply a clear sealant to help protect the surface from harsh weather conditions. This will also help to keep colors vibrant and prevent fading over time. Be sure to follow all of the instructions listed on the product’s label for best results.
Step 10: Hang and Enjoy!
Once your Bilco door is painted and sealed, you can hang it back in place. Be sure that the hinges are properly aligned with the frame for a secure fit. Admire your handiwork and marvel at how much better the door looks after painting! This is a great project to boost the curb appeal of your home or business.
Step 11: Maintenance
Finally, it is important to regularly inspect and maintain your Bilco door. Check for any signs of rust and apply a new coat of paint if necessary. Use a mild detergent to clean the surface as needed and ensure that the hinges are well-oiled and working properly. With these simple tips, you can enjoy your freshly painted Bilco door for many years to come!
With the right materials and a bit of elbow grease, painting Bilco doors can be an easy and rewarding project. Follow our steps on how to paint bilco doors closely, and you’ll have stunning results in no time at all! If you’re ever in doubt about anything along the way, reach out to a professional painter or home improvement specialist for help.
Frequently Asked Questions
Q: What Kind of Paint Should I Use on My Bilco Door?
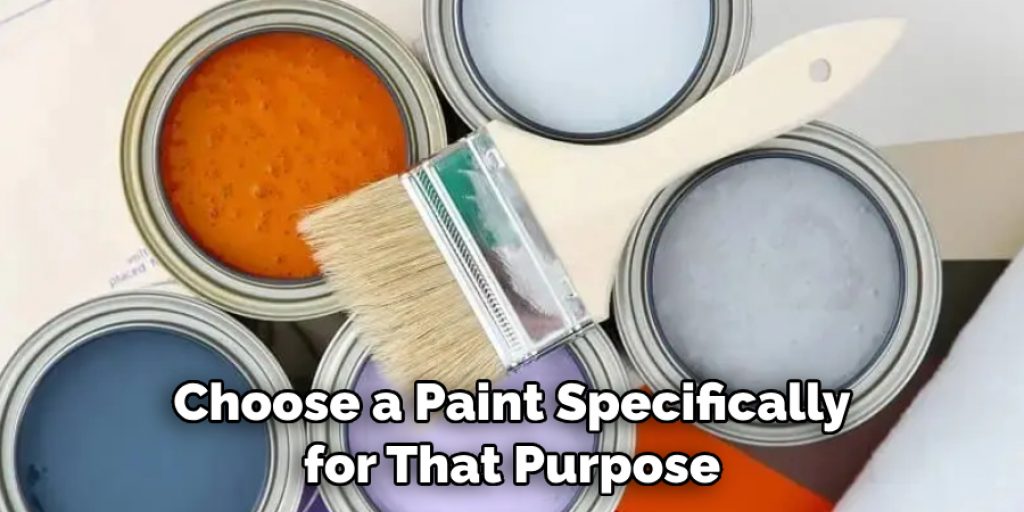
A: It is important to choose a paint designed for outdoor use, as this will be able to withstand harsh weather conditions better than interior paint. You should also take into consideration the material of your Bilco door-if it is made out of steel, then you should choose a paint specifically for that purpose.
Q: How Many Coats of Paint Should I Apply?
A: Generally speaking, two coats are the minimum when painting Bilco doors; three coats may be necessary if the door will be exposed to harsh weather or other elements. It is also important to apply a clear sealant after the paint has dried in order to protect it from fading and wear and tear.
Q: How Can I Protect My Bilco Door From Rust?
A: The best way to prevent rust on your Bilco door is by applying a waterproof sealer before painting. This will help to protect the door from water, snow, and other elements that can cause rusting. Additionally, it is important to inspect the door regularly for any signs of rust and repair or repaint as needed. Regular maintenance and cleaning can also help keep your Bilco door looking like new for years to come!
Q: What Other Tips Can I Follow to Ensure a Professional Paint Job?
A: It is always a good idea to use painter’s tape when painting any surface, including Bilco doors. This will help to create clean edges and ensure that the paint won’t bleed through. Additionally, you should take your time when applying the primer and paint coats and make sure that you are using even strokes.
Be sure to read and follow all of the instructions listed on the paint can for best results. Finally, don’t forget to apply a clear sealant after the job is finished in order to protect your work from fading or wear and tear!
Conclusion
Ultimately, painting your Bilco doors is no small task. It takes time, patience, preparation and care. Now that we have looked into all the steps that go into giving a Bilco door a new coat of paint, you’ll be better prepared to take on the challenge and show off your great work when you’re done!
Remember: avoid sanding any aluminum surfaces as it can corrode easily; wear gloves and old clothes for protection against chemical solvents; if using oil-based paints, use mineral spirits to clean the surface before skimming it with an epoxy skim coat.
Use an airless sprayer to apply primer if available; prime the entire door first with an acrylic latex primer before applying the final coat of paint; make sure to let your painted Bilco doors sit for at least 24 hours for optimal results.
And there you have it – with these tips in mind on how to paint bilco doors, you will be able to paint brucBo doors beautifully. With all that being said, why not get out there and give it a shot? Good luck!
Angela Ervin
Angela is the executive editor of DIY quickly. She began her career as an interior designer before applying her strategic and creative passion to lifestyle and home. She has close to 15 years of experience in creative writing and online content strategy for housekeeping, home decorations as well as other niche efforts. She loves her job and has the privilege of working with an extraordinary team. She lives with her husband, two sons, and daughter in Petersburg. When she's not busy working she spent time with her family.


