
How to Paint Cabinet Doors Without Brush Marks
Do you want to paint your kitchen cabinets without brush marks? Painting cabinet doors can be a daunting task for the uninitiated. However, some tips and tricks will help you get started on this home improvement project with less stress. Read on for more information on how to paint cabinet doors without brush marks! The first thing to do is pick out the color of paint that you would like to use.
It’s important not to confuse primer with paint because they’re used in different process steps. Next, remove all hardware from your cabinet doors using pliers or vice grips before painting them, so they don’t get ruined by drips and spills during the process. When it comes time to put them back on, making sure they align correctly will affect how smoothly the doors open and close. Read on to know more!

10 Ways on How to Paint Cabinet Doors Without Brush Marks:
1. Paint the Door All the Way Around.
When painting the door, make sure to paint the edges of the raised panels as well as the faces. It’s much easier to do this before assembly. If you’re painting the door before assembly, hold it vertically to make your job easier. If you paint it horizontally, any misalignment will show a vertical line on the finished surface. Use a heavy-bodied paint, as it is more likely to fill the pores of the wood. Wood filler can be used to make the surface smooth if you have not applied enough paint.
2. Use a Paint Roller
For best results when painting doors and jambs, use a paint roller. You’ll save time and effort in the long run. For inside surfaces, use a 3/8″ nap roller cover. For outside corners, use a 1/2″ or 5/8″ nap roller.

3. Use a Primer.
A primer will help the paint stick to the door and reduce brush marks. Paint a coat of primer on bare, sanded wood before you begin painting. This will fill tiny pores and minimize brush strokes significantly. Paint quality will be better, which might mean that you can use a thinner coat of paint. This, too, will reduce brush marks by as much as half.
4. Use a High-Quality Paint
Great brushes don’t do great paint jobs. A high-quality paint supplies the pigment to form a strong bond with the surface it is applied to; this eliminates brush strokes and makes repainting easier. When using oil, the paint will be thinner, but you will need fewer coats to achieve an adequate color. This means fewer chances for brush marks to appear.
The trick to using oil paint is how long it takes to dry. For example, a white oil-based exterior paint will take two weeks or more to dry enough for you to apply another coat. Your painting will be protected for up to a year before the next coat of paint is required. You can save even more time by using a high-quality stain with a penetrating sealer to make the surface waterproof.
5. Stir Paint Well
When you want to paint, first pour the paint into the tray or pan. Then stir it well so that all the ingredients are mixed together. This will help to avoid brush marks in the new paint. Some paints may require thinner, which will make the paint easier to apply smoothly.
Others use the same consistency as water. When you are buying paint it will usually say somewhere on the container what type of paint is in it, and whether or not it requires thinning with water or other liquid, such as latex-compatible paint that also requires a separate latex additive.
6. Low-VOC Paint.
Choose Low-VOC paint for your finish coat. These paints are more expensive than regular paints, but they do not have the same amount of pollutants that will leave you with brush marks on your cabinets doors. In addition, a thin coat of high-quality paint will go on smoother and leave fewer brush marks than a thick layer of regular, cheaper paint.
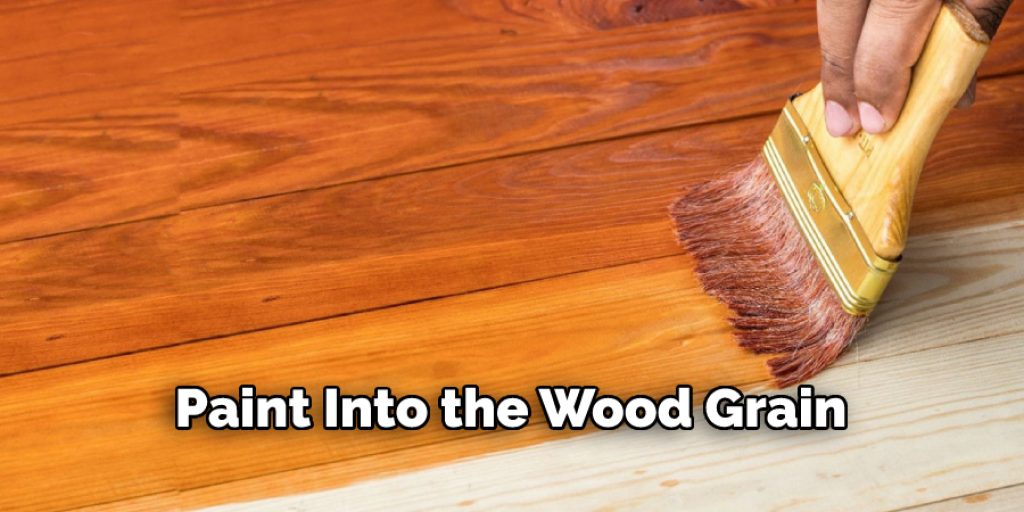
To get the best-looking finish on a kitchen, choose a paint color that matches the wood grain. To do this, you must determine which direction the wood grain is running. You should be able to figure this out by looking at the way that the grain runs in the corners of your cabinets.
7. Use a High-Quality Roller Cover.
Make sure to buy a roller cover with all the right specifications for your project. For example, if you are painting wood doors, you want to buy a roller cover with some naps to make it easy to work the paint into the wood grain. You also need sufficient flatness so it will lay down smoothly on flat surfaces like kitchen cabinets.
8. Use a Thinner Coat of Paint
A thinner coat of paint will always give you better results than a thick layer. It will reduce brush marks, lay flatter and go on easier. drying time is also reduced, so you won’t have to wait as long for your paint job to be completed. However, be prepared to apply four coats instead of two for optimal results.
9. Paint Using Stripes.
Striping will give your doors a professional look. If you paint stripes, the finished surface will have an even distribution of paint and fewer brush marks. This is one of the most effective ways to ensure there are few brush marks on kitchen cabinet doors. Remove the doors from the cabinet. You can paint them by hand if you like or use a sprayer with a smaller cup. Use an oil-based primer followed by one or two coats of acrylic paint. Paint the doors first, let them dry completely and then start painting the cabinet. Always paint the door before you paint the cabinet.
10. Use a Flattener.
A flattener is a chemical that goes on before you paint. It creates a surface the same way primer would, so the paint will go on smoother and reduce brush marks significantly. A good flattener will also help the paint stick to the wood, which means it won’t peel or chip as easily.
Some Tips and Suggestions:
1. It is essential to make the first layer of paint dry completely before repainting it. Bubbles will form if there are still small amounts of moisture in the paint layer, and this may cause peeling and chipping. Allow the first layer of paint to dry for 24 hours before applying a second coat of paint, and let it dry completely for an additional 48 hours before using the cabinets.
2. If you want to add decorative touches or give your cabinet doors an antique look, try sanding lightly between coats with very fine sandpaper.
3. The last coat of your paint job should be a light dusting, which you can do by using an old brush from the first two layers if possible. This helps prevent clumps and droplets from forming on the cabinets.
4. If you want to add a protective layer to the surface, use a clear wax or shellac. This will help prevent staining and corrosion, but it is a good idea to do a test on a small section of the cabinet before applying the wax or shellac over your entire project.
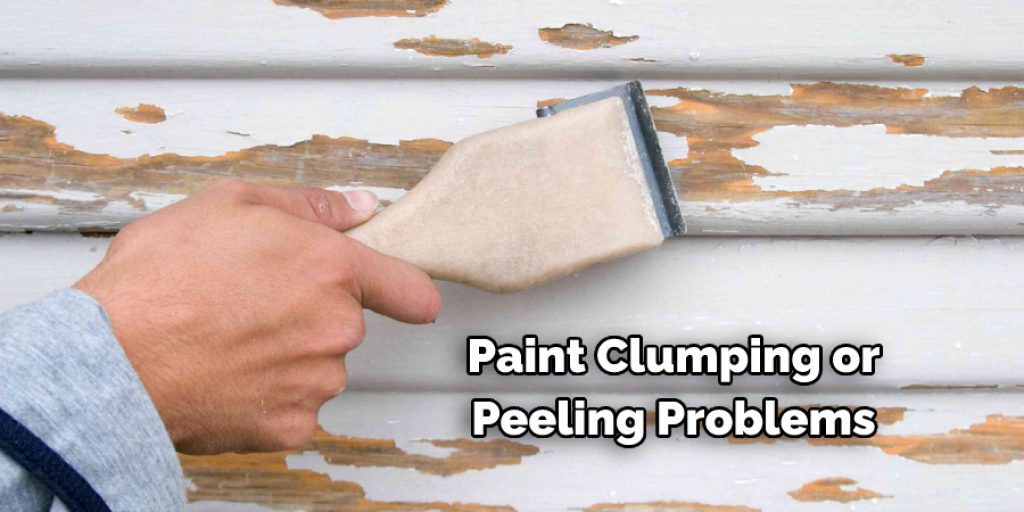
5. If you have any paint clumping or peeling problems, try using a higher-quality brush for your final coat. If you are using a brush with synthetic bristles, you should allow the paint to dry for at least three days before attempting to wax or shellac it.
6. If your cabinet doors are made of wood, remember that they will expand and contract in varying degrees depending on the weather conditions.
Can You Paint Cabinet Doors Without Brush Marks?
Painting cabinet doors without leaving brush marks can seem tricky, but it is possible. It all starts with high-quality paint that has low VOC content and is rated as self-leveling. Before you begin painting, make sure you have prepared your work area properly with ample ventilation and cover any surrounding surfaces.
When applying the paint, strive for smooth, even strokes in one direction – either up and down or side to side – while keeping even pressure on the brush. Depending on the type of paint used, multiple coats may be necessary in order to achieve the desired finish.
Be sure to allow adequate drying time between each coat so that the color remains consistent and uniform. Once finished, protect your work by adding a sealant or topcoat as an added layer of protection against scratches and other damage over time.
Frequently Asked Questions
Is It Better to Roll or Brush Paint Cabinets?
It is better to brush paint cabinets because it will help you get a smooth finish. Rolling the paint can cause wear and tear on the wood, which could lead to peeling or other damage.
What to Add to Paint to Prevent Brush Strokes?
There are a few things that can be added to paint to help prevent brush strokes. These include:
1. Liquid latex or acrylics: These two types of paints contain solvents that help the paint stick to the bristles of the brush and reduce the amount of paint that is needed to create a stroke.
2. Drying oils: Oils such as linseed oil, tung oil, and walnut oil can also help to reduce brushstrokes by acting as a lubricant and protecting the bristles from drying out.
Why Does My Paint Brush Leave Streaks?
Paintbrushes can leave streaks on the walls or ceilings if they are not properly cleaned. The paintbrush bristles collect dust, dirt, and other particles that get stuck in the brush. This causes the paint to streak when it is applied to the surface.
To clean a paintbrush, first, make sure that it is completely dry. Then place it in a container with enough water to cover the bristles. Swish the brush around in the water until all of the paint is removed. Finally, rinse the brush with clean water and store it in a dry place.
Will Streaks Go Away When Paint Dries?
It is difficult to say for certain, but most likely, streaks will eventually disappear when the paint dries. However, if you are concerned about them and would like to try to prevent them from happening in the first place, there are a few things that you can do.
Conclusion:
When it comes to painting cabinet doors, you want to ensure that the paint is applied evenly and without brush marks. The best way to do this is by using a roller with an extension pole so you can reach all areas of the door from above.
When rolling isn’t practical, you may also use a sponge applicator or foam pad for more precise touch-ups. We hope these tips on how to paint cabinet doors without brush marks help make your next project easier! Have any other tricks we should know about? Let us know in the comments below!


