
How to Eliminate Brush Strokes When Painting
Whether you are trying to save money or want something fun and different, there are many reasons why people choose spray paint over other types of paints. For one thing, it is much faster than using traditional brushes or rollers. Additionally, it produces beautiful results without any mess or clean-up required!
But how do you make sure that your finished product looks professional? Keep reading for some general guidelines as well as specific steps for how to eliminate brush strokes when painting. Painting can be a difficult task, especially when it comes to painting the exterior of your home.
However, painting is no longer an arduous task with these simple tips that will help eliminate brush strokes! Read on for helpful advice and instructions to paint like a pro.
10 Ways on How to Eliminate Brush Strokes When Painting:
Your painting has brush strokes. They make your work look rough and unfinished, mainly when you paint on a smooth surface like ceramic tiles or metal. But don’t worry; we have ten ways to eliminate them!
1. Use less water as a thinner:
If you use less water as a thinner, then the paint will be concentrated more. This is because when you apply the water to the paint, it will become lighter. And when you use the thinned paint onto a surface, there won’t be brush strokes because applying water to the color makes it look smooth.
2. Use skin glue:
After painting, let your work dry, then use skin glue from the arts and crafts store. It will stick to your dried paint but be very careful as it can destroy your painting if you put too much of it on!
3. Use only one layer:
Use just one layer or thin coat of watercolor to cover up the previous color. The application should be smooth. Skin glue to apply to your painting. Skin glue is used widely in Japan as a masking agent for wallpaper printing. It’s strong and great at preventing paint from sticking onto the glass or ceramic surface, causing it to peel off later on.
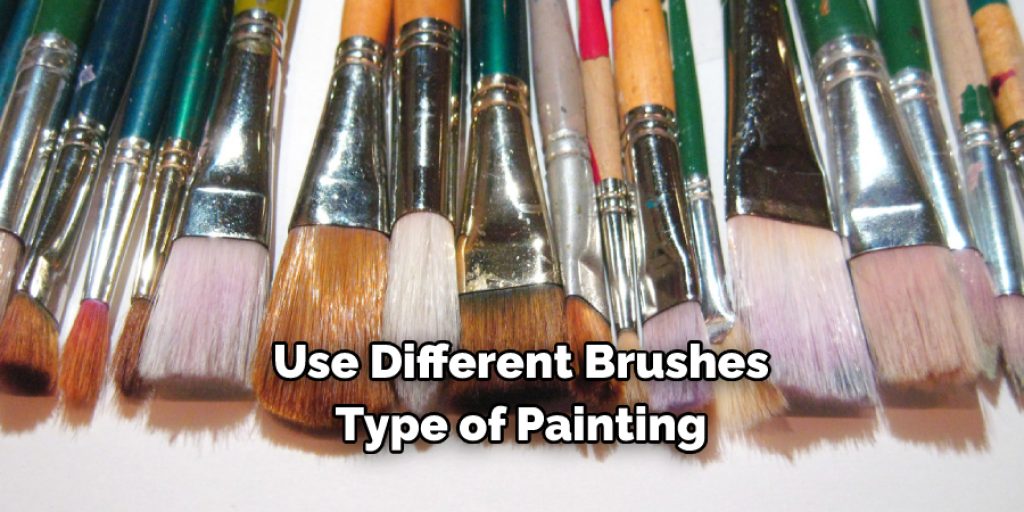
4. Change your paintbrush:
You should use different brushes depending on the type of painting you’re making, but if you’re experiencing brush strokes, then try using a different one to peel off later on. However, you can’t mix water-based pigments with oil-based ones since the result will be highly chalky and not suitable for painting at all.
5. Use spray fixative:
If you use acrylic or oil-based paint, apply a layer of spray fixator over your painting to prevent the colors from becoming dull and faded. Spray fixator is widely used in Chinese art workshops to protect masterpieces before shipping them out for exhibitions.
6. Change your paper:
If you’re using water-based paint to paint on a surface that isn’t prepared, the colors will run and cause your painting to look streaky. Instead, use oil-based or acrylic paints to dry faster, which is ideal for smooth application.
7. Don’t mix too many colors:
If you’re using water-based paint and want to keep the color vibrant, then use only one solid color, blue or green. Don’t mix multiple colors because it will make your work look dull.
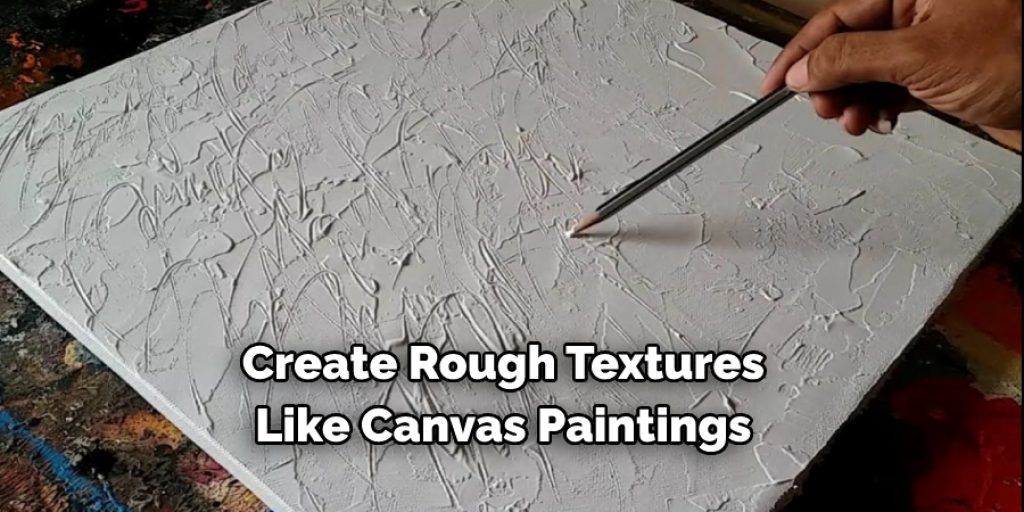
8. Paint along with the brush strokes:
You can do this on purpose by painting on top of another layer of paint that’s dry. Then, use a clean, dry brush to apply another layer of paint on top of the previously painted one when it’s almost dry. This will create rough textures like canvas paintings which are expensive in terms of prices.
9. Dry your watercolor well:
You should let your work dry completely before applying other methods or techniques to prevent your artwork from getting smudged. Also, by allowing your work to dry, you’ll avoid watermarks and rough textures caused by the painting process itself.
10. Try using a roller:
1. Always use a clean brush. When you start a new painting, always use a new one and wipe the brush gently on a soft dry cloth from time to time during work.
2. It is better to have fewer colors when beginning to paint, so you can focus on the quality of that few colors rather than spreading yourself thin in your painting.
3. Your brushes should be in good condition before starting to paint, so you can work with a smooth flow of colors and brush strokes without getting stoppages in your painting process.
4. Clean your palette after using it. A dirty palette gives a messy result to your painting.
5. Always clean your brush with water and soap after using it; this way, you will not get the paint to dry inside the bristles.
6. Always work in a dry place where no dust or dirt can enter your painting through the air or by accidentally touching it. This helps you achieve a clean result on your painting.
Some Tips and Suggestions:
1. Always use a clean brush. When you start a new painting, always use a new one and wipe the brush gently on a soft dry cloth from time to time during work.
2. It is better to have fewer colors when beginning to paint, so you can focus on the quality of that few colors rather than spreading yourself thin in your painting.
3. Your brushes should be in good condition before starting to paint, so you can work with a smooth flow of colors and brush strokes without getting stoppages in your painting process.
4. Clean your palette after using it. A dirty palette gives a messy result to your painting.
5. Always clean your brush with water and soap after using it; this way, you will not get the paint to dry inside the bristles.
6. Always work in a dry place where no dust or dirt can enter your painting through the air or by accidentally touching it. This helps you achieve a clean result on your painting.
Conclusion:
When painting, it is essential to understand how brushstrokes can affect the overall appearance of a work. The more strokes there are in an area, the thicker and darker those areas will appear on your canvas. As you paint for any time, this could result in unwanted smudges and streaks that ruin what might otherwise be a perfect piece.
To eliminate these unsightly mistakes, we recommend using less paint or thinner brushes, allowing for fewer strokes per surface area and giving you better control over where each stroke goes. So now you know how to eliminate brush strokes when painting. If you need help getting started with this technique or want further insight into other methods such as airbrushing, please don’t hesitate to contact us.


