
How to Paint Door Frames Without Brush Marks
While there are many ways to paint door frames, some methods can leave brush marks that take away from the beauty of the frame. When painting a room, it’s easy to miss the small details and forget about things like door frames.
This is all well and good until you realize that your door frame isn’t perfectly painted, leaving brush marks in its wake! Don’t worry; we can help. This article will show you how to paint door frames without brush marks using simple techniques that anyone can do at home. You’ll be amazed by how much of a difference it makes! Let’s get started!
10 Ways on How to Paint Door Frames Without Brush Marks
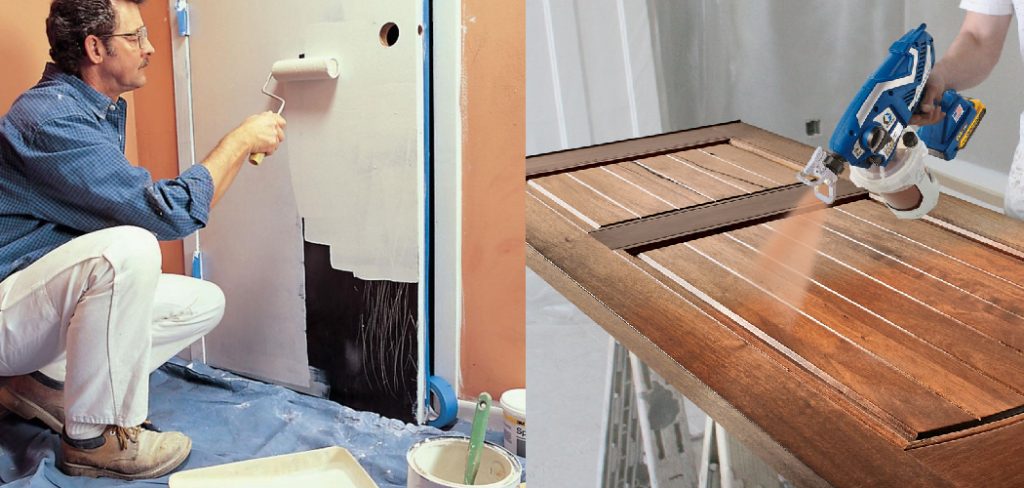
1. Use a Roller
Use a 3 inch (long nap) roller or wide paintbrush and 1/3 or less of the recommended amount of paint for the first coat. All paints are different, and some may require more. The roller should always be dipped in water first and allowed to drip off until it stops dripping; then, use only dry rollers.
2. Apply the Paint Thinner
Mix 1/3 paint to 2/3 water in a container. The thinner allows the roller or brush to spread more evenly without leaving brush marks. This is especially true with any paint with non-drip additives, which will enable you to save on paint because you don’t have to use it as much.
3. Work Quickly to Avoid Brushmarks
Work in small areas and roll the paint on, then move immediately to another area, or else it will begin to dry. You can quickly tell if you left brush marks because they will be lighter than the rest of the paint film.
4. Use a Second Roller for Touchup
For door frames, you can use the roller with thinner on them. But if you want to paint trim where there is wood grain showing, you will need to use a second roller on top of the first coat.
Just dip one roller in water first and then roll it across so that some water is on the roller. Then load it with paint and roll that on top of the dried first coat. If you are putting two coats on, use the second brush instead until it dries completely to avoid washing out your brush multiple times.
5. Wet the Paint Roller
Dip the roller into a bucket of water to avoid brush marks as much as possible. This will also help if you have to use a second coat by allowing it to seep down in the wood grain without being clogged up with dried paint from the first coat.
6. Start at the Top and Work Down
If you start painting at the top, you can overlap your strokes without having to worry about feathering them out so far that it would be visible on any trim work below. That’s because if there is no gap between the old paint and the new, then there isn’t a chance for light to get in between layers from different angles.
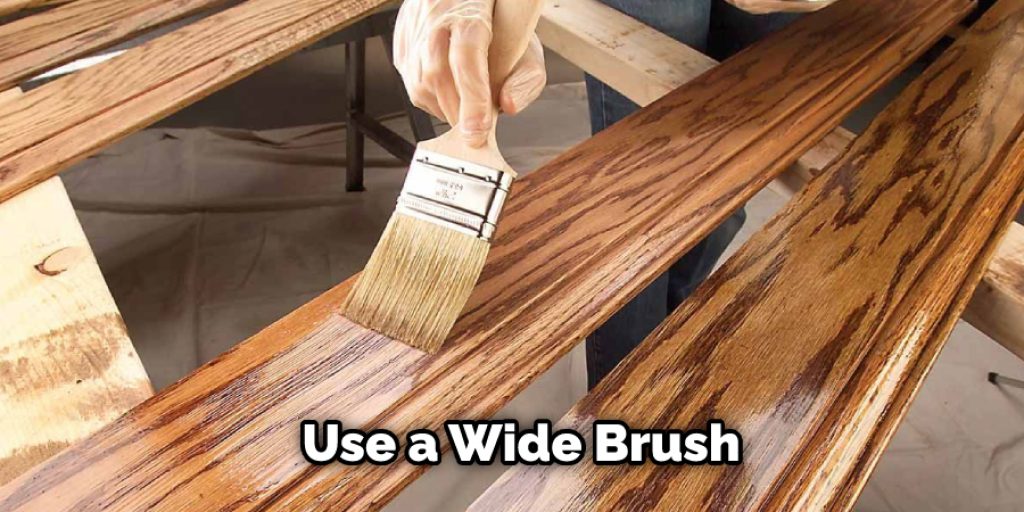
7. Use a Wide Brush
Use a wide brush instead because it will be easier to sweep out any excess paint downwards onto the trim work below. This helps you avoid making multiple passes with a roller or large brush because you can just get it right on the first try.
8. Use a Paint With Non-Drip Additives
Paint with non-drip additives will be very thin and easy to apply without brush marks, like Glidden’s new Advance paint. Make sure you use enough paint for adequate coverage; if you use too much paint, it will be harder to spread out and leave brush marks.
9. Be Careful Around Corners and Drip Rails
Apply the paint in a fanning motion or do shorter strokes that go diagonally around corners; if any drips get on the trim work below, they will drip down at an angle instead of being dragged down.
10. Use a Paint Stick to Avoid Drip Marks
And to avoid drip marks, you can also use paint sticks or scapers. It’s best if the tip of the stick is curved slightly instead of straight; this way, it will conform better to door frames and trim. And switch sides often to avoid smearing the other side against what you’ve already painted. You can also use a sponge brush or rough roller cloth to feather out the edges of door frames and trim.
Some Tips and Suggestions
1. Use the right paint:
Several types of latex paints are suitable for painting door frames. However, if you buy oil-based paint for this endeavor, you will have difficulty getting rid of brush strokes on your door frames.
2. Remove the Old Finish:
Before painting, make sure to remove all of the old finishes on your door frames. If there is paint, varnish, or stain on your door frames, the new coat of paint will be lumpy and unsightly. Removing old finishes can be challenging, but some great products out there make it easier.

3. Remove Dust and Dirt:
If you want smooth results when painting your door frames, make sure to remove all of the dust and dirt on them. A hand-held vacuum works well for picking up surface debris.
4. Sanding is Key:
Preparation is vital when it comes to painting. If you want a high-quality finish, invest in sandpaper and sand your door frames before priming, paint, and varnishing.
5. Use Black Primer to Eliminate Voids:
After sanding your door frames, apply black primer to eliminate voids and other imperfections on the surface. Stencil adhesive is also sometimes used as a first coat because it clings well to flat surfaces.
Conclusion
Painting door frames can be a tedious task, but luckily some tricks will help you get the job done without brush marks. One helpful trick is to use masking tape on both sides of the frame before painting it with latex paint. This way, your hands won’t leave any prints, and so long as you don’t touch or move anything while it dries, the color should stay within the lines!
Another good idea for avoiding brush strokes is using a foam roller instead of a regular house painter’s roller when applying primer. The softness of this type of roller helps avoid getting too close to edges where brushmarks would show up in less time than normal. We hope this blog post on how to paint door frames without brush marks has been helpful. If you have any questions, feel free to comment below!


