How to Paint Mason Jar Lids
The whole DIY doesn’t require a guide as it’s too easy, but I thought it might encourage people to highlight the concept and can’t miss it. I became influenced by the revival of using gold and brass faucets and other kitchen fittings. But if you can’t buy a significant upgrade or are a tenant like me, you could always incorporate metallic appliances into your home.
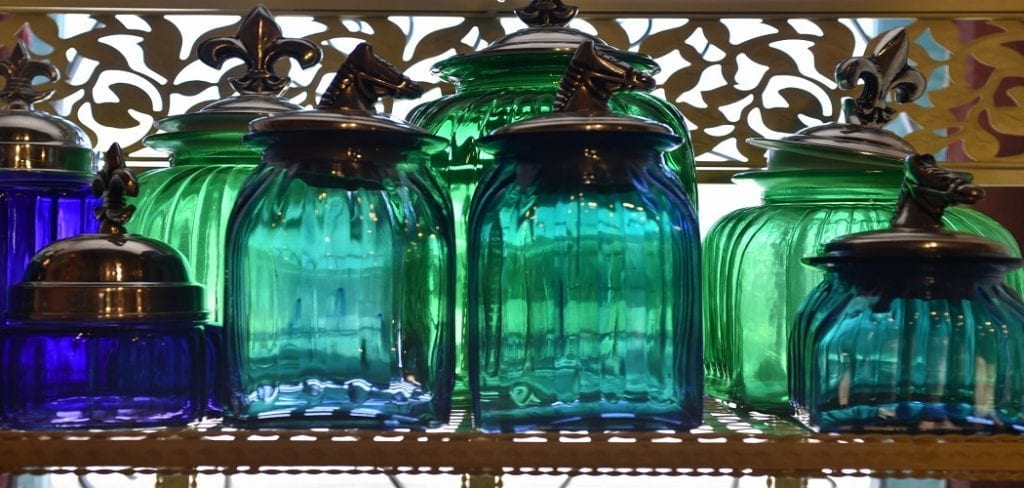
And also, what better fittings is a mason jar? I mostly am using them to store the almonds, the rice, the sugar, the side dishes, etc. And with that, I wondered that a little spraying painting would enhance the appearance. There have been merely wonderful Mason jar designs out there, which will motivate you to do your own fantastic Mason jar crafting task.
Mason jars are quite good for a lot of stuff, including prepping meals, fermenting (give the best), decorations for bridal showers, marriage gifts, arranging your workplace, holding your cleaning products in one location, even a sweet rustic flower pot for your potted plants. I also like to make a mason jar drink dispenser for parties, as well as pour some of my homemade dressing in there.
Processes on How to Paint Mason Jar Lids:
Process One:
- Clean jar lids thoroughly, removing any residue from previous paints. The same goes for the paint you are using! Make sure to use a brush and water only to remove whatever is left on the lid.
- Add your desired amount of oil-based enamel paint with medium consistency (this will ensure that it dries faster) into a container before adding about ¼ cup of turpentine thinner or mineral spirits. Stir together well until fully combined and liquid has dissolved completely in the mixture – this should make enough paint for up to three jars per color, but be aware if you want more colors, you’ll need more supplies. For example, mixing yellow with red creates orange. Mixing two different yellows results in tangerine.
- Once your supplies are ready, dip the lid into a container of water to make sure it is fully saturated and then shake off any excess liquid before dipping in the paint mixture and shaking again until no more bubbles form on the top surface or sides (this means that you have an even coverage). Leave for one hour up to overnight depending on how much time you need but do not forget about them!
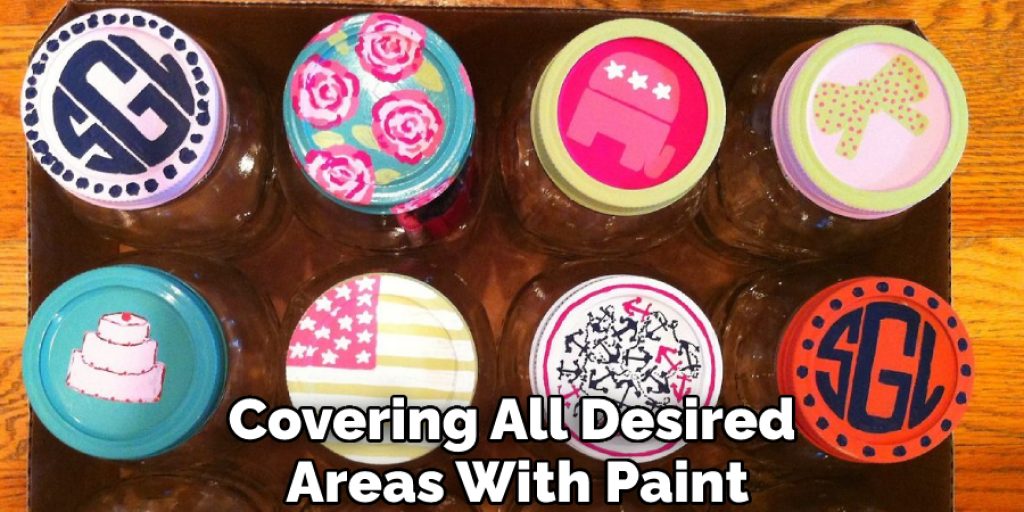
- After covering all desired areas with paint, let dry completely by setting jars upside down, so they don’t drip onto surfaces. It can take anywhere between 24 hours to several days for this process, so patience is key. Then enjoy your work.
Process Two
Components
- Spray paint
- Spray paint
- Mason containers (or other metal-clothed glass jars)
- Paper bag (or any substance on which you can splatter) by using a paper bag can set so that it can stay in place and use all the products
While spraying jars with paint, you would like to ensure they are very well washed out anyway. It benefits to thoroughly rub them off with certain rubbed chemicals to ensure they’re a dry, fresh, and shiny base so the color can hold on that well. Some materials are much more difficult to paint over than others. Glass, for example, is a tough material to paint on as it is smooth and hard. I still like the paint on glass idea though. It looks great.
You would like to paint the container a few more inches away from the pot with moving movements. It is better to do so in a position where you’re not going to think about any colors on the wall. And if you are not cautious, spray paint will go anywhere if you can still color the jars beyond its finest.
Check it out to learn to Make Mustard Yellow Paint.
Precautions:
Do not paint if you are pregnant or have an allergic reaction to the chemicals in paint.
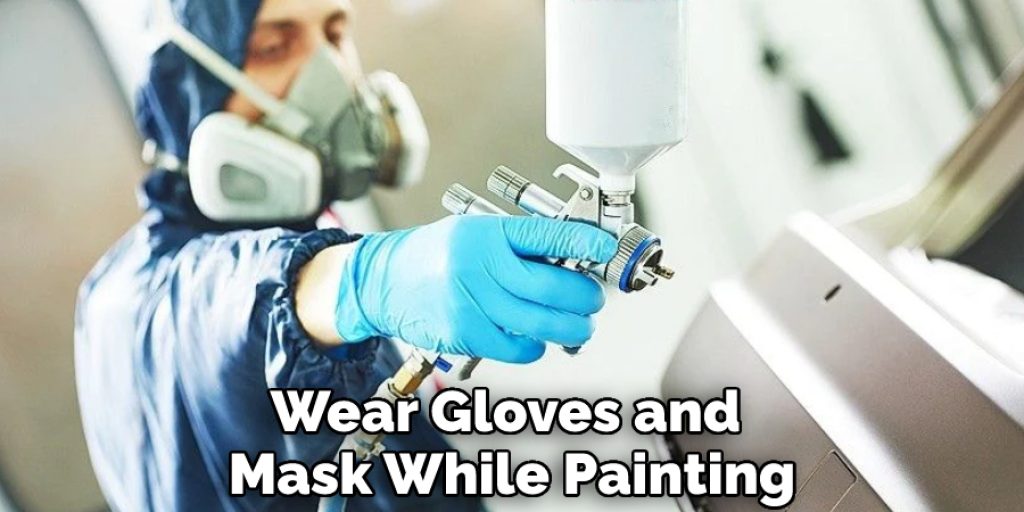
Wear gloves and a mask while painting because fumes may be inhaled. Using oil-based paints, do some research on how best to dispose of old rags soaked with these types of paint due to high risks for environmental contamination. Be sure to take some time when you choose your paint. The wrong color can make the room feel enclosed and cramped. A light color makes the room feel brighter and more inviting. If you have doubts about the color, do a test patch first.
If using latex-based paints, old brushes can be disposed of by soaking them in water until they fall apart; then discard sharp metal points before disposing into your household trash receptacle/drum set out for hazardous waste disposal collection days (the schedule varies). Dispose of paint cans and containers by pouring the contents into your household trash receptacle/drum set out for hazardous waste disposal collection days (the schedule varies). Let the can dry out before discarding into your household trash receptacle.
Compatible Surfaces:
Mason jars should only hold dry goods, making sure the mason jar lids’ surfaces are compatible with dry goods.
Lids of different shapes can be painted by following the same steps but may require more coats depending on coverage and shape gaps.
Final Thoughts:
Painting Mason Jar Lids is a great way to give it an updated look. Glossy paint will help protect the metal lid from rusting and make them easier to clean. You can also use a clear coat of varnish for extra protection, but this may affect how the lids shine. If you are painting your jar lids to reuse them, keep in mind that they’ll be more difficult to seal or label after being painted.
You May Also Read –