
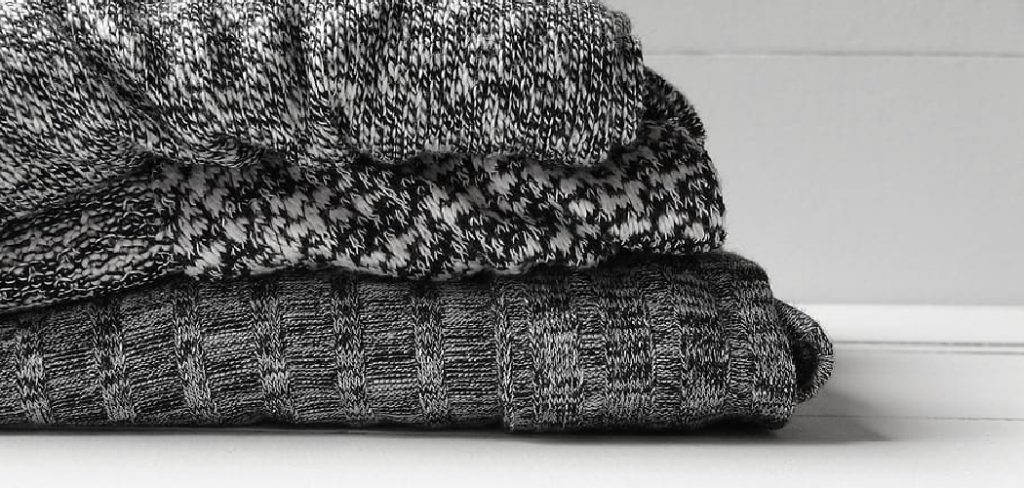
How to Paint Sweater Texture
Learning how to paint sweater texture can add a touch of realism to your paintings and make them look more like photographs. This article will learn some different methods for painting sweater texture. With these techniques, you can create realistic-looking sweaters in any color or pattern that you desire.
So grab your paints and get ready to start texturing! With just a few simple steps, you can create beautiful, realistic textures that give your paintings extra dimension and life. So get ready to warm up your painting skills and add some sweater texture! Read on to know more!
What Is Texture Drawing
In texture drawing, you use patterns or shapes to represent a surface. For example, you could break down a physical object into simple shapes and design elements, as shown in the image above.
The more of these features included, the more lifelike and complex an object will appear to be, but this also means that the more time it takes to create this object. Texture drawing can be used in 2D or 3D mediums, but the focus of this article will be on using digital painting programs.
10 Steps to Follow: How to Paint Sweater Texture
Step 1:
Sketch out the shape of your desired sweater using a pencil and paper. You can also use reference images if you have them available. Remember that this is just a guide for now!
Step 2:
Start laying down the color using a blender pen or some other ink/marker tool. It doesn’t matter if it is messy or has lots of white space; we’ll get to that moment. For this example, I use Faber-Castell and Pitt Pens and some red and black ink in my A5-sized notebook. Once the color is laid down, add some details. I’m adding some line work and shading to create a three-dimensional look. At this point, you can also use the eraser to clean up any mistakes or unwanted areas.
Step 3:
Using a brush tip pen (I used a Pigma Micron Brush Pen) fill in the areas of black ink, making them solid. This means no white spaces!
Step 4:
Using a blender pen (or chalk, chalk pastels, etc.), fill in the areas that have been shaded with red. Again, make sure there are no white pixels/regions left. We want this to look messy and organic!
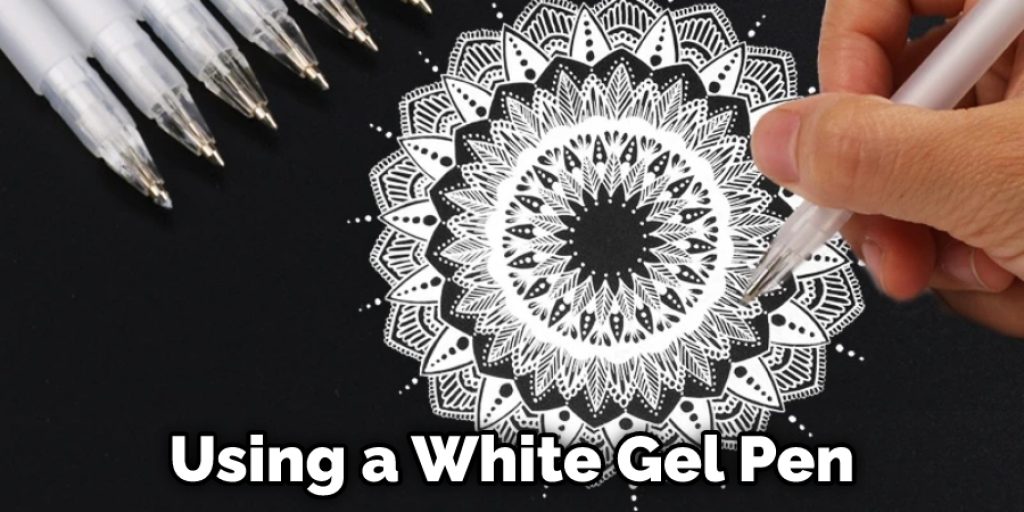
Step 5:
Using a white gel pen, paint on highlights. You can also use some white acrylic paint. Avoid making the areas too clean, as they should look like natural shadows/highlights.
Step 6:
After the black ink or paint has dried, you can add some extra shading and highlights to the black areas. This will give your final product more depth and dimension.
Step 7:
Materials that can be used for painting sweater texture can range from chalk pastels (Staedtler Mars Lumograph) to ink pens (Pigma Micron). In addition, there are lots of random things like gel pens acrylics, and watercolor paints. Experiment with different things and see what you like best!
Step 8:
You did it! It doesn’t matter if your lines are messy; just remember that the key to painting sweater texture is to add random shading and highlights. If possible, try to use a black ink pen on top of anything else you might have used (like gel pens), as this will help make your hand-painted sweater texture look more authentic.
Step 9:
Play around! Use this technique on other things such as shoes, backgrounds, and more. Once you get the basics down, other objects will be much easier to paint.
Step 10:
Great Job! You are now one step closer to being a master of painting sweater texture. Whether your characters are wearing sweaters or have something else covering their skin, this technique will be useful for you in the future! If you have any questions, feel free to email us or post in the forums.
Some Helpful Tips and Suggestions
1. Start with a basic silhouette of your character. Then, use a very thin paintbrush and sketch out the basic shape of the body and any extra details such as hair or clothing that you may want to include.
2. Think about where all the folds in the sweater will be going and place dots at points you think will have a lot of curvatures or a sharp angle.
3. Now that you have a map of where all the folds will be, start filling in all the darker areas of the sweater with a dark brown or black color.
4. Now, look at your reference images again and see what color(s) show through your character’s sweater. Follow around the lines of the reference images to paint lighter colors where you feel there would be more light-catching, such as up near his neck.
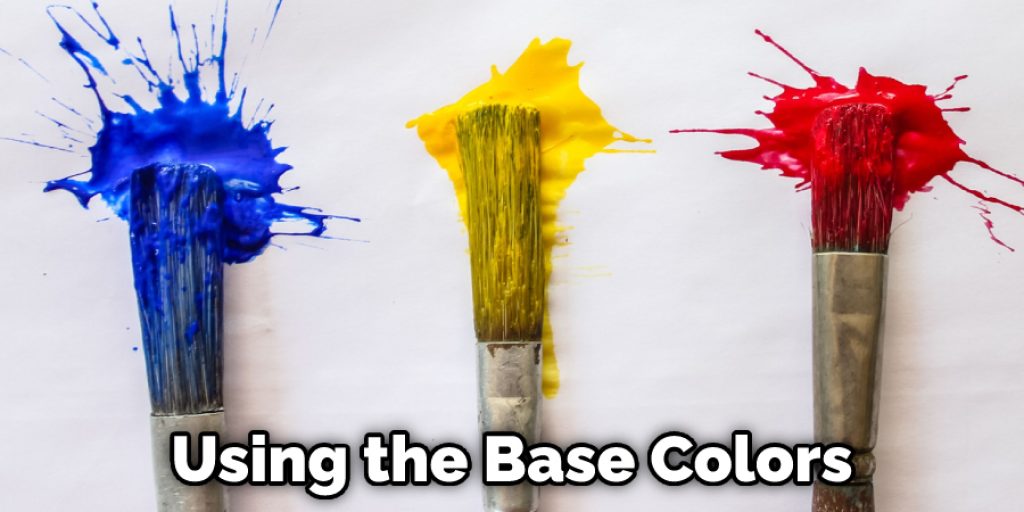
5. Using the base colors you have painted, blend them with a lighter version of each color to give it a smooth texture. You can use an extra light tan color for this process or mix your own by gradually adding white paint to your original base colors until it reaches the desired brightness.
6. If your character is wearing dark pants or has dark brown hair, you might want to add a shadow cast from the sweater onto the skin. Use a darker version of your base colors and paint a layer of shadows under all of your folds in the sweater.
7. Now that everything is laid out, continually check your reference photos to ensure that each fold looks correct. If you want to go back and make any changes, now is the time to do it.
How Long Does It Take to Paint a Sweater Using Various Techniques
The time it takes to paint a sweater depends upon the technique used and how many layers of paint are needed. The following is based on averages, mostly because many variables are involved in painting something. The biggest variable is probably the artist’s skill level.
One needs two main supplies to paint a sweater: acrylic paint and a brush. In addition, it may be useful to have a paper or plastic cup for water since a lot of small detail work might require this. The basic equipment needed can be reduced down to a paintbrush and a palette.
Conclusion
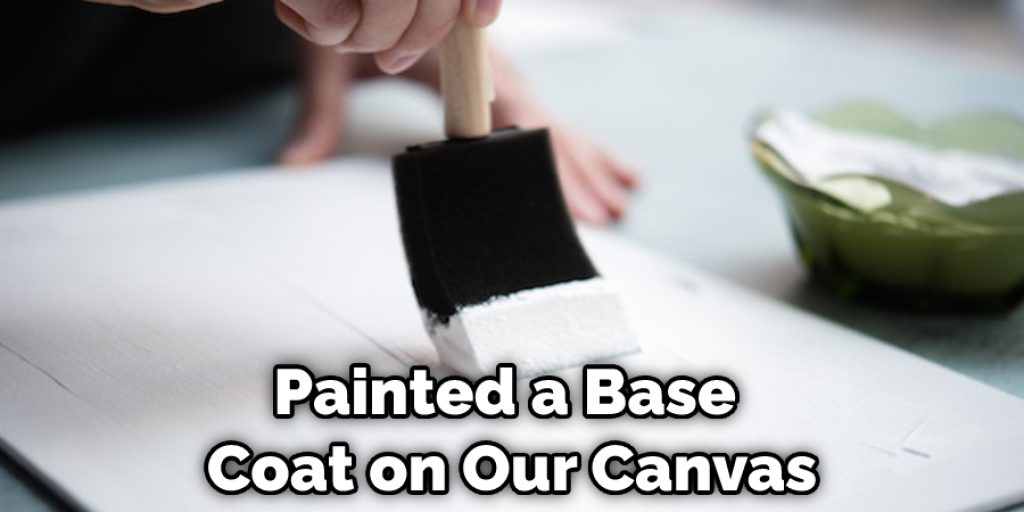
Here are the steps we took for those of you looking to recreate this sweater texture. To start with, we painted a base coat on our canvas and allowed it to dry. After that, we used some dark brown paint for the bottom layer of color and then tapped off any excess before painting over it with lighter shades like light pink and baby blue.
Finally, after letting everything dry completely overnight, we finished by adding glitter accents in golds and silvers around the outer edges. We hope these simple instructions on how to paint sweater texture will help you master your next textured project! If you follow our steps, let us know how your project turns out in the comments section below! Thanks for reading!


