
How to Paint Water Texture
It’s no secret that adding water texture to paintings is a great way to create interest and depth. In addition, learning to paint water texture can open up a whole new world of painting possibilities.
This blog post will show you how to paint water texture using some easy steps. Whether you’re a beginner or an experienced artist, you can follow these simple instructions to achieve realistic-looking water in your paintings. So let’s get started!
What Is Texture Drawing?
Texture drawing is a type of painting that focuses on creating a sense of depth and dimension through the use of texture. This can be achieved by painting things like cracks, dents, bumps, and divots into the surface of the painting, giving it more character and interest.
In other words, texture drawing is about making something look three-dimensional rather than flat, including adding shadows/highlights to create contrast. Texture drawing is the exact opposite of line drawing, which focuses only on an object’s outline, not what it looks like or its dimensionality.
The Best Way To Illustrate Texture Drawing
When you want to paint texture, you should start with a pencil sketch. This sketch can be rough and quick, because it will only guide the texture drawing. After you have a sketch, you can review it in ink or paint once your piece is finished.
In other words, make a pencil sketch of what you would like to draw and add texture to later on. It doesn’t have to be detailed at all; the important part is to have the sketch, so you know what needs to be drawn and where.
Five Easy Methods on How To Paint Water Texture
Method 1 – Making Abstract Textures:
For this, you’ll need to make some abstract shapes. It doesn’t matter what kind or how many, but they should be randomly shaped. Remember, the key here is random; no order should be visible in any of your abstract brushes. Once you have made your abstract brushes save them with a different name than your normal brushes.
Method 2 – Brush Shape & Size:
Create a small circle brush slightly larger than you would normally use. Then, the fun part comes in! Set your foreground color to black and create two circles at opposing ends where you want your water to be. This will create a stunning water effect that will make your painting pop!
Now set your brush to a color near the middle of the screen but not too bright. Also, make the brush about three times larger than your first two brushes. Select one of your first circles and paint over it with this new brush. You should see some water texture appear where you painted black over the first circle. Try using a lighter color or adding another circle if it doesn’t.
Method 3 – Tiling:
To create the water effect, you’ll need a larger, transparent brush. Make a few parallel diagonal lines across the screen, approximately 1/4 to 1/2 from either side. The straighter the lines, the straighter the water will be. Repeat this process a few times to achieve the desired water effect.
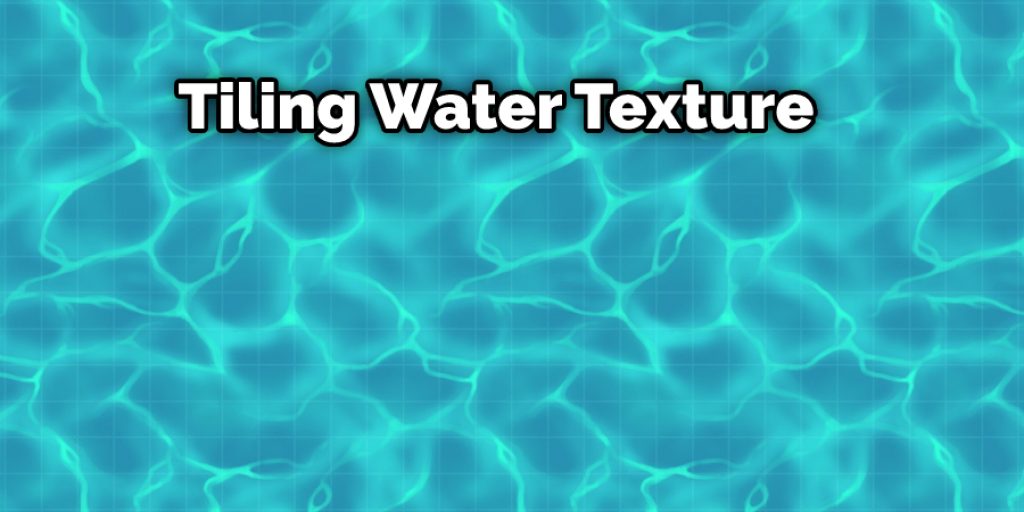
Now select a color near where your light source is coming from and drag a line across one of your parallel lines. You should now hopefully see ripples in the water, which means it worked! If not, try adding another diagonal line or two until you see the ripples appear.
Method 4 – Paint Splatters:
This one is incredibly easy, but I always have trouble getting it to look right. Make a small circle brush and set it to a color near your light source. Then paint some random dots across your water area.
Now take a larger selection that’s about three times larger than the dots you just painted. Make it about three times thicker as well. Then set your foreground color to white and cover up all but a few random dots with this new brush. Repeat this step however many times necessary until you have the desired effect.
Method 5 – Outlined Ripples:
This is an extremely easy water texture to do. Just make a small circle brush and place a few random spots along the edges of where you want your water to be. Then select a larger brush that’s about three or four times larger than your circle. Now outline over some of the circles with this larger brush to make ripples in the water.

Some Tips and Suggestions
1. Make sure you can see the brushstrokes, but not too easily.
2. Practice an old drawing or painting to get the hang of it!
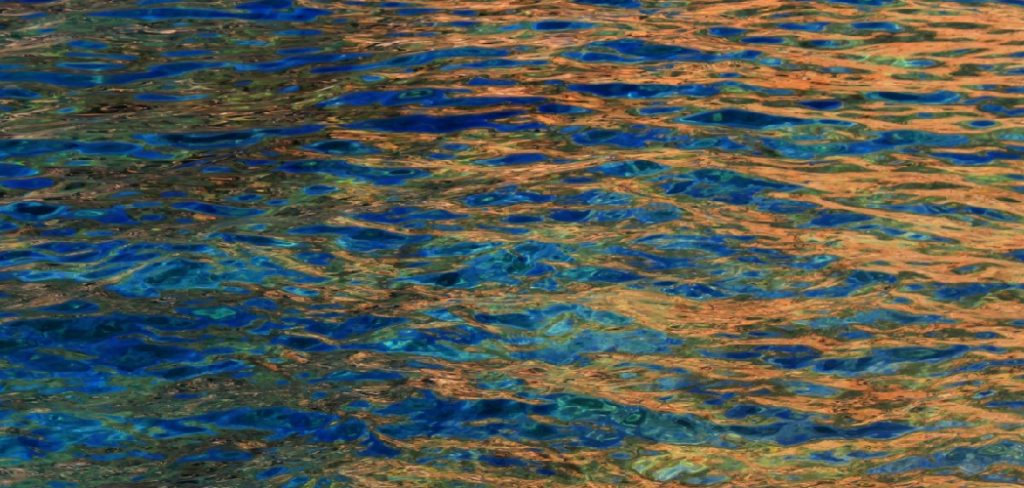
3. Look at some water first and see how it reflects and refracts the light. See how the light changes over time, especially if it’s moving. This is where you can get some ideas for layering your paint.
4. Don’t be afraid to experiment and take it in whatever direction you feel like.
5. If your colors are too intense at first, try applying a layer of water over it (mixed with some white). Then let the water sit for a little bit; this should diffuse your colors slightly and produce subtle effects that can still be amazing.
6. A couple more suggestions: try drawing with water on your paper or trying out different textures that you can put into the water, like oil paint or salt!
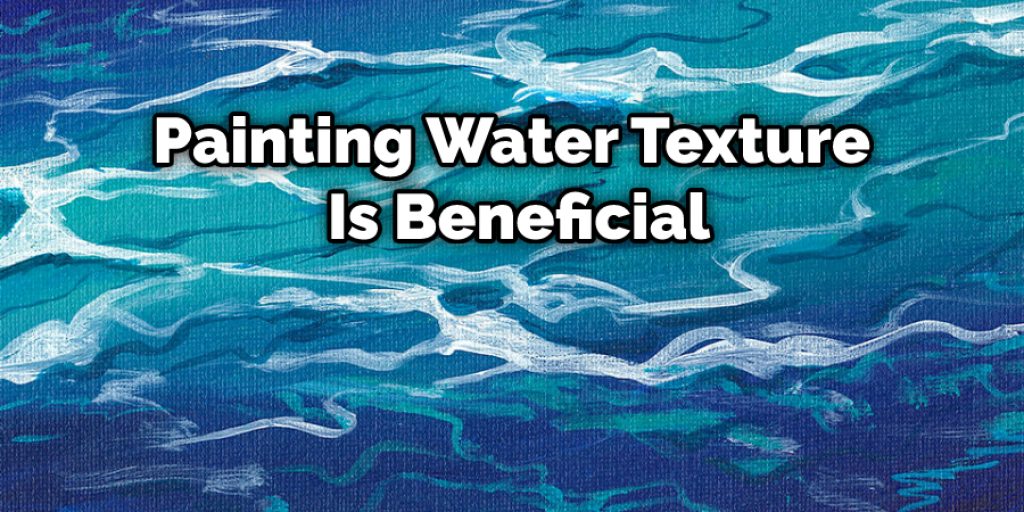
What Are the Benefits of Painting Water Texture?
Building up your painting skills by incorporating new elements is always a benefit. For example, painting water texture adds another element to your paintings, and it can sometimes be more beneficial to the piece than not including any texture at all.
It may also add a sense of realism and believability to your painting, which we all aim for in our artwork. Painting water texture will make your scene more believable and engaging, which draws your viewers in and allows them to connect with the painting on a deeper level.
You Can Check It Out to: Paint Sweater Texture
Conclusion
If you want to paint water texture, you need a little patience and creativity. However, you can do it in an hour or less when following this simple guide for painting water texture. This can be achieved by adding various colors and shades, but it’s important not to overdo it so that the reflection doesn’t overwhelm your original work.
It may take some practice before you get this technique down pat, but these tips should help you paint water textures like a pro! We hope this blog on how to paint water texture helped you learn the basics of painting water and gives you some inspiration for your next project! If you have any questions feel free to ask in the comment below!


