
How to Paint Wood Beads
Do you want to learn a creative way to customize handmade jewelry and home decor that will bring your crafty ideas to life? Painting wood beads is the perfect answer! It’s an easy and inexpensive project with limitless possibilities for customization in color combinations, shapes, sizes, and finishes.
Whether you’re making wall art or custom pendants for statement necklaces, this detailed guide will walk you through all the steps from start to finish. If you’re ready to get creative, here’s what you need to know about how to paint wood beads.
In this blog post, we will cover prepping the wooden beads and what materials you’ll need, to the best techniques for painting these unique art pieces. Just grab your supplies, and let’s get started!
What Will You Need?
- Wood beads of your choice
- Primer
- Paint – acrylic or water-based paint
- Brushes
- Water container and paper towel
- Sealant/topcoat of your choice (optional)
- Sandpaper (optional)
Once you have your supplies ready, it’s time to get started.
10 Easy Steps on How to Paint Wood Beads
Step 1. Preparing the Wood Beads
Before you start painting, sand down the beads with fine-grit sandpaper to create a smooth surface for the paint to stick better. Once that’s done, wipe them off with a damp cloth or paper towel to get rid of any dust. If you’re using beads with holes in them, get rid of any splinters.
Step 2. Priming the Beads
After prepping the beads, the next step is to prime them. Priming isn’t always necessary, but it’s helpful if you want the colors to pop and last longer. Apply a thin layer of primer on the beads using a brush and let them dry completely before moving on to the next step. If you’re working with darker wood beads, a primer will also help to ensure that the paint color stays true and is not influenced by the underlying dark color.
Step 3. Painting the Beads
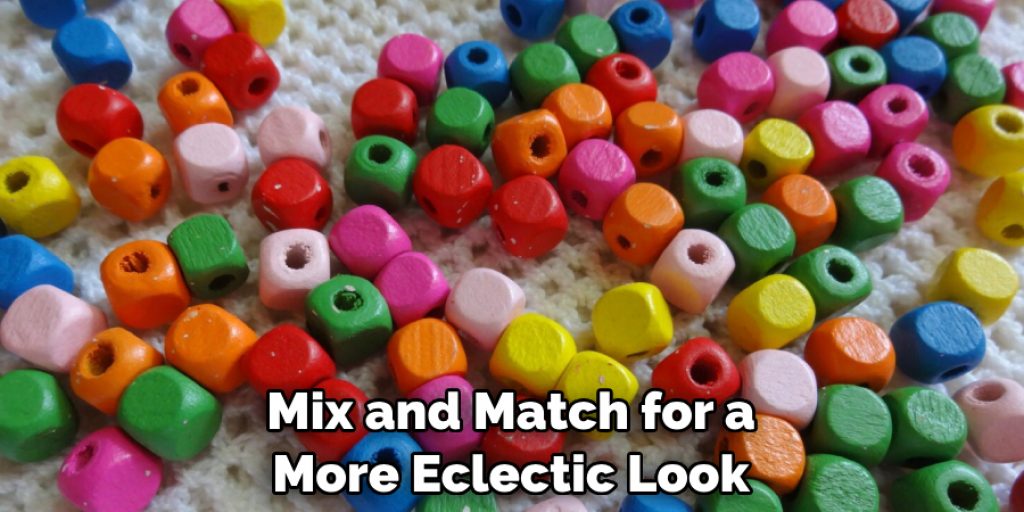
Now comes the fun part – painting! Begin by deciding on your color scheme. You might want to use one color for all your beads or mix and match for a more eclectic look. Once you’ve chosen the colors, pour a small amount of paint onto a palette or mixing tray. Dip your brush in the paint, ensuring it’s not too saturated, and then apply it evenly to the bead. It’s best to start with a lighter coat and add more as needed.
Allow the first coat to dry before applying additional layers, as this can help prevent the paint from smearing or clumping.
Step 4. Finishing Touches
After your last coat of paint has dried, you can add a sealant or topcoat. This will give your wood beads an added protection from chipping or scratching. It can also give your beads a nice gloss finish if you choose to use a glossy topcoat. Apply it just like you did the paint, starting with a light coat and adding more as necessary. Once your sealant or topcoat has dried, your painted wood beads are ready to be used in your various craft projects.
Step 5. Add Embellishments
If you’d like to give your wood beads a little more flair, you can add some embellishments such as glitter, rhinestones, or sequins. Make sure that whatever you choose is safe to use on painted wood beads and won’t chip off easily. Once you’ve applied the embellishments, let them dry completely before you use the beads in any projects.
Step 6. Creating Your Projects
Now that you have your beautifully painted and possibly embellished wood beads, it’s time to use them in your projects. You can thread them onto string or wire to create necklaces, bracelets, and earrings or attach them to keychains. If you’re into home decor, consider using your beads to make wall hangings, decorate candle holders, or create unique curtain tie-backs.
The possibilities are truly endless. The key is to let your creativity flow and to have fun with it. After all, that’s what crafting is all about!
Step 7. Caring for Your Painted Wood Beads
The lifespan of your painted wood beads largely depends on how well they are cared for. To keep them in good condition, avoid getting them wet, as water can cause the paint to peel or fade. If they do get dirty, gently wipe them with a dry cloth.
Also, store them in a cool, dry place out of direct sunlight when not in use. With the right care, your painted wood beads can remain vibrant and beautiful for years to come, providing a personal touch to your crafts and home decor.
Step 8. Keep Experimenting
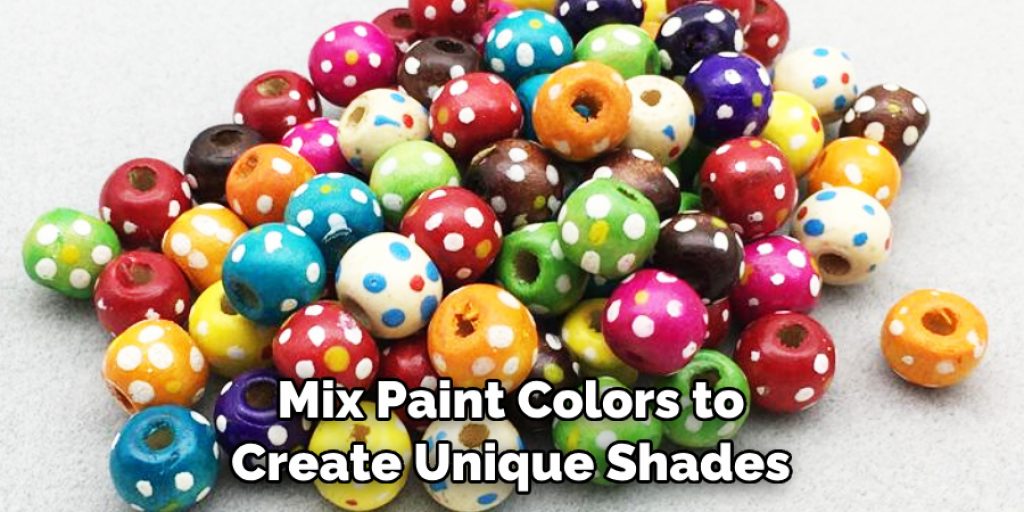
Painting wood beads can be an addictive hobby! Once you’ve mastered the basics, don’t be afraid to experiment with different colors and styles. You can mix paint colors to create unique shades or add a few coats of glitter for extra sparkle. Keep trying different techniques until you find something that speaks to your style. You may even find yourself a new favorite craft.
Step 9. Use Your Imagination
The best part about painting wood beads is that the possibilities are endless! You can create pieces with just a few simple supplies, from wall decor to jewelry. So don’t be afraid to get creative and try something different. You might even develop an amazing project that’s all your own.
Step 10. Have Fun!
Painting wood beads can be a fun and rewarding craft you can do almost anywhere. So remember to take some time to relax, enjoy the process and have fun with it. You’ll be surprised at what creative ideas start flowing when you let go of any inhibition and let the craft take you away.
Following these ten steps, you can create beautiful wood beads to make any craft project stand out. So grab your supplies and get painting – the possibilities are endless!
5 Additional Tips and Tricks
- When painting with acrylics, brush with soft bristles for the best results. This will help you achieve smoother coverage and prevent any brush strokes from being visible.
- If you’re having trouble getting even coverage on the wood beads, try using a sponge or foam brush instead of a regular paintbrush. This will help spread the color more evenly.
- If you’re painting with water-based paint, use a sealer or top coat to protect your designs and keep them looking fresh for longer.
- Avoid using gloss or shiny finishes on wood beads, as this can cause them to look artificial and take away from their natural beauty.
- When cleaning up after painting, use a damp cloth or paper towel to remove any excess paint. Be sure to let the beads dry thoroughly before you handle them so they don’t smudge or rub off.
Consider adding glitter or sequins to your painted wood beads for an extra bit of flair! Glitter can give them a sparkling effect, while sequins can give them a unique texture and shine. Have fun experimenting with different materials to create your custom designs. With some creativity, you’ll be able to craft some truly stunning jewelry pieces!

5 Things You Should Avoid
- Don’t use harsh chemicals or abrasive materials when cleaning wood beads; this can damage the surface and remove any existing paint.
- Avoid spray paints as they can be difficult to cover evenly and may not adhere properly to the wood.
- Too much moisture can cause the paint to run, so try not to wet the beads too much when painting.
- Don’t use too much paint, as this can cause the wood beads to become heavy and stiff.
- Avoid using oil-based paints on wood beads as they may not adhere properly and take longer to dry.
With these tips, you can create beautiful, unique jewelry with painted wood beads. Have fun getting creative, and don’t be afraid to experiment with different colors and designs!
How Do You Seal Painted Wood Beads?
When sealing your painted wood beads, there are two primary methods: varnishing and waxing. Varnish is a clear liquid that can be applied with a brush or sprayed on for even coverage. This will help protect the painted surface from scratches and wear over time. Wax is better suited for softer finishes such as matte or satin.
Simply apply a wax product to the beads with a cloth and buff it in for an even finish. Both methods will help keep your wood beads looking great for years!
Additionally, consider spraying a layer of sealer over the bead before you begin painting. This will help ensure the paint adheres properly and won’t chip or flake off over time.
No matter what type of sealing method you choose, let the beads dry fully before handling them so your designs don’t smudge. With proper care and attention, you can create beautiful works of art with your painted wood beads!

Conclusion
Now that you’ve learned how to paint wood beads, the possibilities with this craft are truly endless. Whether you want to create a design with more complicated colors and textures, string together multiple beads for a unique piece of jewelry or home decor, or use them for an intricate art project, let your imagination be your guide.
With some basic supplies and information like what you’ve just read here, you can easily become an expert quickly. Wood beads are great for crafting projects and can be used as decoration or gifts to show off your artistic side.
Going forward, you now have all the knowledge necessary to paint wood beads of all shapes and sizes with beautiful colors and designs — so get started! Go ahead and make something stunning to bring smiles to those who behold it.
Angela Ervin
Angela is the executive editor of DIY quickly. She began her career as an interior designer before applying her strategic and creative passion to lifestyle and home. She has close to 15 years of experience in creative writing and online content strategy for housekeeping, home decorations as well as other niche efforts. She loves her job and has the privilege of working with an extraordinary team. She lives with her husband, two sons, and daughter in Petersburg. When she's not busy working she spent time with her family.


