How to Paint Wooden Easter Eggs
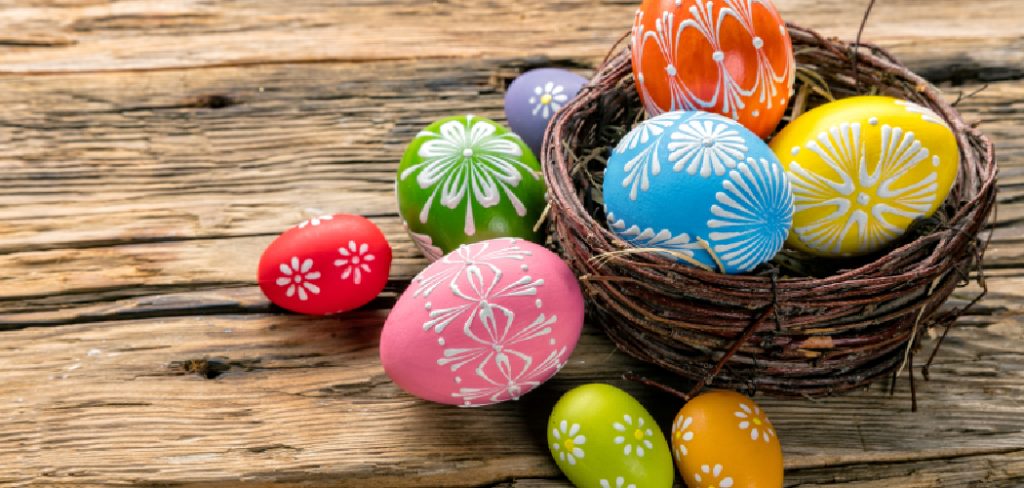
Are you ready for Easter? Painting wooden Easter eggs is a fun and creative activity that you can do with your family and friends. It is a great way to decorate your home for the holiday and allows you to express your creativity and personal touch.

How to Paint wooden Easter eggs is a delightful and creative activity that brings joy to both children and adults alike during the festive season. Unlike traditional egg dyeing, which typically relies on fragile eggs, wooden eggs offer a durable canvas that can be painted and decorated year after year. This project allows for artistic expression and creates cherished keepsakes that can be displayed as décor or gifted to loved ones.
In this guide, we will explore the essential materials needed, painting techniques, and tips to enhance your designs, ensuring a fun and successful egg-painting experience.
What Will You Need?
Before we begin the painting process, we must ensure that we have all the necessary materials. Most of these items can be found at your local craft store or online.
- Wooden eggs (you can also use plastic or ceramic ones)
- Acrylic paint in various colors
- Paintbrushes in different sizes and shapes
- A palette or paper plate for mixing paints
- Water cup for cleaning brushes
- Paper towels or cloth for drying brushes
- Optional: glitter, stickers, ribbon, rhinestones, and any other decorative elements you desire!
Once you have all your supplies ready, it’s time to start painting!
10 Easy Steps on How to Paint Wooden Easter Eggs:
Step 1: Choose Your Design
Begin by deciding on the design or theme for your wooden Easter eggs. You could go with traditional motifs, such as flowers and bunnies, or get creative with abstract patterns and colors. Sketching your ideas on paper can help guide your painting process. As you paint, remember that the wooden surface may not allow for intricate details so that simpler designs may work better.

Step 2: Prepare Your Workspace
Creating a clean and organized workspace is critical to a successful painting experience. Find a flat, well-lit surface, such as a table or countertop, where you can comfortably work. Lay down a protective covering—like newspaper or a plastic cloth—to safeguard the area from any paint spills or splatters. Gather your materials, ensuring that your paints, brushes, and any decorative items are within arm’s reach to minimize interruptions.
It’s also helpful to have a small container of water and paper towels available for quick brush cleaning and drying. Establishing a tidy and inviting workspace sets the stage for a fun and productive painting session, allowing your creativity to flow without distraction.
Step 3: Base Coat Application
Once you have your design in mind and your workspace prepared, it’s time to apply a base coat of paint to your wooden eggs. Start by choosing a light color that will serve as the background for your design. Using a medium-sized paintbrush, apply a smooth, even layer of paint over the entire surface of the egg.
This base coat will help other colors stand out and create a more polished look. Allow the base coat to dry completely before moving on to the following steps, as this will ensure better adherence of additional layers and designs.
Step 4: Add Detail and Patterns
Now that your base coat is dry, it’s time to let your creativity shine by adding details and patterns to your wooden eggs. Using a fine-tipped paintbrush, carefully apply contrasting colors or patterns over the base coat. Depending on your skill level and preferences, you can create simple designs like dots, stripes, or flowers, or even intricate scenes.

Don’t be afraid to layer different colors for added depth and visual interest. Take your time with each design, and remember that imperfections can add a unique charm to your creations! Allow each layer of detail to dry before applying additional designs to avoid smudging.
Step 5: Incorporate Decorative Elements
Once you’re satisfied with the painted designs on your wooden eggs, it’s time to elevate your creations by incorporating decorative elements. This step allows for even more creativity! Use glitter to add sparkle, stickers for fun shapes, or rhinestones for a touch of elegance. If you’d like to add ribbon, consider using it to create bows or decorative ties.
When applying these elements, use a clear-drying craft glue to ensure everything stays in place. Be sure to let these additions dry completely before handling the eggs further.
Step 6: Add a Glossy Finish
Consider applying a glossy finish to add a professional touch to your wooden Easter eggs. This will not only protect the paint and designs but also make them stand out. For this step, you can use a clear gloss spray or brush on a layer of glossy varnish. Ensure you follow the instructions on the product you choose for best results. Apply the shiny finish in a well-ventilated area and allow it to dry completely before handling the eggs.
Step 7: Let Dry Thoroughly
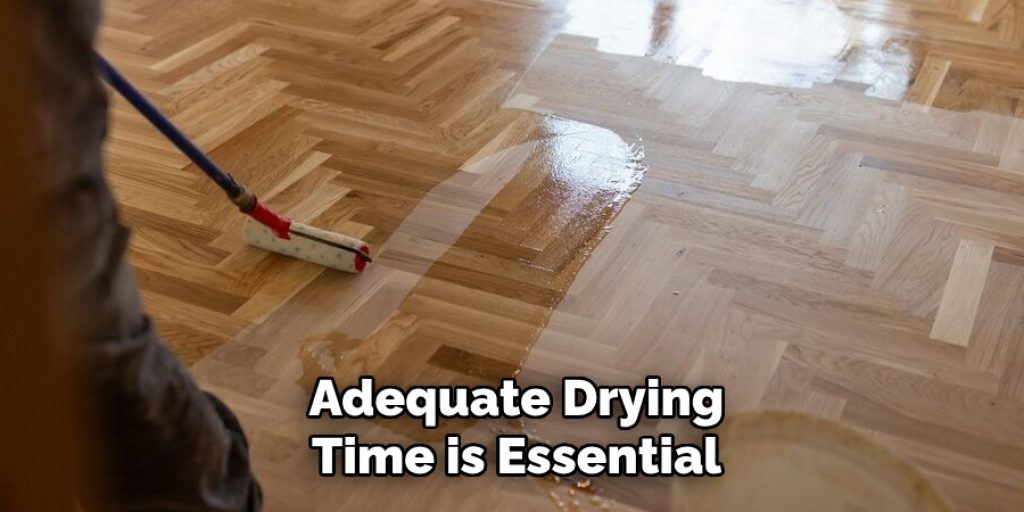
Allow your painted wooden eggs to dry completely before handling or displaying them as décor. This may take several hours, depending on the type of paint and decorative elements used. Adequate drying time is essential to avoid smudging or damaging your designs. If you plan to display or gift the eggs, it’s best to let them dry overnight.

Step 8: Display and Enjoy
Once your eggs are dry, it’s time to display them proudly in your home! You can place them in a bowl or basket as a festive centerpiece, arrange them on a mantel or shelf, or even hang them from branches for a unique Easter tree. These painted wooden eggs also make thoughtful gifts for friends and family, so don’t be afraid to share your creations!
Step 9: Store Carefully
Proper storage of your painted wooden Easter eggs is crucial for preserving their beauty and ensuring they last for many future celebrations. If you plan to reuse your creations for future festivities, consider using a sturdy storage box or container padded with tissue paper or bubble wrap to prevent any scratches or breakages. Carefully place each egg inside, separating them to minimize movement. Label the container to keep track of your holiday décor, making it easier to find when the season rolls around. Additionally, store the eggs in a cool, dry place away from direct sunlight, as prolonged exposure can fade the colors over time.
Step 10: Share Your Creations
The final step in this delightful painting journey is to share your beautiful wooden Easter eggs with others! Take photos of your completed works to showcase your creativity on social media platforms, or consider hosting a small gathering where friends and family can admire your art. You might even inspire them to try their hand at painting wooden eggs. If you’re feeling generous, gift your customized eggs to loved ones as a thoughtful gesture for the Easter holiday. Sharing your creations spreads joy, fosters a sense of community, and encourages others to express their artistic talents. Enjoy the smiles and appreciation that your handcrafted work brings!

By following these steps and using your imagination, you can create stunning and unique painted wooden Easter eggs that will be cherished for years.
5 Things You Should Avoid
- Skipping the Base Coat: Please apply a base coat to avoid uneven color application and a less polished final product. Always start with a light base coat to help the subsequent colors appear vibrant and cohesive.
- Rushing the Drying Process: Moving on to the next step before everything is thoroughly dry may be tempting, but this can cause smudging and ruin your designs. Patience is key; allow adequate drying time for each layer.
- Using Low-Quality Paint: Cheap or low-quality paints can result in poor coverage and fading. Invest in good-quality acrylic paint to ensure your creations are bright, bold, and long-lasting.
- Overloading the Brush with Paint: An excessive amount of paint on your brush can lead to drips and messy application. Use moderate paint, and gradually build up layers for more control and precision.
- Neglecting to Protect Your Work Area: Not safeguarding your workspace can lead to unwanted paint splatters and a laborious cleanup. Always use a plastic cloth or newspaper to protect surfaces before painting.
By avoiding these common mistakes, you can ensure a successful and enjoyable painting experience while creating beautiful wooden Easter eggs.
Conclusion
In conclusion, how to paint wooden Easter eggs is a delightful and creative activity that encourages personal expression and artistic exploration.
By following the steps outlined above, from preparing your materials to adding finishing touches, you can create stunning decorative pieces that enhance your holiday celebrations. Remember to embrace your creativity, experiment with different designs, and take your time to perfect each detail.
Whether you choose to display them prominently in your home or gift them to loved ones, your handcrafted wooden eggs will surely bring joy and color to the Easter season while becoming keepsakes treasured for years to come. Happy painting!


