
How to Pair Led Light Remote
Do you want to use an LED light remote control system in your home, but aren’t sure how to get started? It is important to know how to pair led light remote. In this blog post, we’ll show you step-by-step how to pair an LED light remote with your lighting setup and make the most of its features.
We’ll walk you through the process from beginning to end, so you can start using your new solution as quickly as possible. Let’s take a look at what pairing an LED light remote entails and why it’s worth the effort!
Tools You Will Need
To get started, you will need the following tools:
- LED light remote
- LED lighting setup
- Cable ties and/or mounting brackets (optional)
- Drill and necessary drill bits (optional)
8 Steps Guide on How to Pair Led Light Remote
1. Ensuring All of the Necessary Components
This includes your LED light remote, LED lighting setup, cable ties/mounting brackets (optional), and drill/drill bits (optional).
Before you start setting up your LED lighting, it is important to make sure that you have all the necessary parts and hardware available. This includes a LED light remote so that you can control settings such as brightness and color from your phone or tablet, the LED lighting itself, and optionally any cable ties or mounting brackets.
You may also wish to have drill and drill bits available if you need to mount your LED lights securely. Having everything ready before you begin will make the setup process much easier and less time-consuming.
2. Attach the Led Light Remote
This will keep the remote secure and within easy reach for operation.
Securing your LED light remote with a mounting bracket or cable ties can help you keep it in the desired location while also making sure that it is kept secure within easy reach.
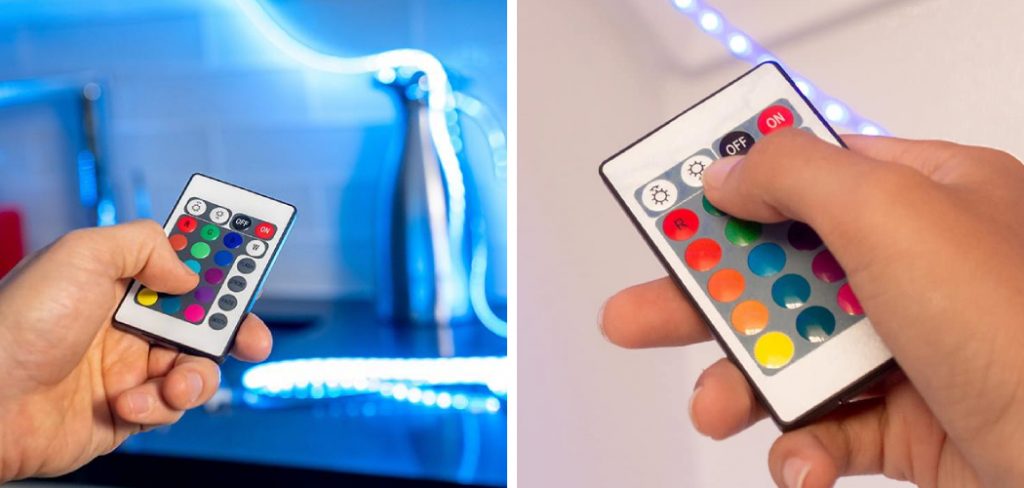
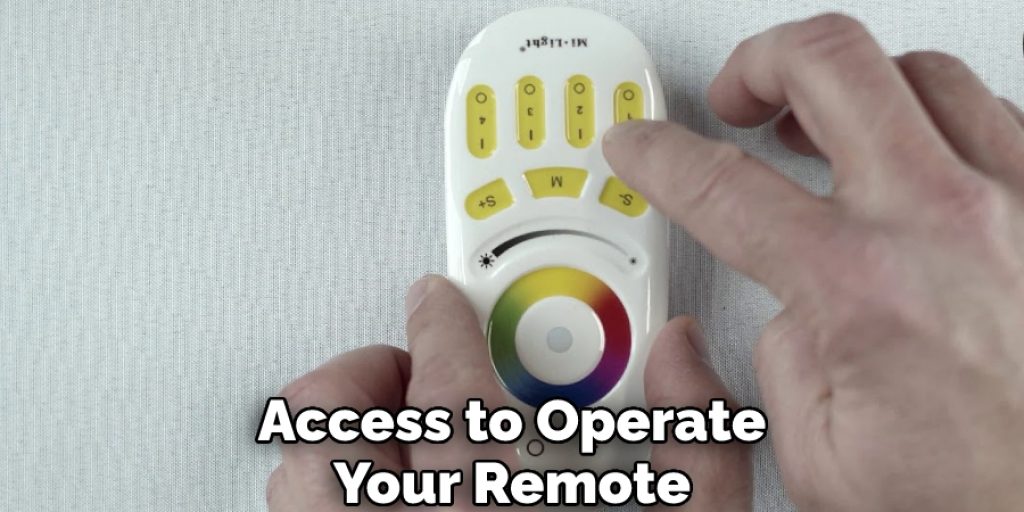
This ensures that you always have immediate access to operate your remote without having to do something more challenging than necessary. Attaching your remote with these securing methods is a quick and easy way to ensure its optimal usage and performance.
3. Mount Your Led Lighting Setup
Mounting an LED lighting setup can be the most important step to ensure that it works properly. Carefully following the instructions supplied with the product will help you attach and stabilize the fixture, as well as give safety information that should not be overlooked. Make sure to connect it to a suitable power source – either a wall outlet through an adapter or a battery pack.
Make sure this connection is secure – mismatched voltages could create a fire hazard – and if you’re using rechargeable batteries, they get plenty of charge before use. Once these two steps are taken care of, your lighting setup should be ready to go!
4. Attach It to the Wall
Make sure to securely attach the bracket and double-check all connections. Installing a mounting bracket correctly is vitally important to ensure the safety of whatever it is holding, so it’s important to get it right the first time. Using a drill and necessary bits, if required, will allow for accurate and secure attachment of the bracket to the wall.
It is a good idea to double-check check all connections are firmly in place before use, just in case, anything looks slightly off when attaching the bracket. This may take an extra few minutes but will be worth it in the long run!
5. Place Your Led Light Remote
Ensure the remote is easy to reach for operation.
Securing your LED light remote on its mounting bracket or with cable ties ensures it is securely held in place. This is especially important if the remote will be used outdoors and exposed to various weather elements. With the remote secured, you can easily access the operational controls to adjust your brightness settings or change colors as needed.
Whether you have a stationary or mobile setup, make sure the remote is always accessible by keeping it in a secure spot. You don’t want any unwanted collisions that could damage your light setup or impede the functioning of your LED lights.
6. Power Up Your Led Light Remote
Illuminating your home or workspace with LED lighting can be as simple as pressing a button. Turning on your LED lighting setup only requires you to locate the power switch, usually near the power cord, and press it into an ‘on’ position.
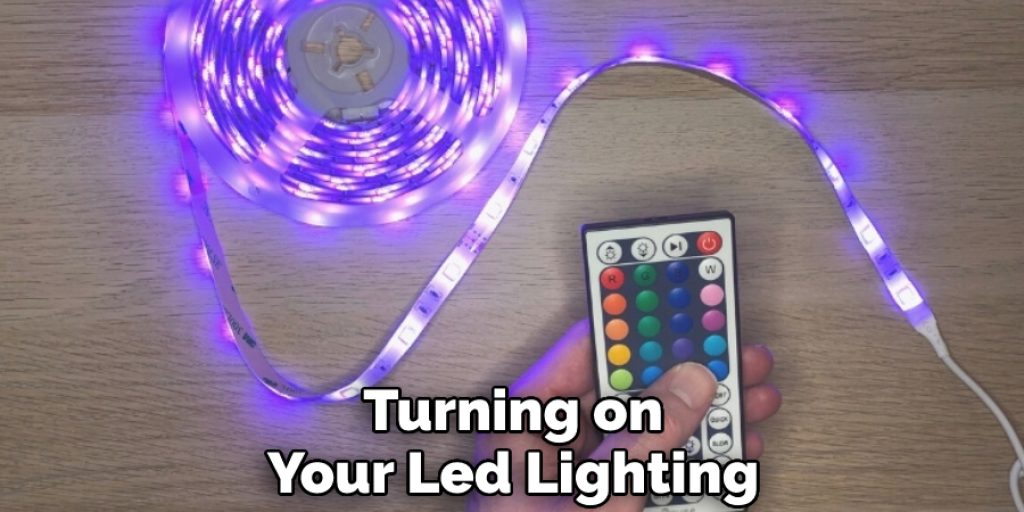
To maximize the effects of the LEDs, use your accompanying remote control to choose from a range of preset settings – such as vibrant colors and dim lights. You may even set up timers so you don’t have to remember to turn them off! With this easy setup, you’ll be living in style and comfort.
7. Follow the Instructions
This process may vary depending on the type of LED light remote you are using.
To pair your LED light remote with your lighting setup, follow the simple instructions provided in the user manual. Firstly, check the type of remote you are using, as this will determine how to complete the pairing process – certain types may require downloading an app and others may need to be connected manually.
Once you have figured out what type you own and consulted the corresponding manual, you should be able to easily pair your remote with minimal fuss. It’s important to note that if you encounter any difficulties along the way, do not hesitate to refer back to the manual or contact customer support!
8. Control Your Lighting Setup
In a world full of technology, LED lighting setups have become increasingly more accessible with the invention of LED light remotes. These devices allow users to create custom lighting experiences that can be altered with a few simple button clicks.
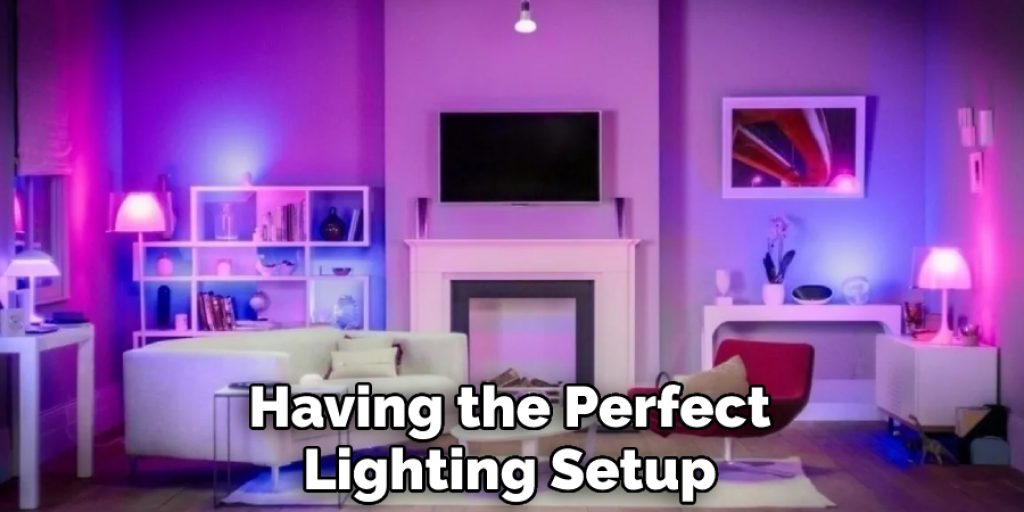
Once you’ve got your LED lighting setup paired with your remote, changing your lighting setup will become a breeze. You’ll be able to effortlessly control your lights across a wide range of intensity and temperature levels according to your personal needs. With an LED light remote, having the perfect lighting setup has never been easier!
Your LED light remote is now ready to use! With this setup, you can easily control your lighting from a single device without needing to manually operate each light. Enjoy the convenience that comes with having an LED light remote in your home!
Installing Your LED Lighting Setup with a Remote Control
Installing a LED lighting setup with remote control can make controlling the lights in your home much more convenient. This modern technology can be used to change color and brightness, and even set up multiple profiles. Once your LED lighting is installed, all you need to do is pair the lights with the remote control and you are ready to go!
The remote allows you to control multiple fixtures at once, so you won’t have to tediously adjust each light individually; it’s a great time saver. You’ll also be able to turn off your lights from anywhere in the house with just the push of one button.
Installing an LED lighting setup completes any room with convenience and ease, making it a practical addition for any homeowner or design enthusiast.
Maximize the Effects of LEDs with an LED Light Remote
LED lights are a great way to save on energy costs and still enjoy the unique aesthetic of lighting in your home or workspace. But if you want to maximize their effects, an LED light remote can be just what you need. This device allows you to customize and adjust your lighting levels with unparalleled control over intensity, color saturation, and white balance.
It also allows for quick access to pre-set scenes so all the necessary adjustments can be made without digging through menus or confusing settings. With a remote, it’s easy to step up your lighting game and create unique atmospheres that showcase the intricate nuances of LED technology.
Unlocking the Benefits of Home Automation by Pairing an LED Light Remote
Home automation is revolutionizing the way we view and interact with our living spaces, and streamlining the tasks that used to consume valuable minutes each day. One of the best ways to get started with home automation is to purchase an LED light remote.
This device can be used to change the color and brightness of any LED light in your home. Not only does this free up your hands for multitasking but it also puts you in control to determine the mood of your living space on demand. With just a press of a button, you can instantly create an ambiance with vibrant colors or elegantly transition between shades of white perfect for relaxing evenings or stimulating mornings.
Unlocking the benefits of home automation by purchasing an LED light remote could be one easy decision that will change life around your home forever.
How to Create Custom Lighting Experiences With An LED Light Remote?
Creating custom lighting experiences with an LED light remote can be a great addition to any home. It allows you to have control over your lights and choose different settings depending on the mood or activity.
The LED Remote transforms traditional household lighting into a multi-functional and entertaining one, giving you the option of changing the intensity, color, timing, brightness, and more with just one press of a button!
With the push of a switch, you can go from relaxing cool white light to energizing warm yellow light setting; all without needing to move around the furniture or reach for a ladder to help you change those traditional bulbs.
With its interactive and versatile design, it is no surprise that it is becoming one of the most popular technology products in modern households.
Conclusion
If you’re having trouble with your led light remote, there are a few things you can check. You should carefully determine how to pair led light remote. Make sure that the batteries are installed properly and that they have power. Check to see if the range of the remote is being obstructed by anything.
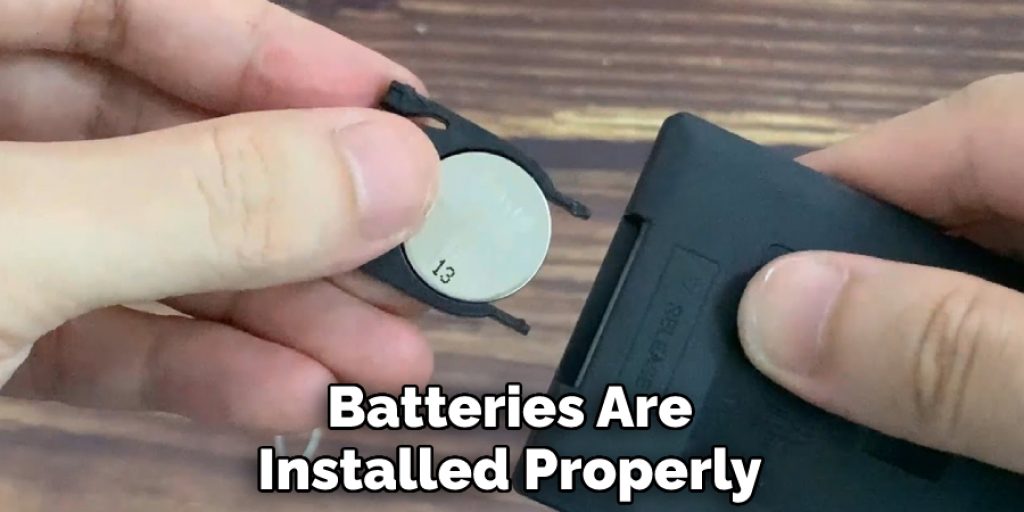
Consult the manual or contact customer service for troubleshooting tips specific to your model. With these steps in mind, you should be able to get your led light remote working properly in no time!


